You know that sense of awe when you see inspiring work? The kind of feeling that makes you say “wow, I wish I could do that.” Seeing Ash Thorp, GMUNK and Joey Camacho’s CG work makes me feel that all the time. There’s so much thought that goes into their compositions and I wanted to see if I could emulate some of that using Blender. The following is a summary of what I’ve learned through experimenting with CG. You can also see the final results of what I made here. I hope this encourages you to have fun making your own crazy creations after reading!
Gather Inspiration
The internet makes it so easy to find great work and reference. You can find inspiration for your own CG work anywhere from other designers to nature itself. I try to keep the inspiration I collect organized using Pinterest boards. Check out how gmunk, Maciej Kuciara and Joey Camacho organize their boards to get a sense of the possibilities.
Start Making
Setting the Framework
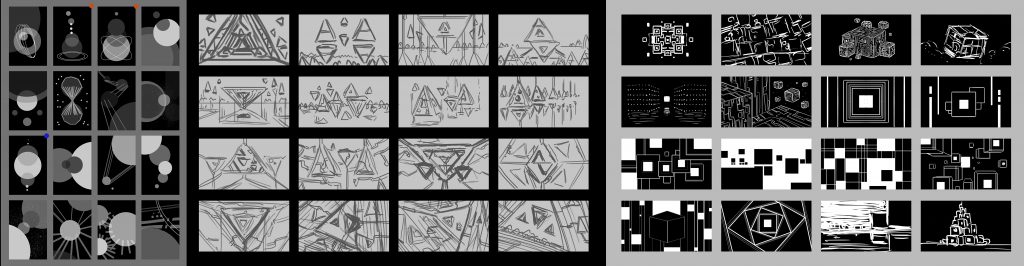
To start this project, I wanted set up a few constraints. Having constraints would help me avoid veering off into unrealistic-expectations-land. My goal was to create a series of animated CG video clips based on geometry and abstract organic shapes. With those constraints in mind, it made it easier to make my Pinterest boards and narrow down my searches. Afterwords, I made thumbnails based on my references to figure out the general look of each clip.
I kept the thumbnails simple since I wanted room to experiment when I started using Blender. While working on thumbnails, I try to keep my collected reference visible so I can look back for new ideas. After making over a dozen thumbnails for each clip, I chose the thumbnail that would was the most interesting in a 3D composition.
Translating Ideas into the Third Dimension
Once I had chosen a thumbnail, I started setting up my Blender file. I treated my files like I would in Photoshop by breaking elements down into separate layers. By breaking the composition into parts, it helped me mentally organize the project.
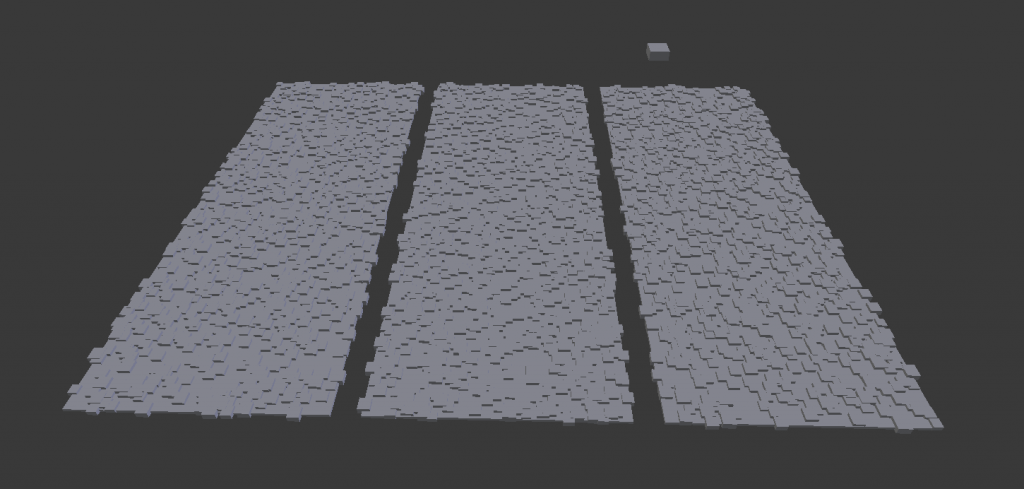
On my first layer, I placed the bare basics of the scene by focusing on general shapes and camera placement. On the next layers I would work out the other details of the scene. Other layers would contain experiment to see how certain modifiers, effects and animations worked together. Each layer was a problem and I had to find a solution to make it be true to my thumbnail. Once one of the smaller elements had reached a decent amount of polish, I would copy everything from the layer and paste it into the main layer.
An example of one of the main composition layers with the camera
Hurdles and Discoveries
By approaching each layer like a problem, I could tackle them one at a time without feeling overwhelmed. This is what I learned in the process:
Importing SVGs
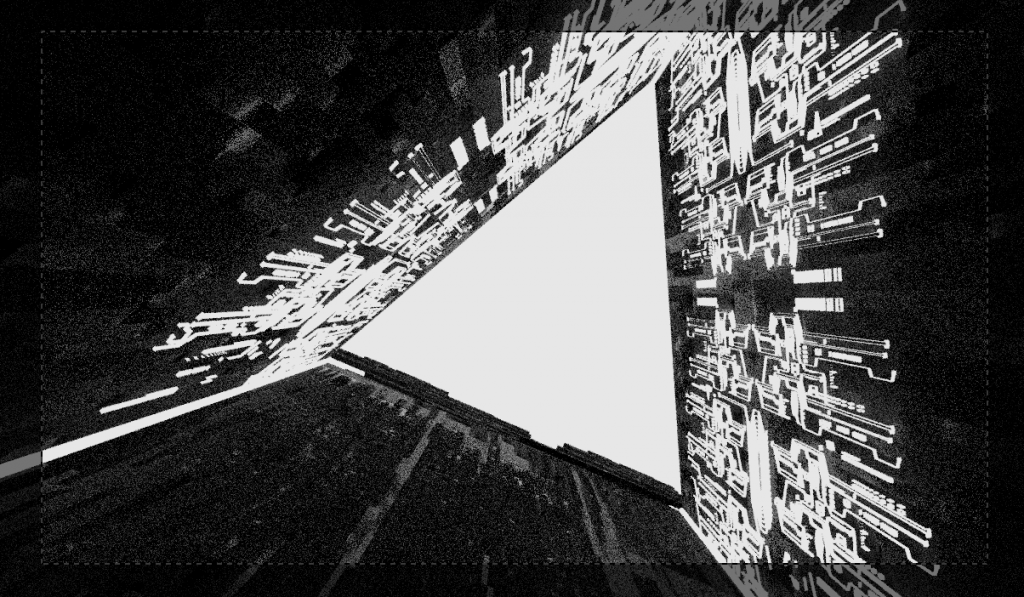
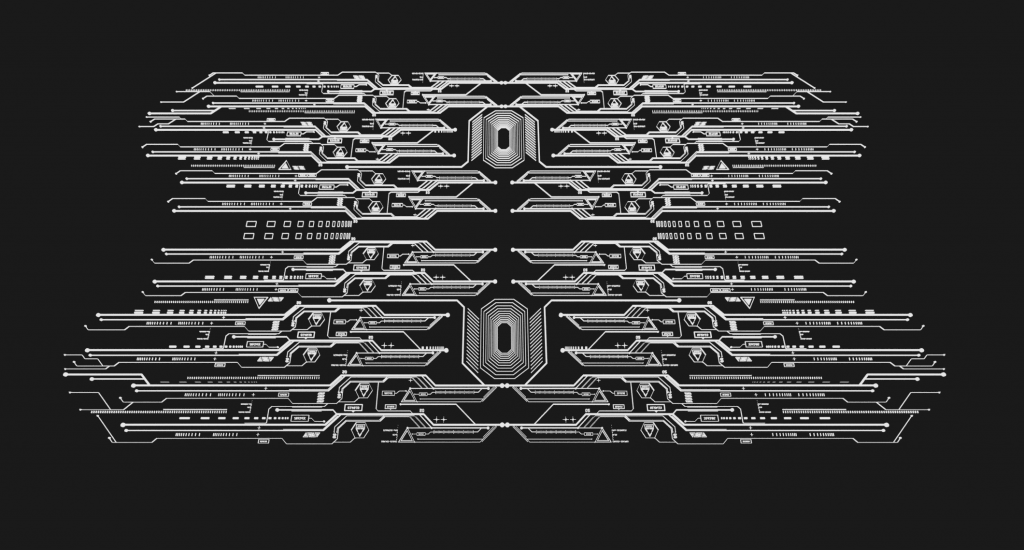
For some of the animated elements, I wanted some kind of FUI elements and sci-fi circuitry. By making asset sheets in Adobe Illustrator, I could quickly make a variety of different shapes, save them as SVGs and then import them into a new Blender layer and convert them into meshes.
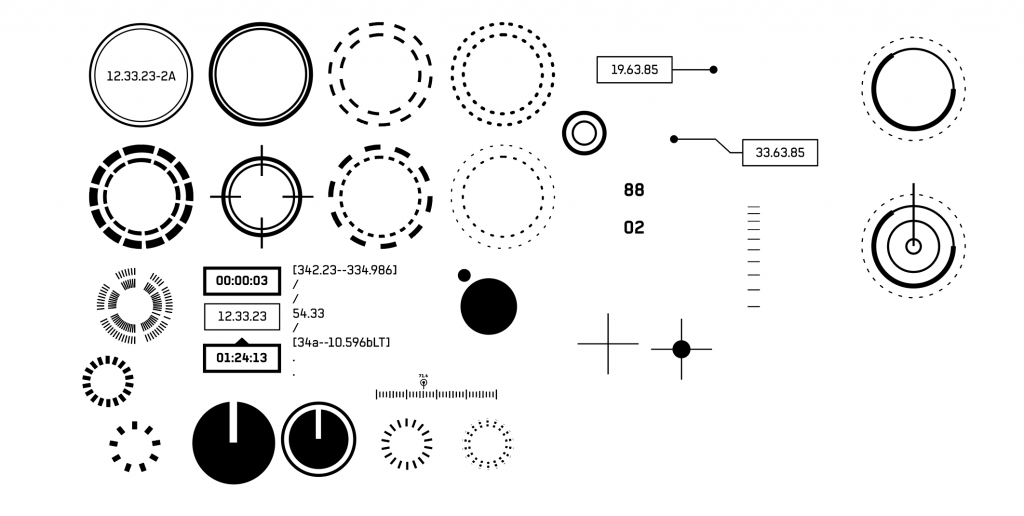
An Illustrator asset sheet saved as an SVG
I could treat the movement of these SVG elements almost as if it was an After Effects file by using Blender’s keyframe animations to coordinate movement in 3D space.
Particle Systems
The next feature of Blender I spent a lot of time using was the particle systems tool. Turning off gravity created some interesting floating seas of particles.
Another way I figured out how to create seas of particles was by using an ocean modifier on a particle emitter with advanced hair settings enabled.

The modifier and particle settings that were used to create an ocean of particles
Ivygen Add-on
Blender’s ivygen add-on is a quick-and-easy way to create some nice wiry tendril growth that can easily be animated. What’s great about the tool is that you can create interesting tendril silhouettes when the original mesh is removed or hidden.

You can animate the ivy by adding keyframes to the curve Bevel Factor
Color Management
Another feature of Blender I was previously unaware of is color management. This feature affords a lot of flexibility in terms of different render looks, exposure, gamma and curves and more.
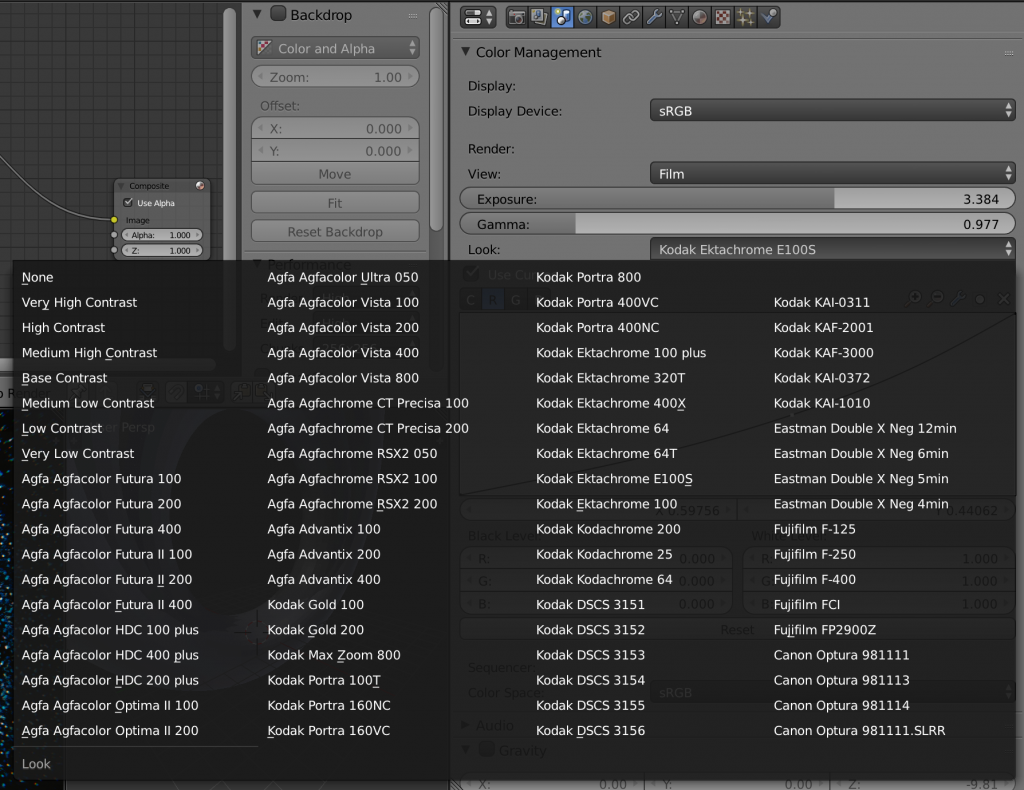
Personally, I prefer the “Film” render view which the Blender 2.79 manual describes as “[using] a technique known as film emulation to give renders a look similar to what might be expected from a film-based camera. This is usually done by crushing the blacks and decreasing the contrast of the image.” It’s incredibly satisfying to scroll through all the different options and seeing how your scene looks on different kinds of film.
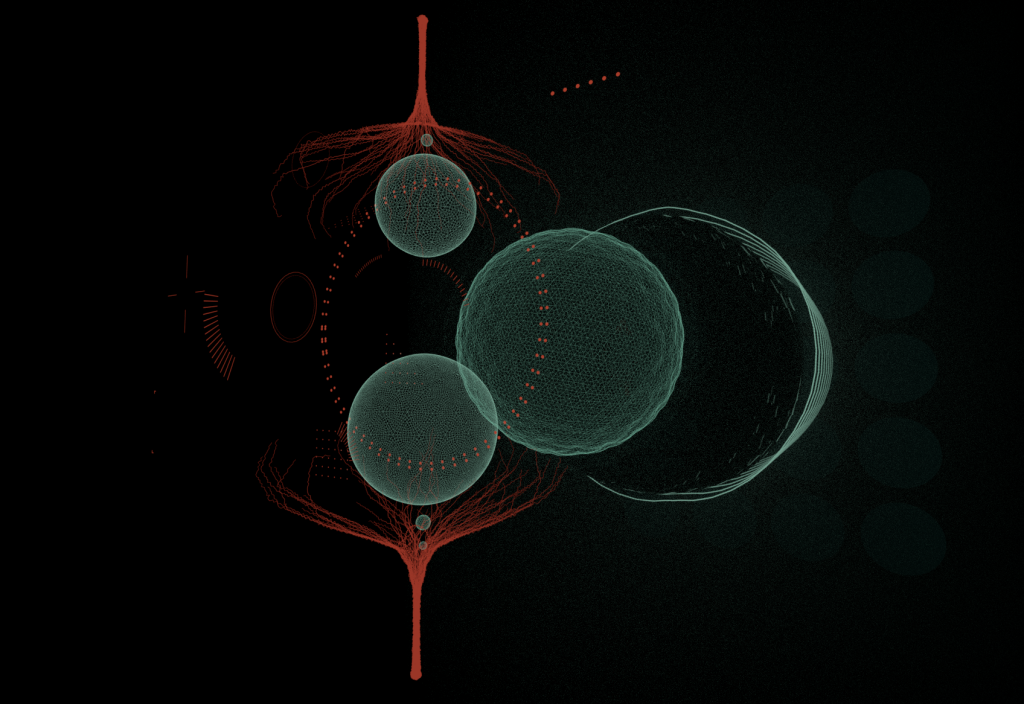
How blue should I make these blobs?
Bringing it All Together
Finally, once the core elements of the scene were put together and the test renders were looking cohesive, it was time to start finessing the details. In this case, it meant assigning the right materials to different objects (the majority of which were either using emission, diffuse or glass shaders), adding colors to the materials, tweaking keyframes and adjusting the scene’s camera so it matched my original thumbnail.
Once I completed all of the finishing touches, I rendered out the scene into 1920×1080 png sequences which I edited later in Adobe Premiere. Again, you can check out the results of the CG experiments here: https://vimeo.com/307527558
Reflection
This whole exercise has taught me a lot about using Blender from particle effects, physics, curves, smoke simulations, compositing and more. I now have a greater appreciation for what 3D designers have accomplished in this realm and the attention of detail that has to go into every frame of their compositions. Finally, kudos to all the 3D designers and artists of the world who make this kind of work look easy. Keep on pushing the boundaries and keep on inspiring.