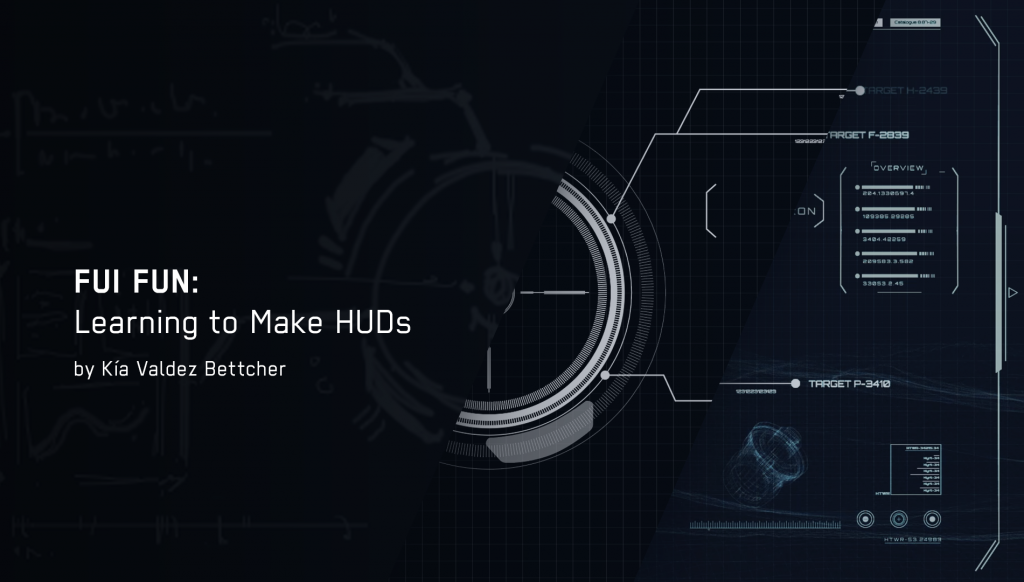
It’s been a while since I did any motion graphics so I thought I’d jump back into it. My goal: make a short HUD animation inspired by sci-fi films. I’m a sucker for flashy sci-fi FUI (Fictional User Interface) visuals, so I couldn’t resist making my own and documenting the process.
Gathering the Reference
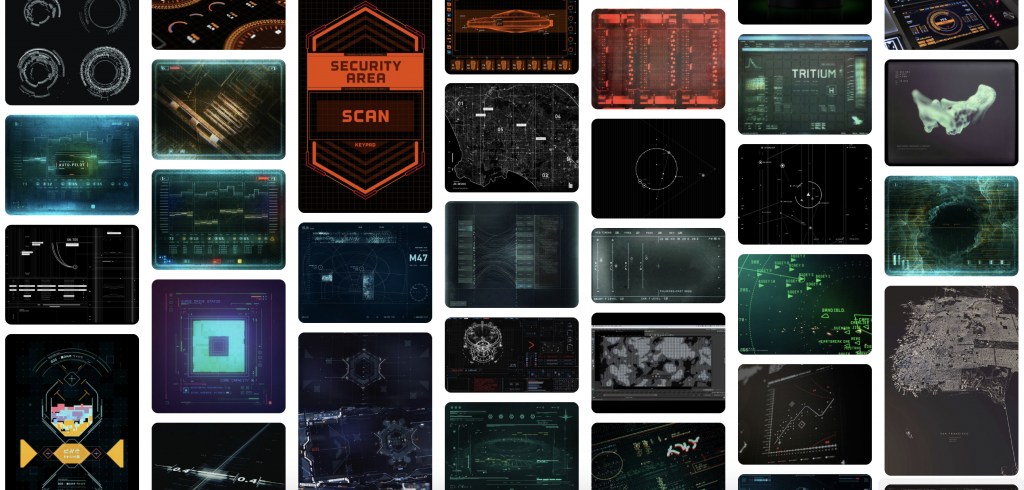
I headed over to Pinterest to gather some reference related to FUI design. From the reference, I noticed the usage of lines, and simple geometric shapes that follow visual rhythms as well as a high contrast appearance. I made sure to keep referring to this to stay on track.
Sketching it out

Once the reference was collected and reviewed, it was time to sketch some rough ideas out. Most of what I’d pulled was the obvious stuff — sci-fi film HUDs, cockpit displays, dashboard telemetry — plus a handful of screenshots from betting apps, which turned out to be a surprisingly useful reference for how to pack live numbers, timers, and status indicators into a small area without it feeling cluttered. I made thumbnails in Photoshop to get a general idea of how I wanted the interface to look. I also considered the concept of unity with variety, and included repeating shapes with contrasting shapes.
Adding More Details
I planned on making my animation monochrome so I jumped into Illustrator and made everything black or white. I put my original thumbnail from Photoshop on one layer at a low opacity and used it as my guidelines for where I wanted certain elements placed. To keep elements organized, I also used a grid background so that it felt like there was a system. The actual file creation wasn’t too complicated since it’s mostly repeating lines and shapes. While working on the files I tried to take note of how some elements might move once I started animating it.
Setting Things in Motion
I won’t get into the nitty-gritty of how I animated everything in After Effects. A lot of the timing came down to trial and error and most of the actual animations were done using trim paths and scaling.

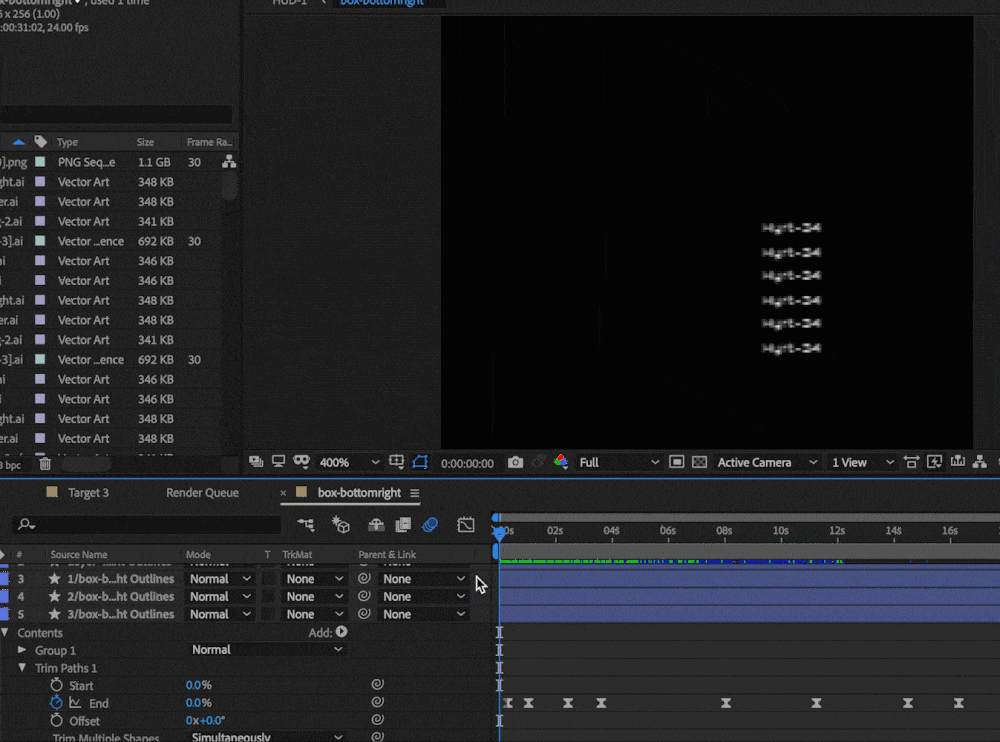
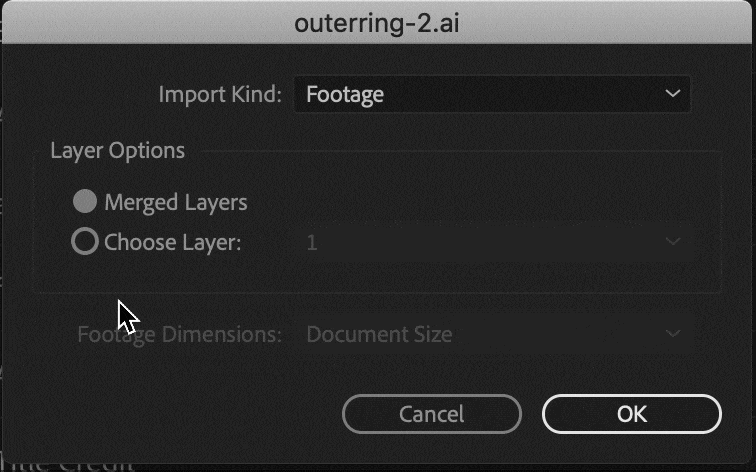
To import my assets, I broke up my main Illustrator file into smaller parts that would eventually become compositions in After Effects. I copied each smaller part of the file and pasted it into a separate Illustrator file. There, I released everything in that file to a separate layer so that I could animate individual layers in After Effects.

Once my smaller Illustrator file was separated into different layers, I imported the file into After Effects and brought in each individual layer.
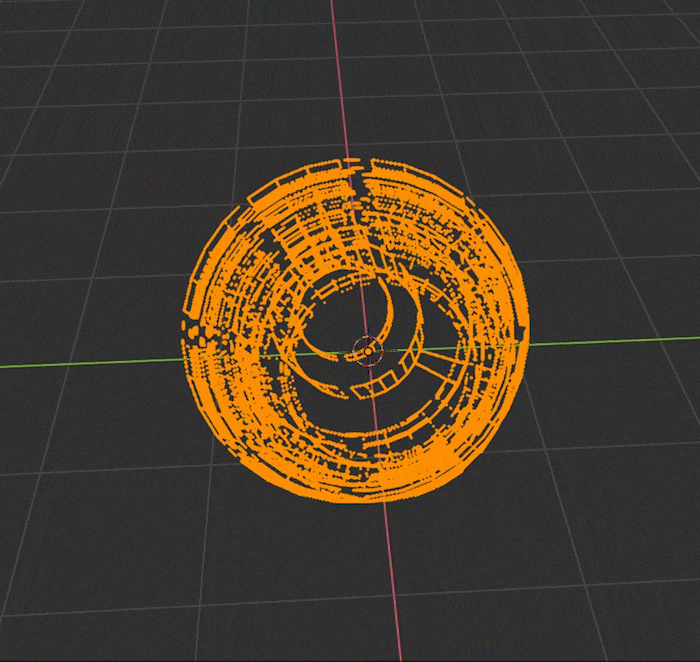
For the cherry on top, I decided to include some 3D elements to add a bit more depth. I made a cylindrical shape in Blender and used a wireframe modifier.
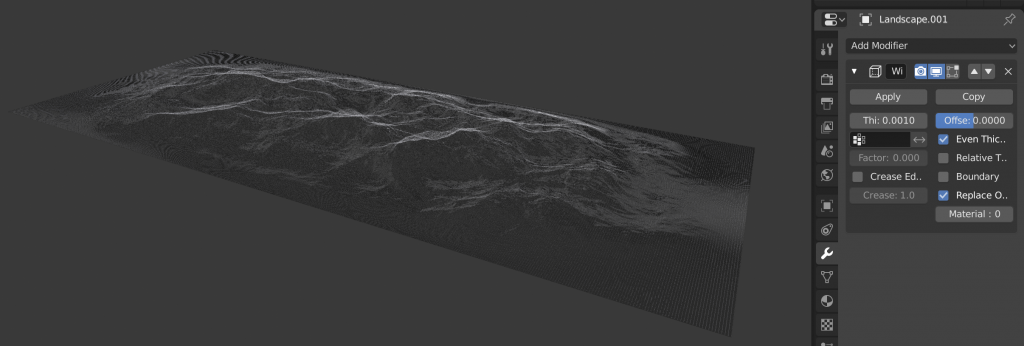
Finally, I used the Blender A.N.T. Landscape add-on with the wireframe modifier to get a cool terrain. I exported the animations as png sequences with a transparent background. Finally, I imported those image sequences into my After Effects file.
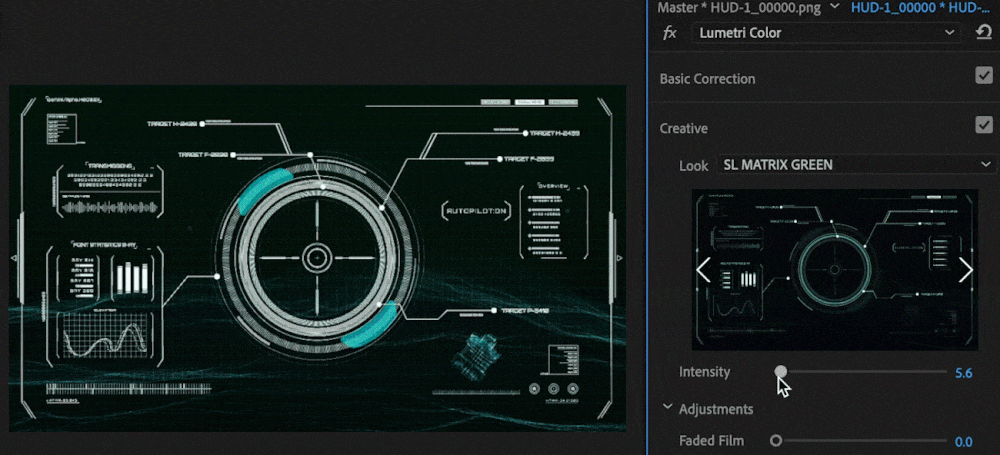
Final touches on the HUD
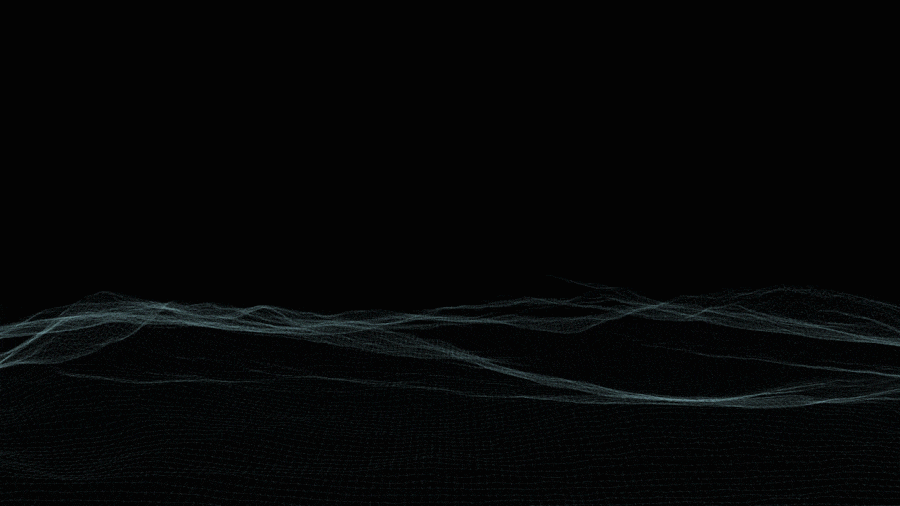
Once I was happy with the After Effects project, I exported it and imported it into Premiere for color correction. I chose the SL Matrix Green preset and played with the curves to increase the contrast.

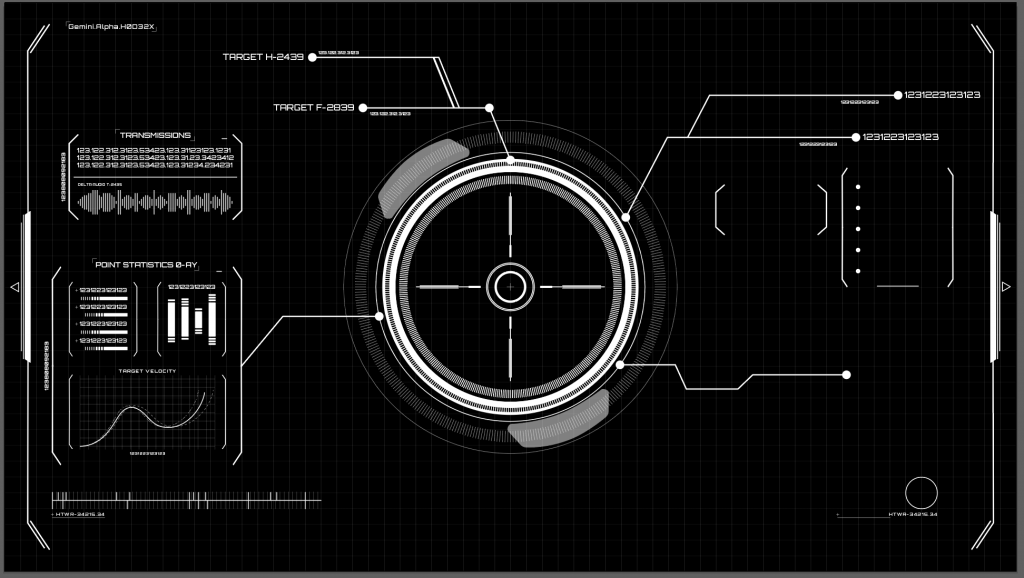
There you have it: the final HUD! I found this to be a fun exercise to incorporate some of the tools and techniques that I’ve been practicing. I’d encourage anyone to go out and see how they can incorporate their skill sets into something outside of their comfort zone. Stay tuned for more experiments to come!