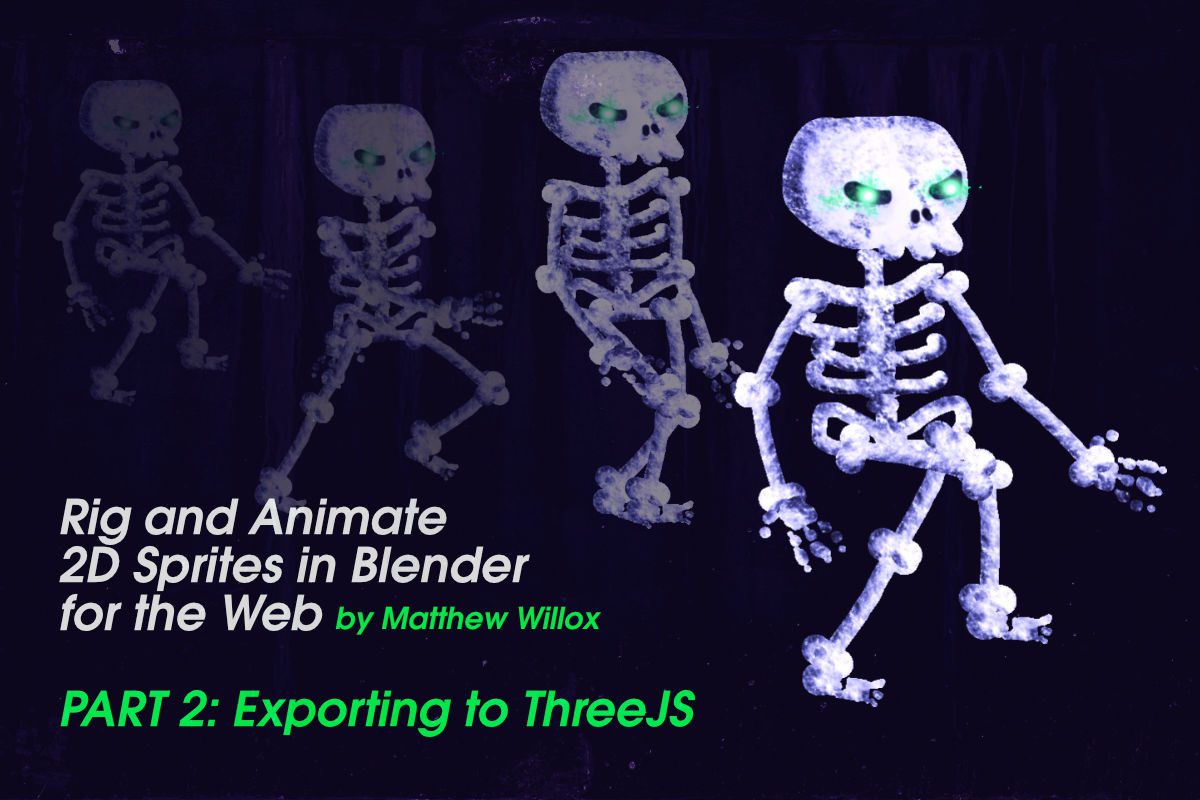
This is Part 2 of 2 of our “Using Blender to Rig and Animate 2D Sprites” tutorial. See part one to get up to speed with what we are creating. In this part, we’re going to be loading our sprite into ThreeJS.
Don’t let the code fool you. This is by far the easiest part. You can also grab the project from github.
Exporting your Animated Mesh
It’s time to export our animated sprite as a GLTF. GLTF stands for “GL Transmission Format.” This transmission format is very exciting for the Web as it is supported by free software like Blender as well as runtime 3D libraries like ThreeJS.
In my opinion, The .GLB extension works best. It embeds the images, is entirely self-contained, and stores all the data in a single binary format that is very compact. The only downside to using .GLB is you cannot share assets like images. Sure you can reassign the images later at runtime, but this wouldn’t be necessary using the .GLTF extension. Pick which format is right for you.
-
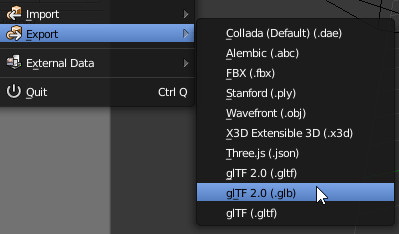
GLB files are completely self contained making them perfect for the web.

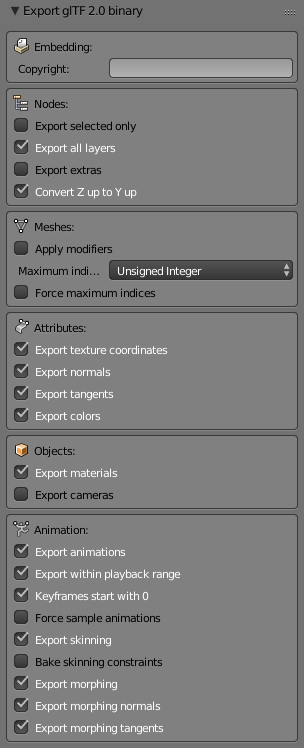
Do a quick check of the export options to see if you have anything special in your mesh that will need to be exported (such as cameras).
Now that you have your GLTF file, let’s load it into ThreeJS and see our animation running in real time.
Set up ThreeJS
- Create a new ThreeJS renderer
let renderer = new THREE.WebGLRenderer({ antialias: false }); - Add a camera with orbit controls
let camera = new THREE.PerspectiveCamera(45, window.innerWidth / window.innerHeight, 0.1, 2000);
camera.position.set( 0, 0, 3 );
let controls = new THREE.OrbitControls(camera);
- Add a scene
let scene = new THREE.Scene();
- Add a clock.
let clock = new THREE.Clock();
- Create a gltf loader.
let loader = new THREE.GLTFLoader();
- Load the GLTF.
let file = "path/to/my.glb";
let loader = new THREE.GLTFLoader();
loader.load(
	file,
	function(gltf) {
	// cycle over materials
	// add gltf.scene to scene
	// setup animations mixer
	},
	function(xhr) {},
	function(error) {	console.log(error);
	}
);
Getting Your Sprite Assigned Correctly
(optional) If your mesh uses lit materials then you will need to add lights to your scene to see it.
The first thing we need to do is find all of the objects in the scene which have a material. When exporting the GLTF from Blender, the materials are given a PBR-based material. We’re animating a 2D sprite and we don’t actually need any 3D lights. We’re going to change the materials for all the objects to use an unlit material.
You can loop over all the objects in the loaded scene with gltf.scene.traverse();
Pass a function into traverse() to test the object for the presence of a material.
gltf.scene.traverse(child => {
   if (child.material) {
   // do stuff to material here
});
As the loop encounters objects with materials applied, we can update those materials to our unlit material.
function(gltf) {
	// cycle over materials
	gltf.scene.traverse(child => {
		if (child.material) {
			let material = new THREE.MeshBasicMaterial();
			material.map = child.material.map;
			material.alphaMap = child.material.map;
			material.alphaTest = 0.5;
			material.skinning = true;
			material.side = THREE.DoubleSide;
			child.material = material;
			child.material.needsUpdate = true;
		}
	});
}
Getting Animations to Run
Add the loaded GLTF scene to the scene you’ve created (scene.add(gltf.scene))
// add gltf.scene to scene
scene.add(gltf.scene);
Create a new THREE.AnimationMixer named mixer
- Loop over the animations and add them to the mixer.
- (optional) if you have multiple animations, you can select which one you want to play here
- Set the animations to play
- Set up render loop to update animations using the clock delta
// setup animations mixer
if (gltf.animations && gltf.animations.length) {
	mixer = new THREE.AnimationMixer(gltf.scene);
		for (var i = 0; i < gltf.animations.length; i++) {
			var animation = gltf.animations[i];
			mixer.clipAction(animation).play();
		}
	}
}
Now you’ll need to add a render function that updates every frame. You’ll also need to advance the animation mixer by one “tick.” Luckily, all of this is super easy.
function animate() {
	requestAnimationFrame(animate);
	controls.update();
	if(mixer){
	   mixer.update(clock.getDelta());
	}
	renderer.render(scene, camera);
}
animate();
Voila! You should see your undead creature animated to life!
That’s it! I know it is a lot of steps to produce a single sprite, but once you’ve done it a few times it becomes a no-brainer. A good approach is to animate a generic sprite layout that can be swapped with different textures to create different characters.
As of this writing, the GLTF exporter from Khronos doesn’t support exporting multiple animations per file. This is a known limitation and this functionality is in development. There are other Blender GLTF exporters that do support multiple animations, like the Kupoman GLTF exporter, but some of the instructions here may not work.
Feel free to leave any comments or questions. If you find bugs in the repository I have provided please add those issues/bugs there.
Go forth and raise your undead minions!