I saw some Blender Grease Pencil animations by Dedouze and got inspired by what the tool seemed to offer. The Grease Pencil tool is like a typical drawing tool made for Blender. It allows you to draw in 3D space as well as make and play animations in real-time. Pretty neat right? The closest thing I can compare it to is one of those 3D pens that lets you “draw” in a 3D space.
After I saw Dedouze’s work, I wanted to get a better understanding of the tool myself. On top of that, I wanted to see how far I could push myself to create complex scenes within this different medium.
Making Scenes in 3D
Sketching Out Ideas
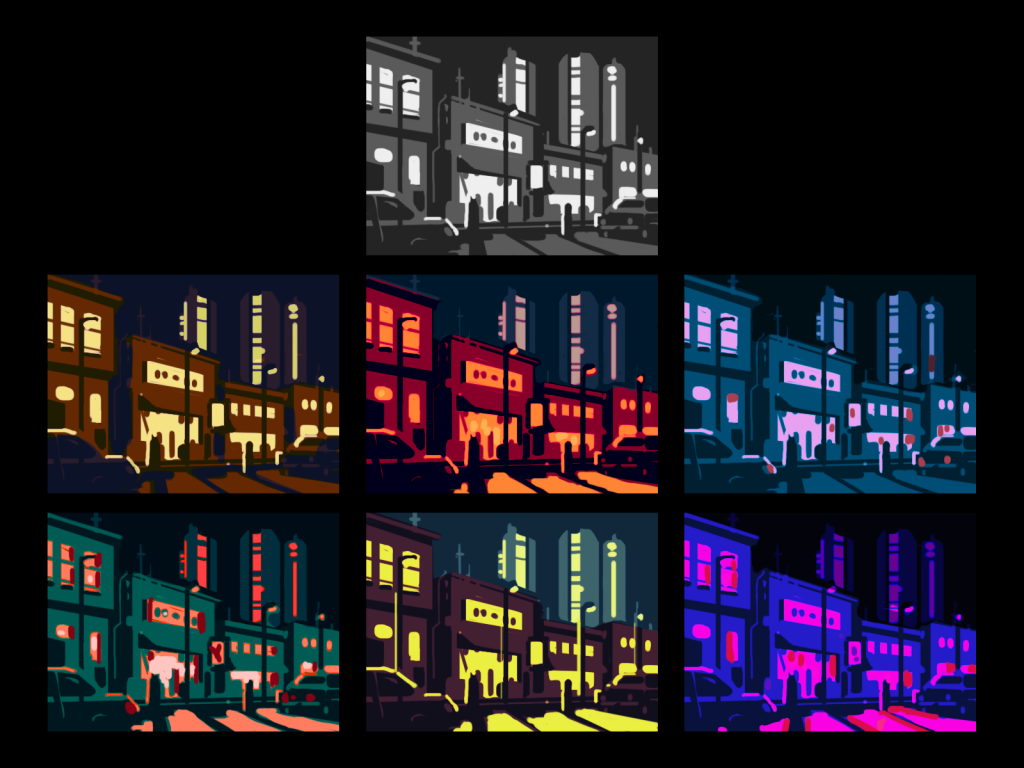
Before jumping into Blender, I sketched out ideas related to complex urban environments. This helped to pin down a direction to go in. I wanted to start ambitious by making these illustration ideas detailed and complex. I did this to see how a highly detailed Grease Pencil scene in Blender would perform on my laptop.
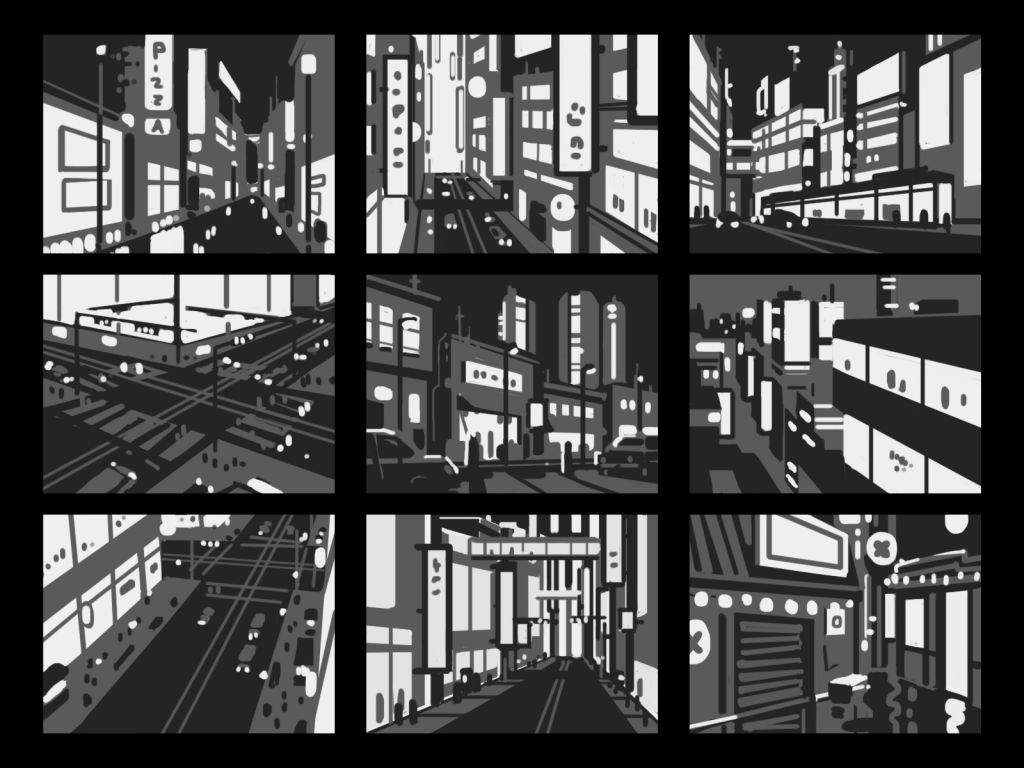
From there, I chose the sketch in the center which was inspired by some of the streets I saw while visiting Buenos Aires. Once I had settled on an idea, I started working on a color palette for the illustration.
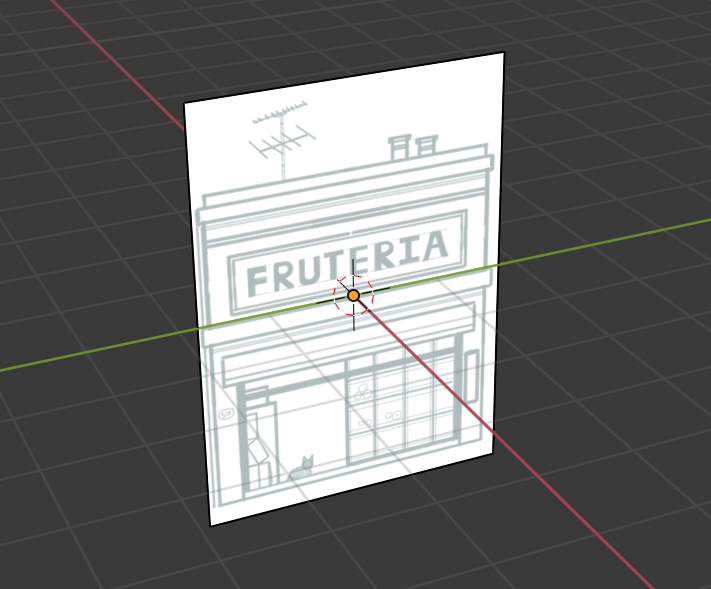
Next, I made some reference drawings. This would make modelling and drawing in 3D space easier to do.

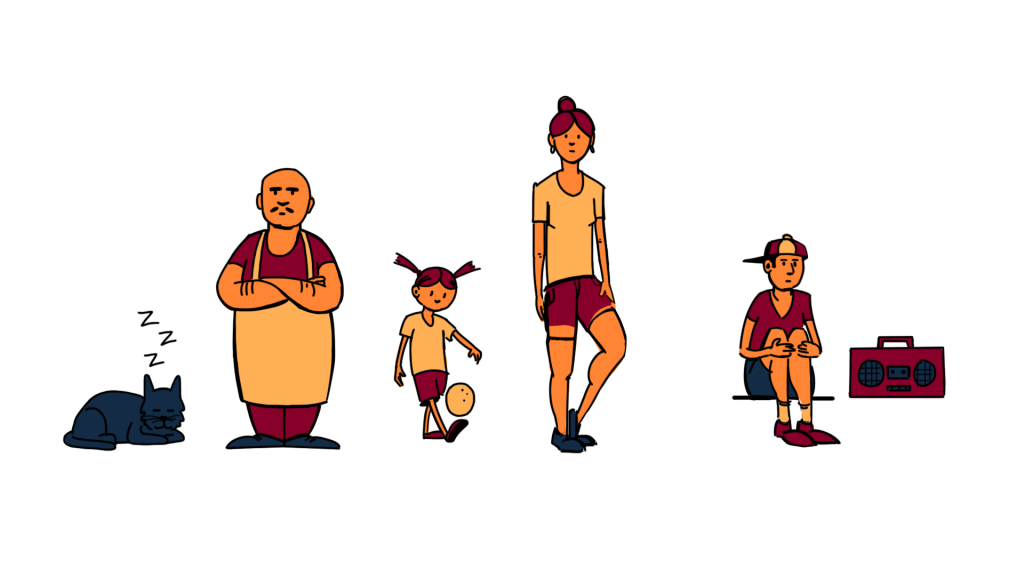
Finally, I created some character designs to populate the scene. These characters would also give me the opportunity to try out Blender’s Grease Pencil Animation tools.
Using Grease Pencil in Blender
Once I had a plan on what I wanted to make, I imported my reference drawings into Blender.
I decided to first block out my buildings in 3D first so that I could get a better sense of the depth and proportions.
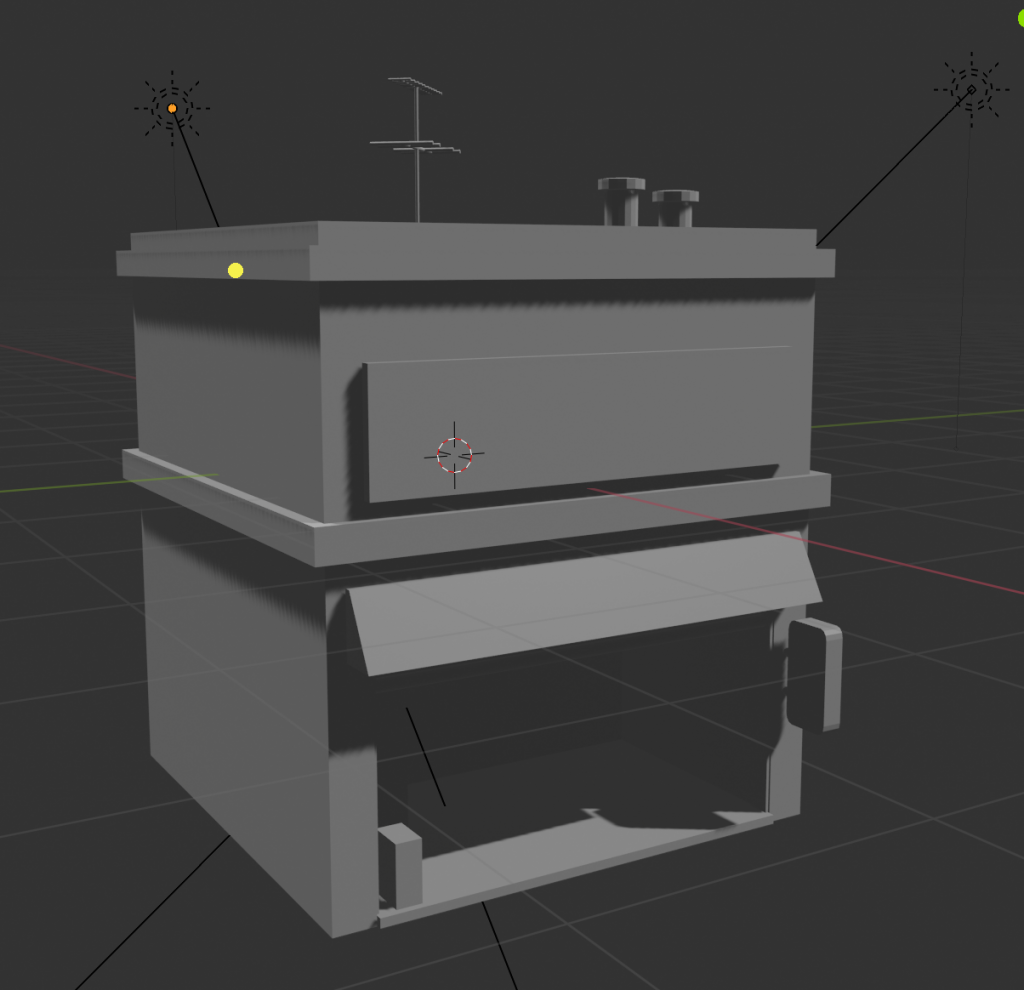
Using the completed mesh as my template, I traced over the object to create my linework.
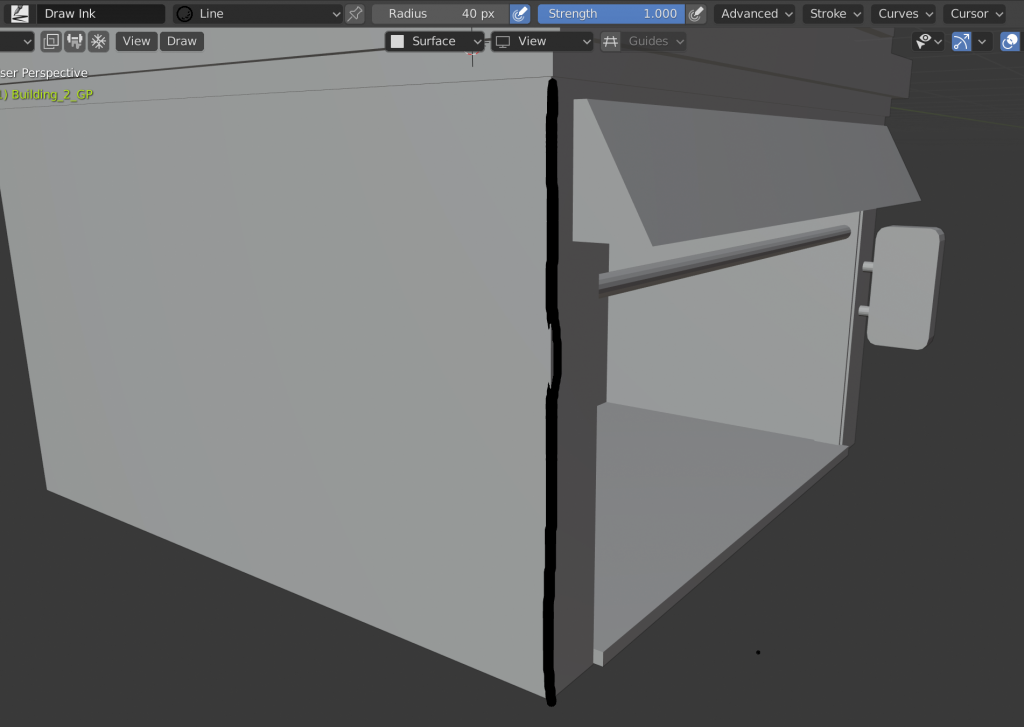
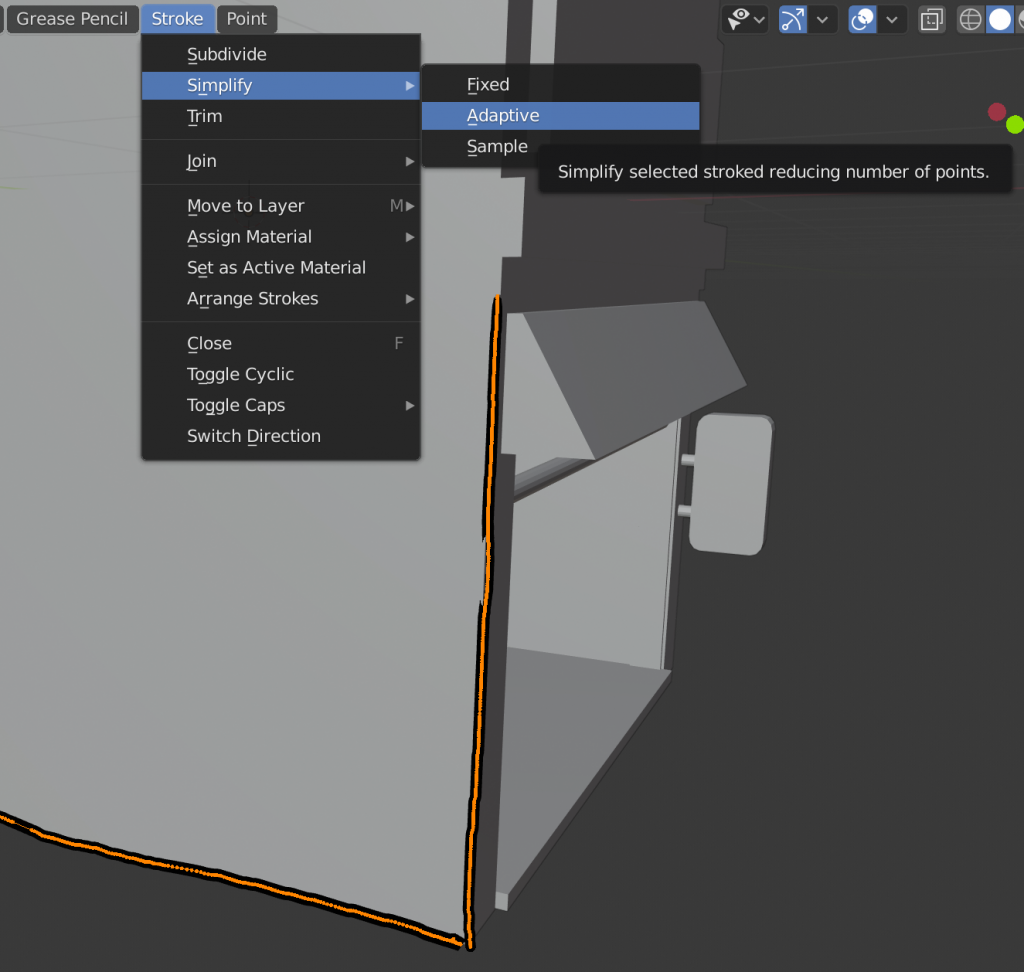
Here’s where I hit a bit of a speed bump: the more details I added, the significantly laggier my Blender file became. Each stroke is made of many individual points that when combined, create a very bloated file. I found myself having to simplify strokes often to keep the file manageable.
I found the actual process of using Grease Pencil simple and straightforward. What I found especially important when using the Grease Pencil was layer management. It’s important to make sure that all the layers overlap correctly to maintain the illusion of a 3D object. That means lots of layers and good layer names so you know how all the layers overlap in 3D.
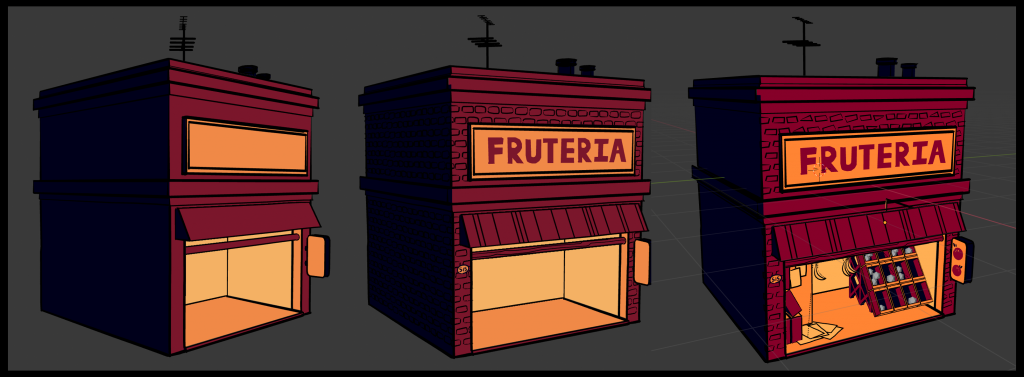
Once I had completed the first building, I was surprised at how long it took me to make. Keeping track of the file size and organizing layers surprisingly took a lot of time. So to save time, I decided to reuse elements from the first building I made to create my other two buildings.
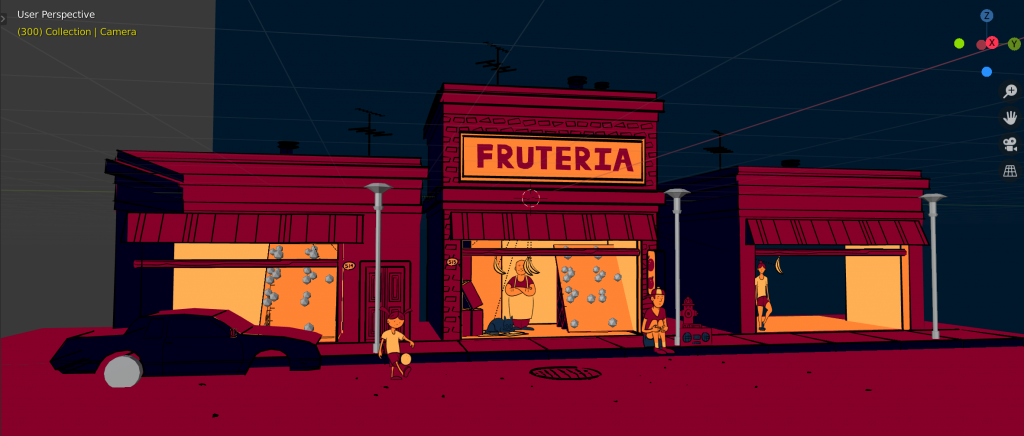
After many more hours, I finally finished all the extra details and had placed them all in one scene. When I had combined all my objects together in one file, again, I found the limitations of Grease Pencil. With all the objects visible in the scene, the file became virtually unusable with lag. A workaround I ended up using was that I would hide any object I wasn’t working on in the Viewport. This made the file much faster to work with, but it also made it difficult to see how everything in the looked together without rendering anything.
Adding Animation
At this point I was in the homestretch and wanted to add some more detail with animation. I find Blender’s frame-by-frame animation process to be straightforward, especially with the onion skin tool.
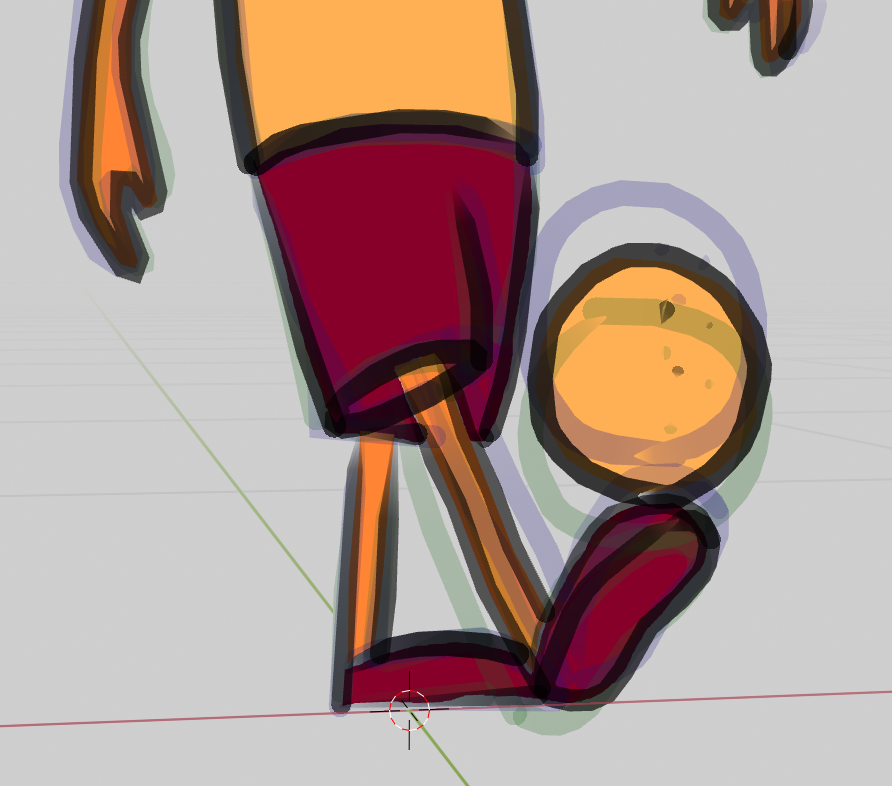
An added bonus is that you get to see what your flat animations look like at different depths and angles. I could see Grease Pencil being a very good tool for creating parallax effects.
Final Thoughts on Grease Pencil
I like the idea of Grease Pencil and how similar it feels to creating an illustration in Photoshop. The ability to use 3D space to create a drawing opens up a world of possibilities and this tool shows a lot of potential. Unfortunately, the performance issues detracted from my experience. Still, I look forward to seeing how this unique feature evolves in the years to come and what others will make of it.
Beautiful work. Thanks for the article.
That’s so cool. Thank you for sharing, and explaining the issues you ran into or that one may run into with the file sizes and layer organization.
I spent a good chunk of change on Pencil+ plug-in for Maya, but it’s not really that good. I’m going to give Blender a try, and if that fails, I’ll continue researching. Maya just doesn’t seem to be very good at getting lineart output.
The Smart Blenders are so nice. Also i follow https://smarthomeflix.com/ to get latest technology products.