Recently I saw this video explaining all 80+ Blender material nodes on my YouTube homepage. Naturally, I watched the video and one of the nodes, in particular, caught my attention: the Shader to RGB Node.
As it turns out, this node is great for toon shading and it’s really easy to use! Below are some quick instructions on how to get started and some ideas of what you can do with it.
The Node
So what exactly is this mysterious node that only works in Eevee? As the Blender manual puts it:
“The Shader to RGB node is typically used for non-photorealistic rendering, to apply additional effects on the output of BSDFs.”
To achieve this non-photorealistic effect, we’ll take out our trusty teapot model and open up the shader panel.
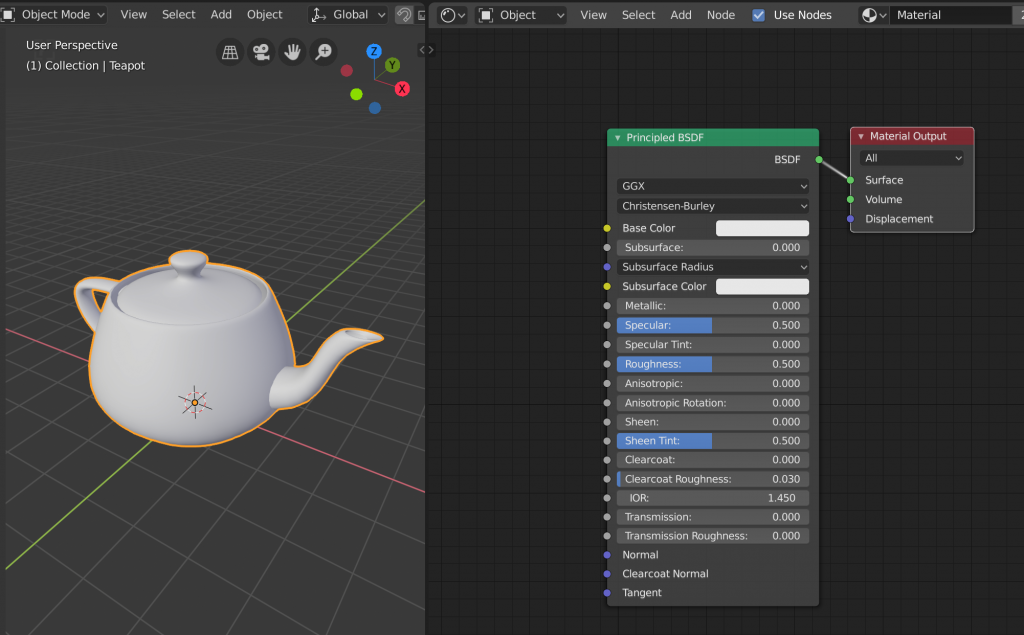
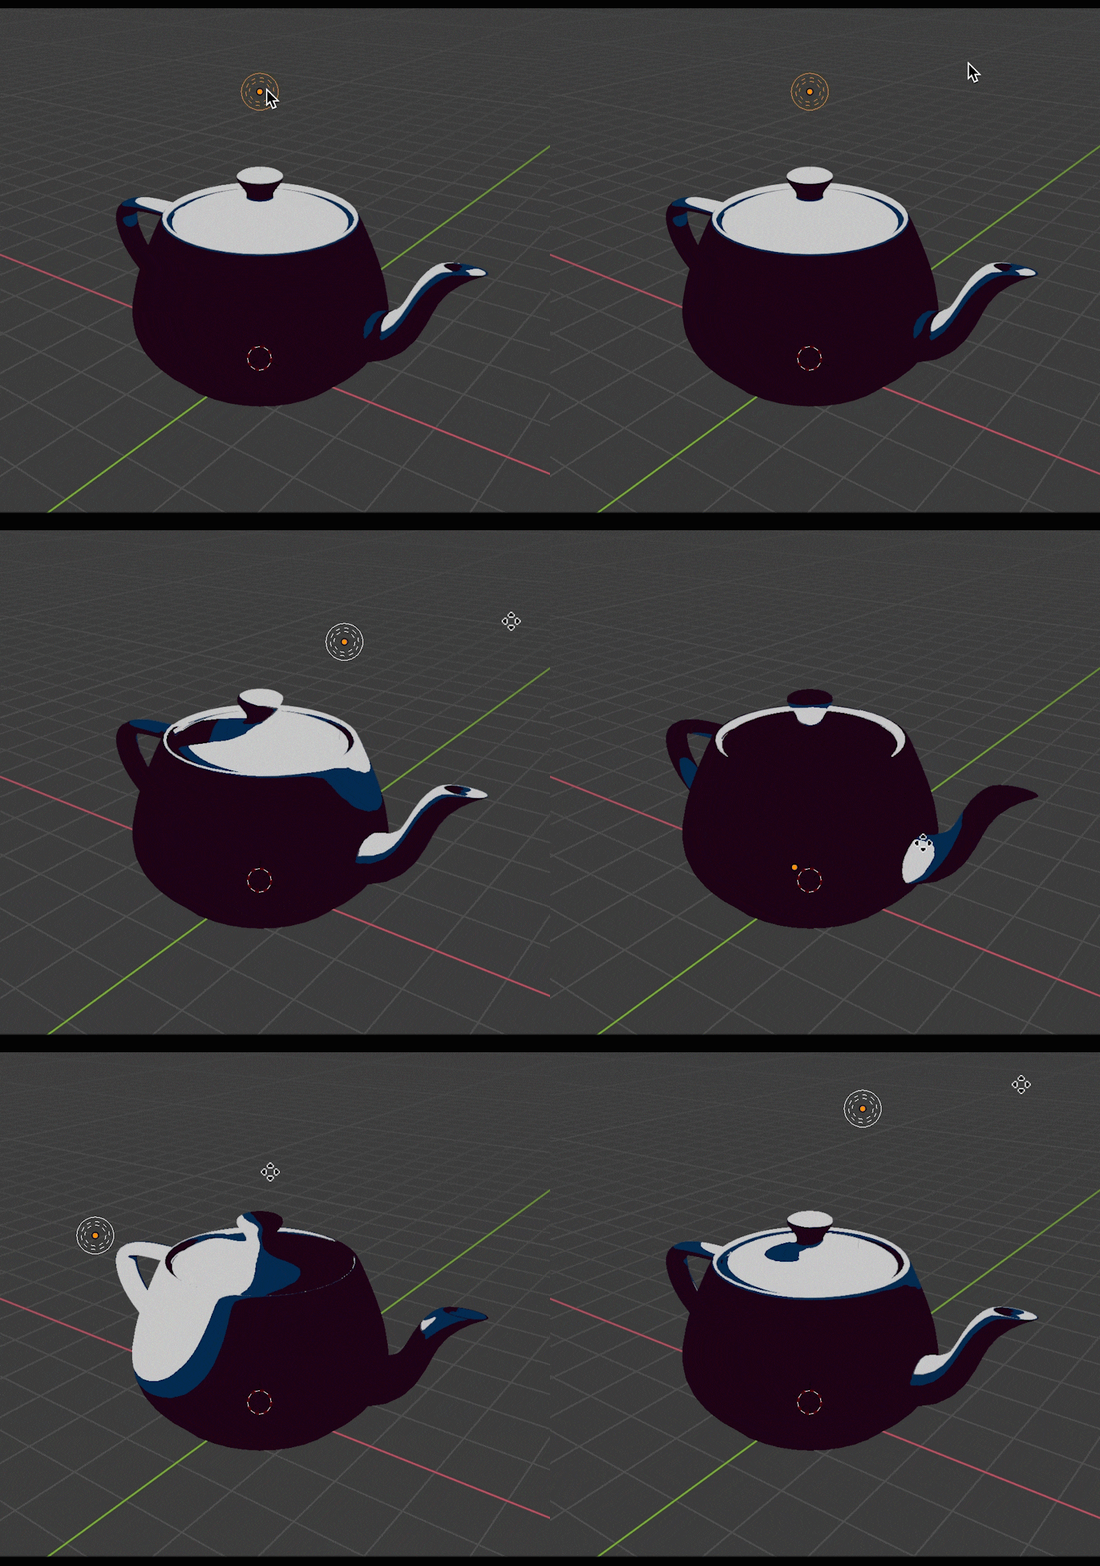
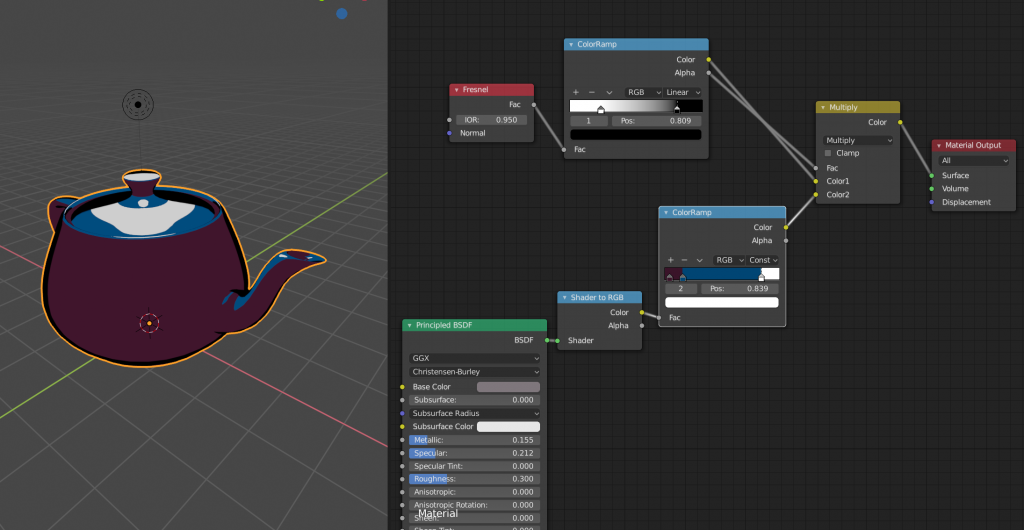
Next, add a Shader to RGB node and a ColorRamp node and attach it like so.
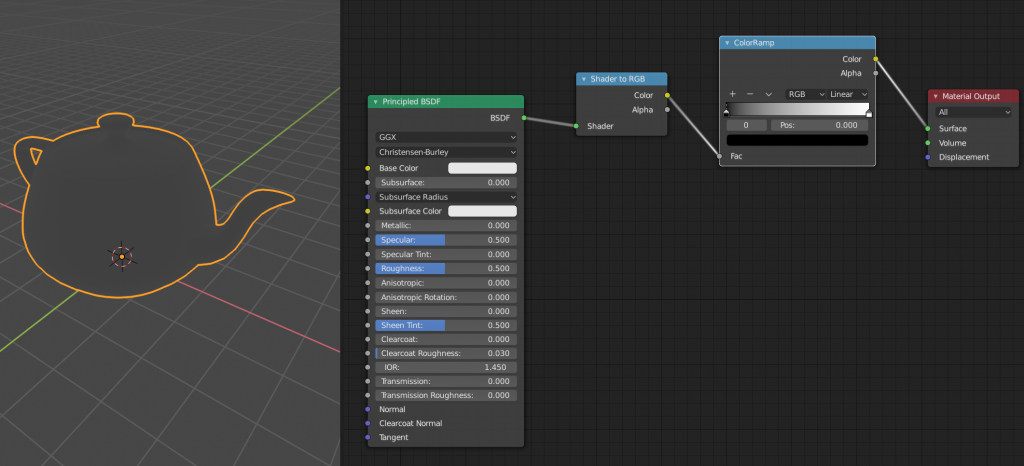
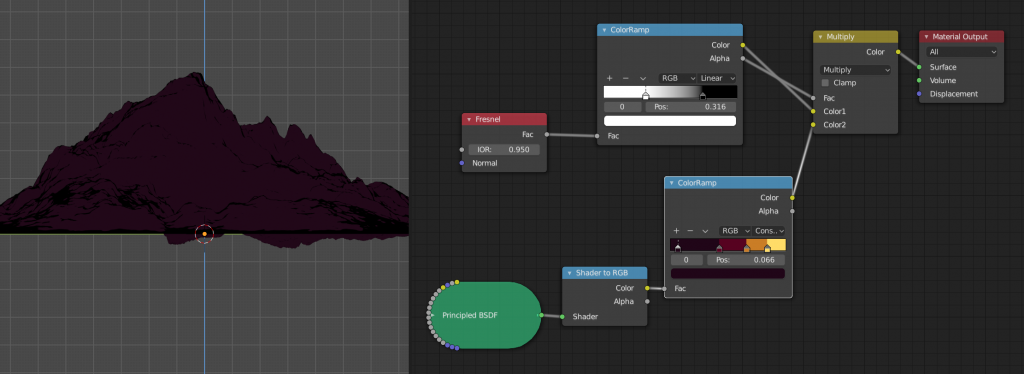
The ColorRamp node determines the final color output that will be projected on the model. By changing the interpolation between its color stops from Linear to Constant, you can achieve sharp shading edges between each color.
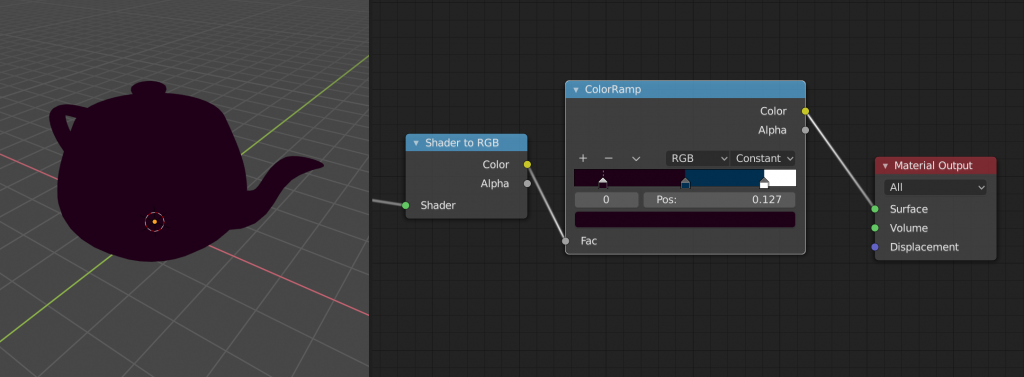
What’s great about the ColorRamp is that you can add as many colors as you want.
You can also add a black outline around your model by plugging in a Fresnel node to a ColorRamp node. Next, combine those nodes to your previous nodes with a MixRGB node set to Multiply.
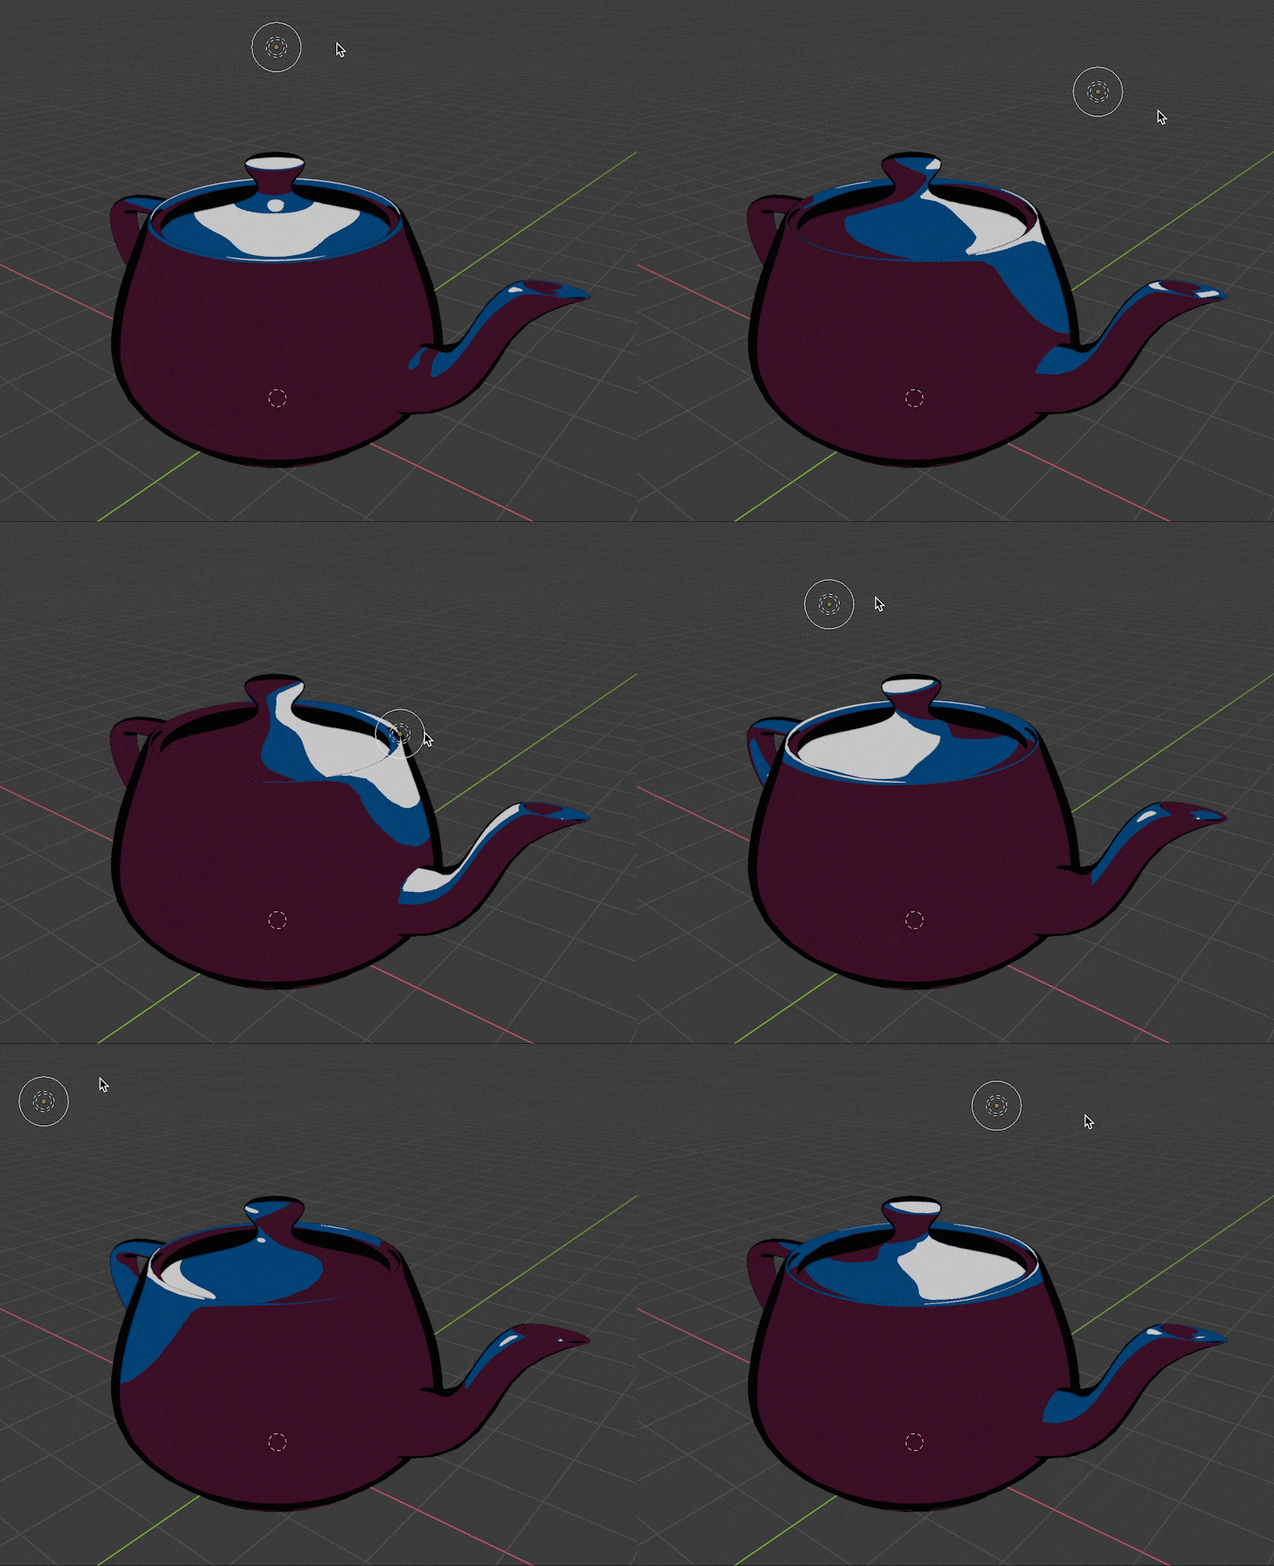
For added detail, you can add extra textures to your models by first UV unwrapping it. For this example, I just added some dot texture in Photoshop which looked like this:
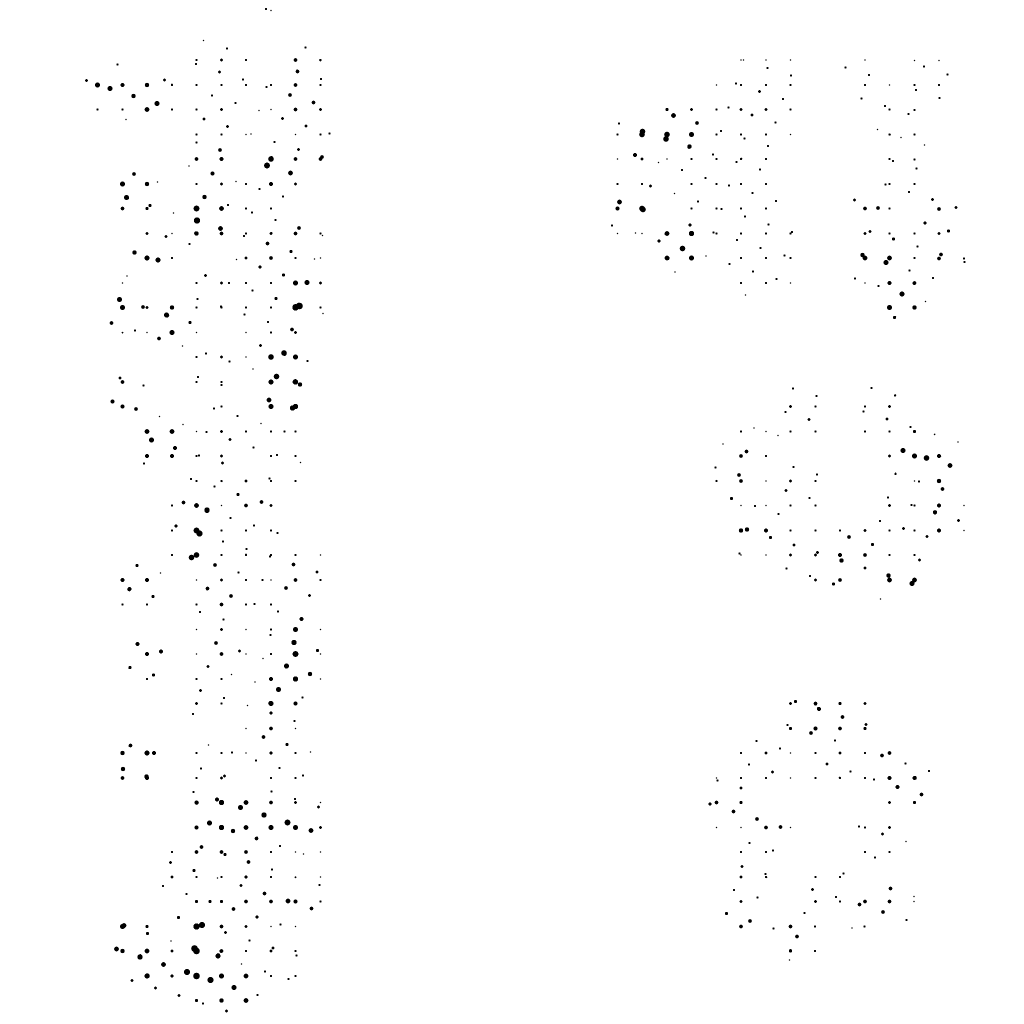
You can plug in your texture to the previous nodes using an Image Texture node and combine it with another MixRGB node set to Multiply.
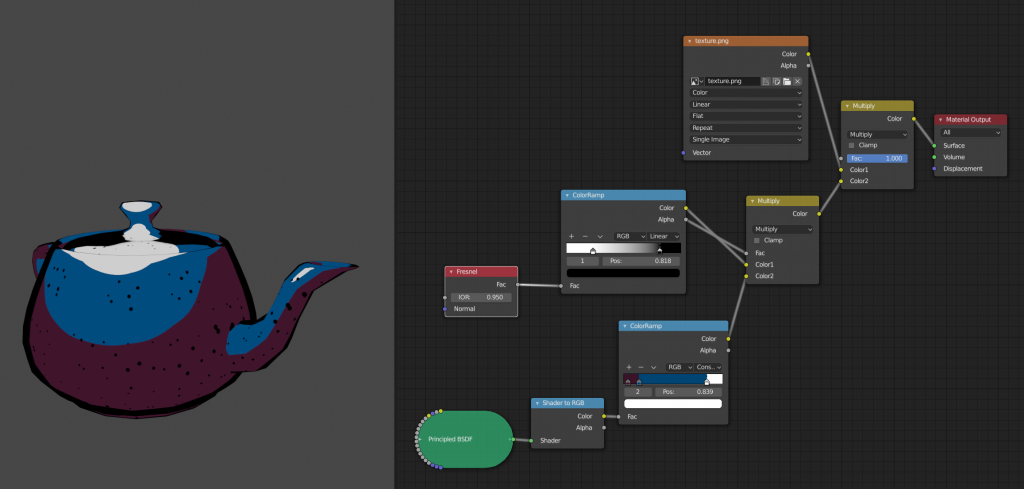
There you have it! Simple toon shading that only takes a couple of minutes to set up.
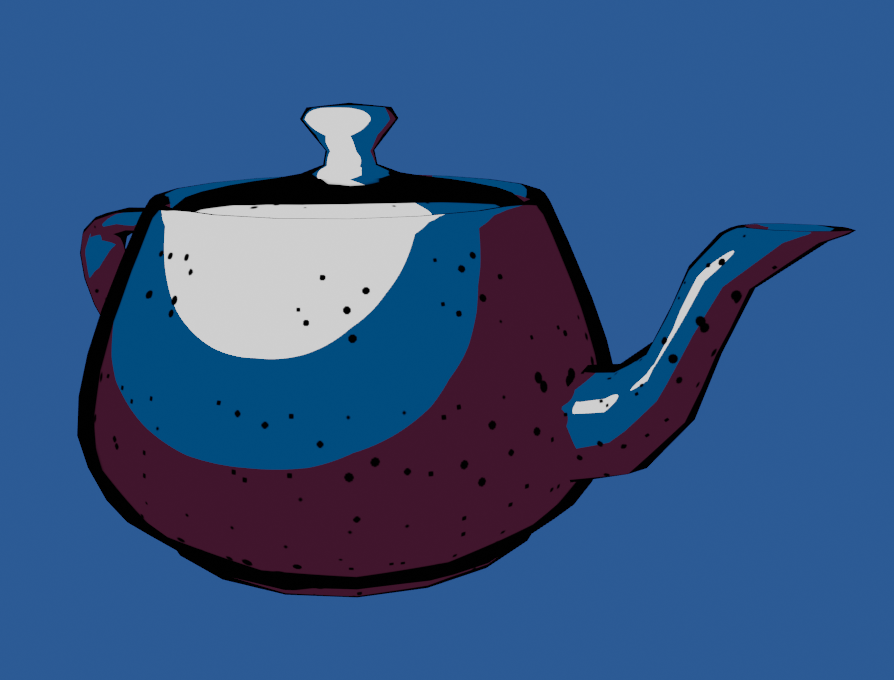
Beyond Teapots
Once you’ve mastered the teapot, it’s time to see what other cool things you can achieve using the Shader to RGB node.
Animating Lights
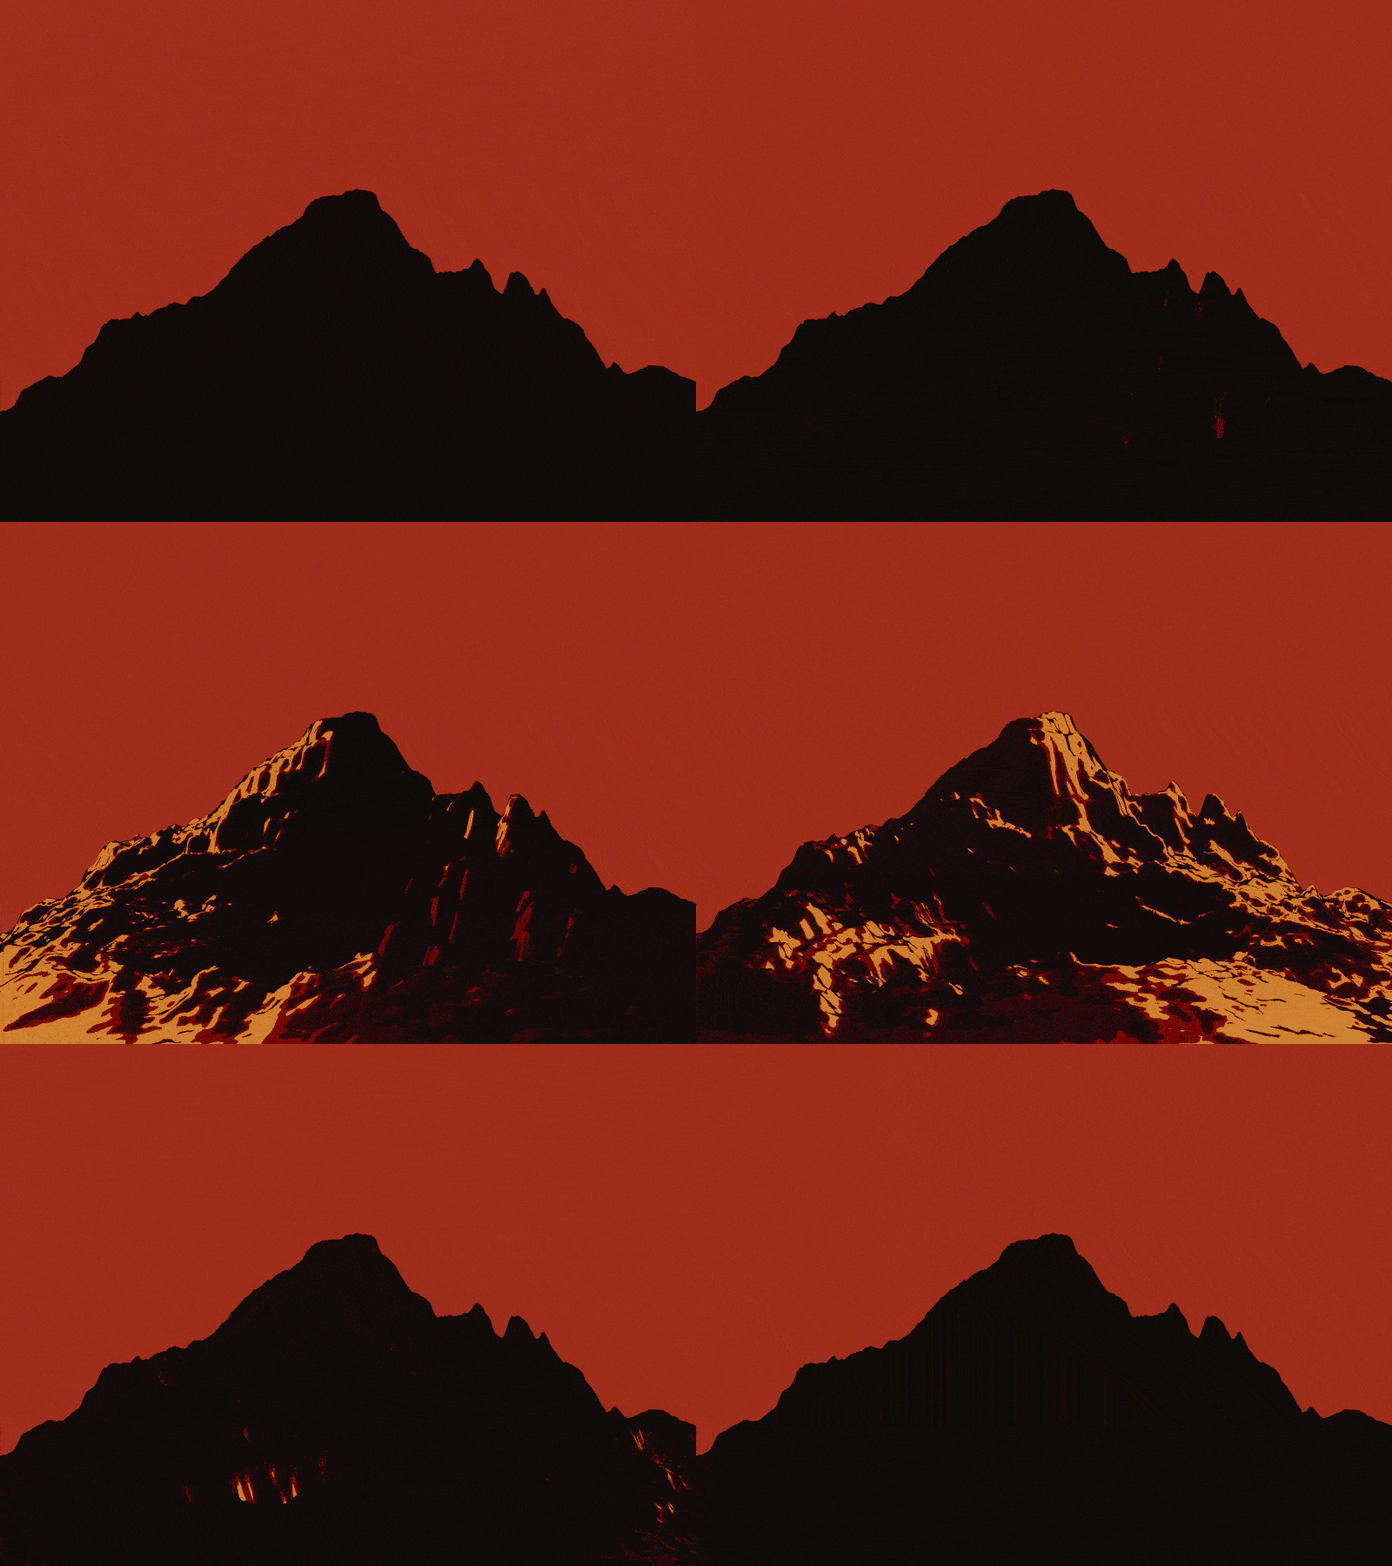
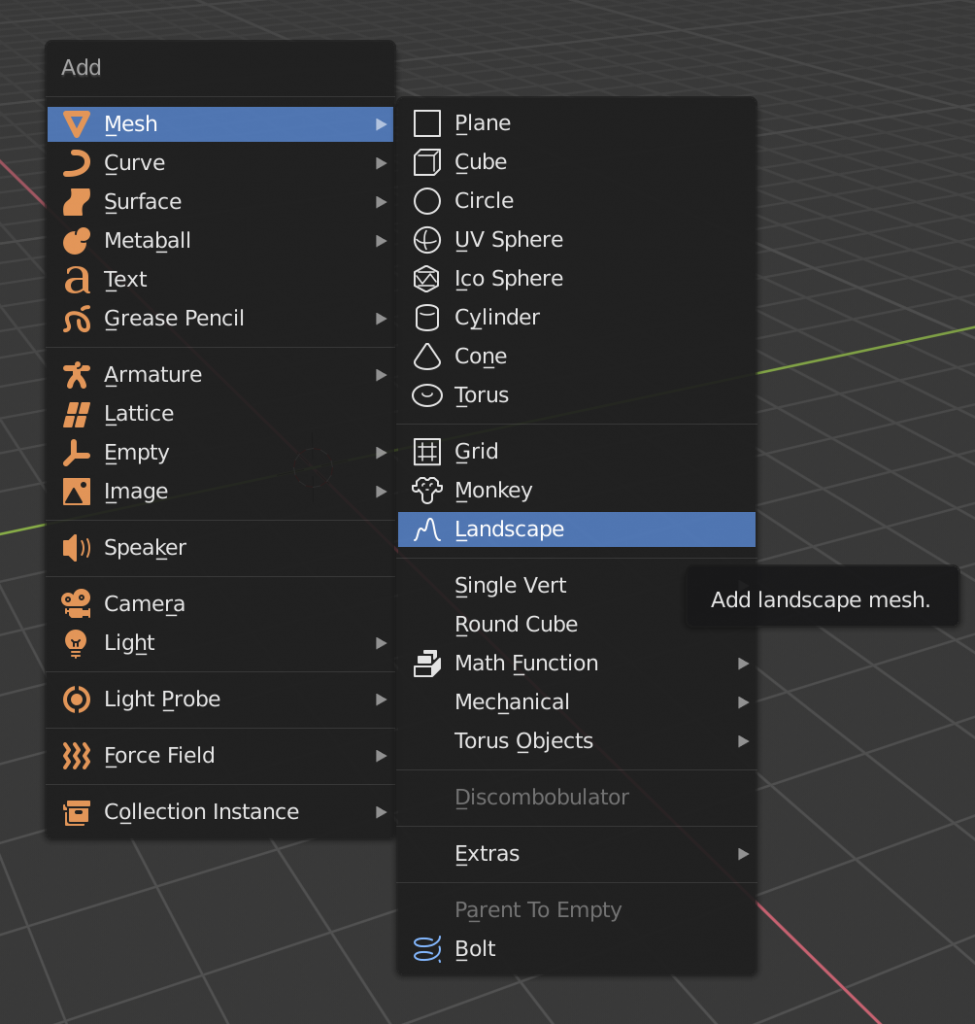
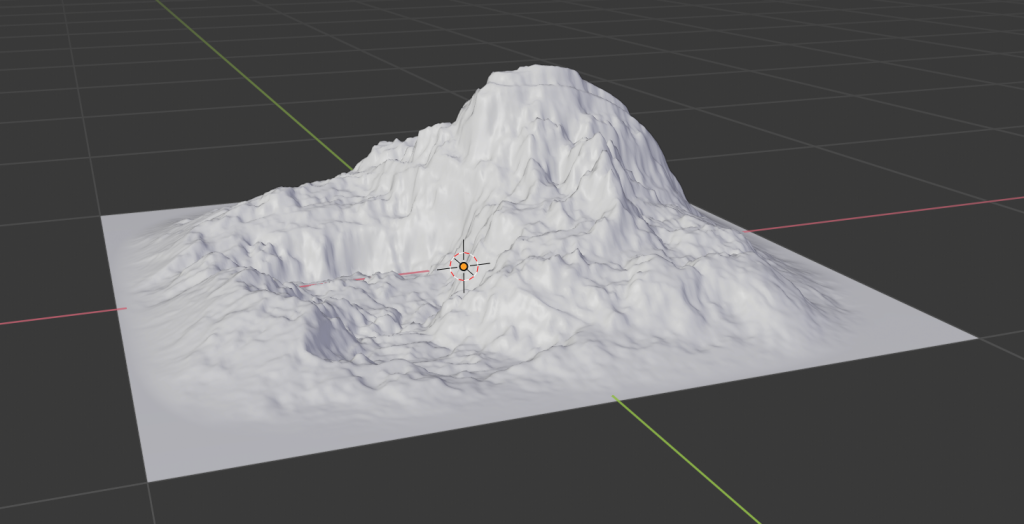
Moving lights around your objects can lead to interesting effects. For this scene, I created a landscape mesh using the ANT landscape add on.
Next, I added the Nodes and chose a warm color palette.
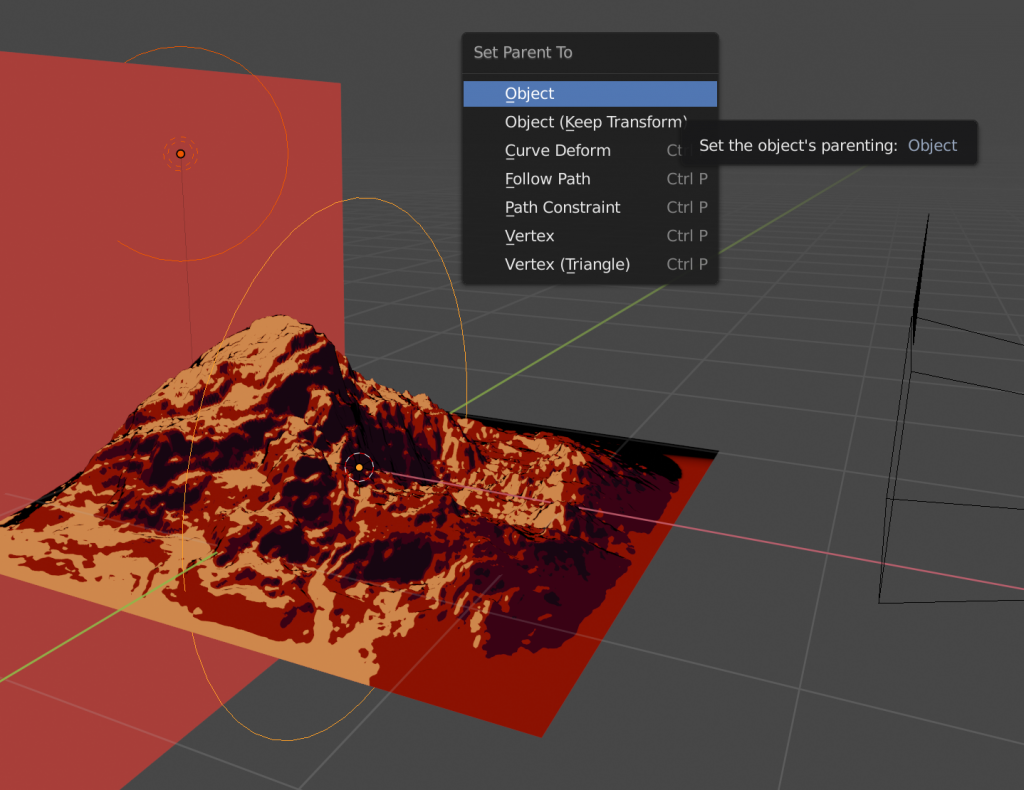
Then I added a camera and background plane with a simple emission material assigned to it. To animate the light, I made a basic point light the child to a circle curve and had the curve animate 360 degrees.
Animating Particles
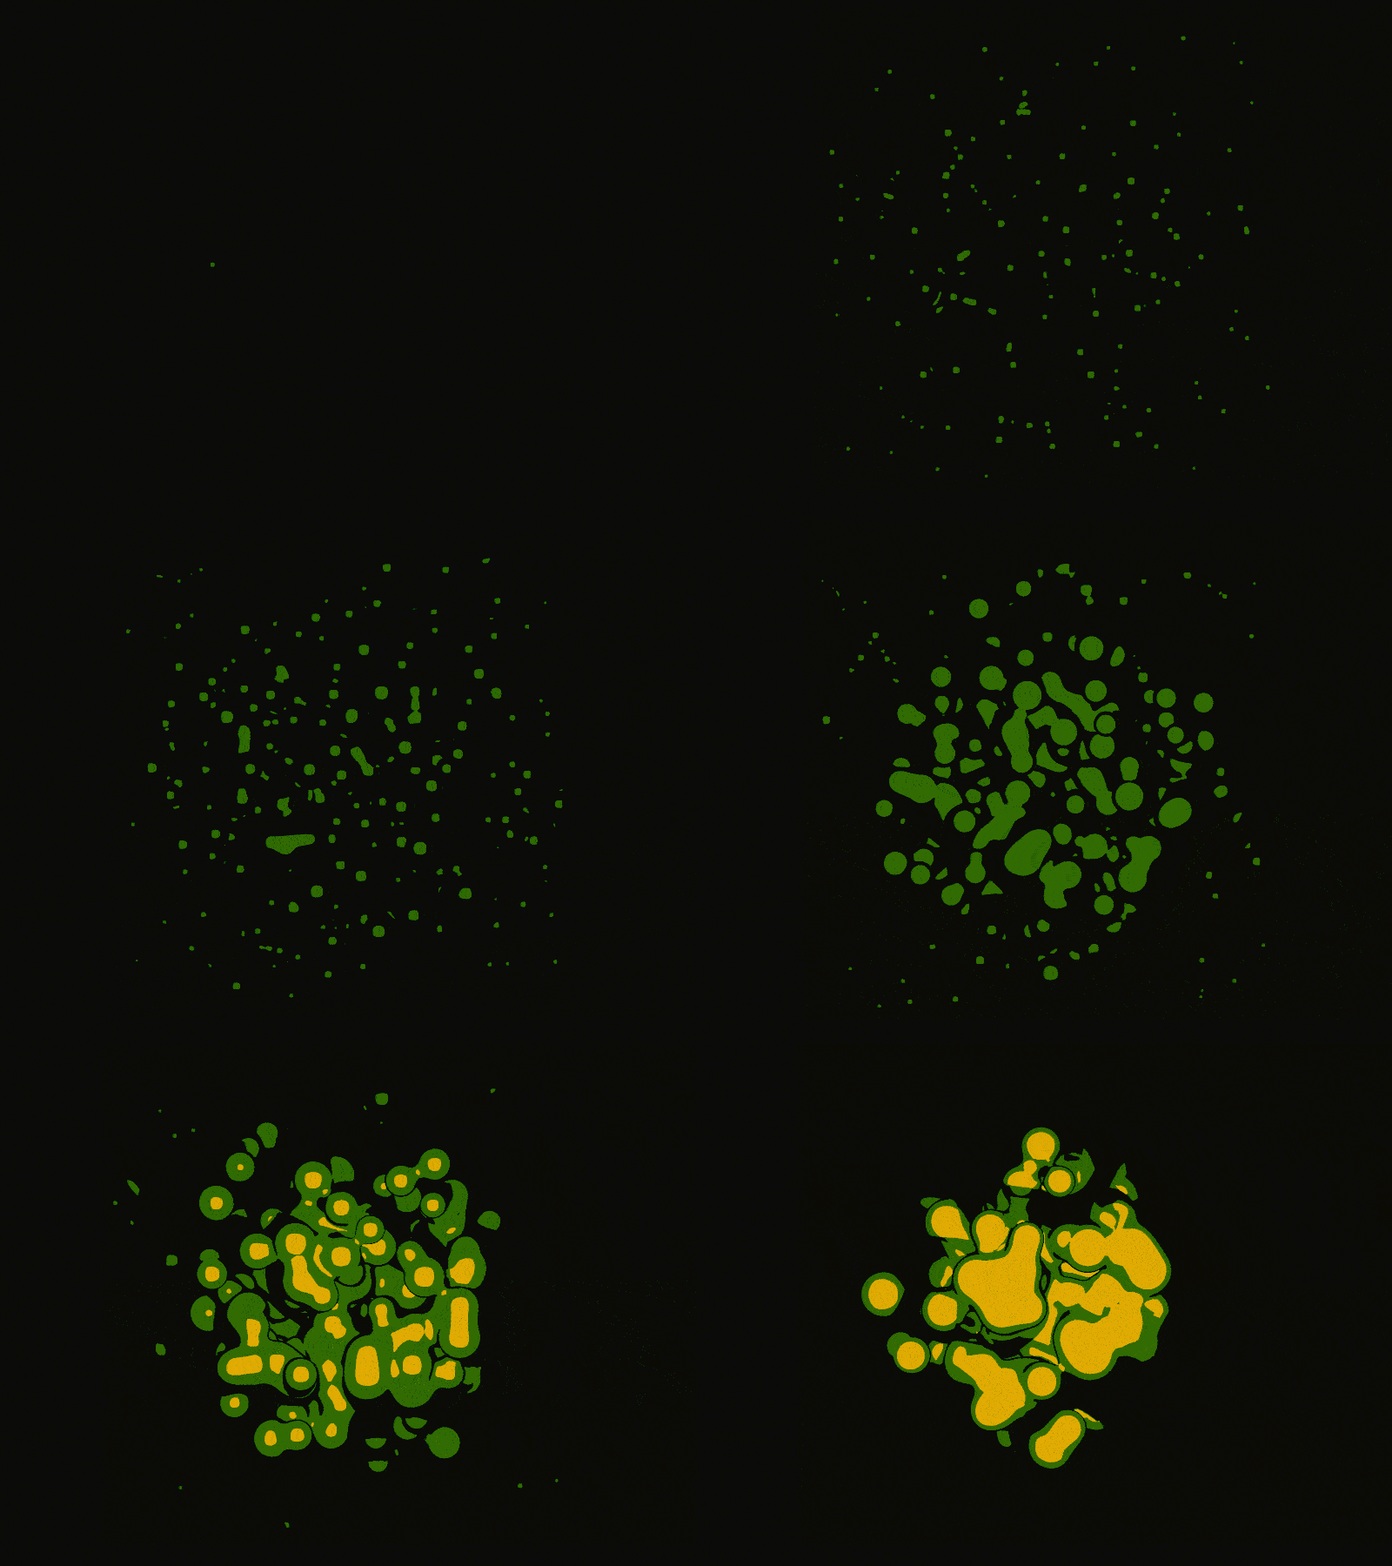
Something else to play around with is the particle system in Blender. For this scene, I added my toon material to a metaball and created a particle system using the metaball as the particle object.
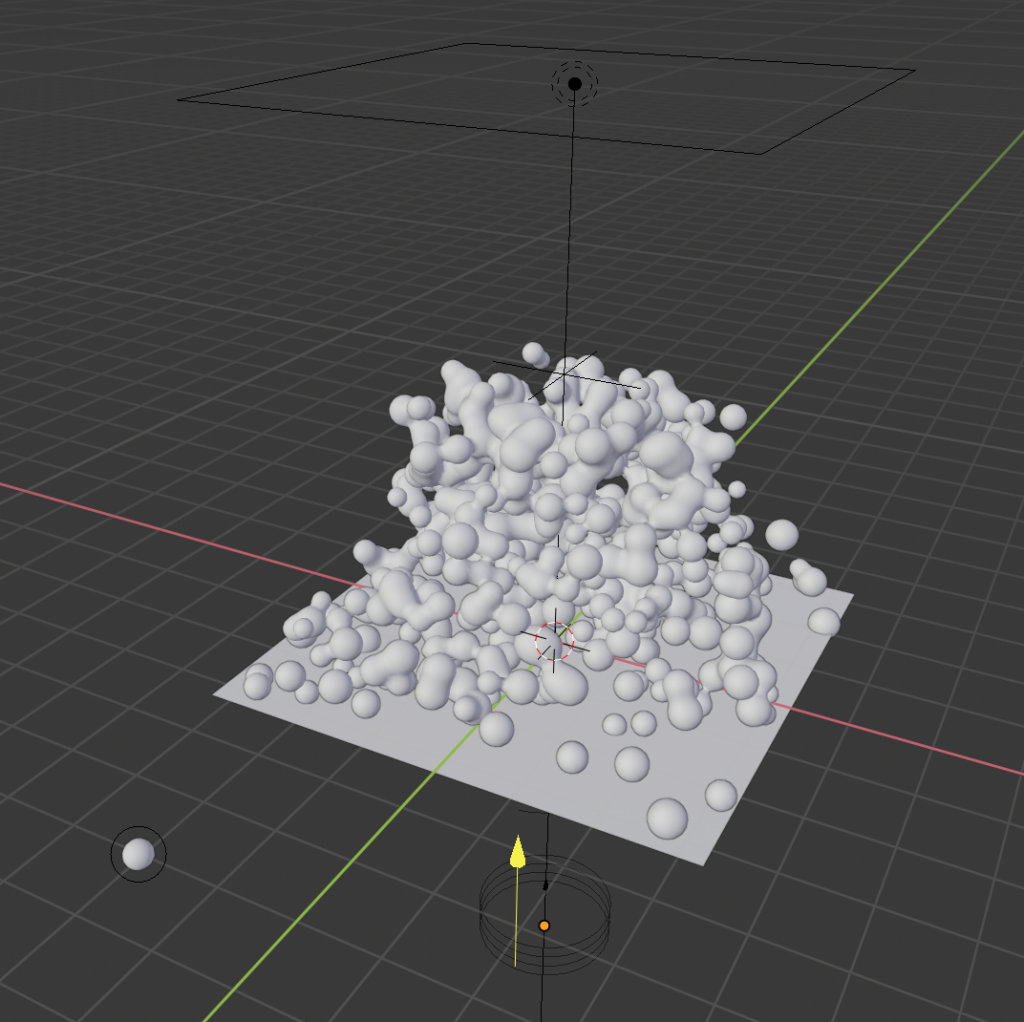
From that, I added wind, vortex, and turbulence force fields to manipulate the movement of the particles. Finally, I added an area light above the particles. For particle scenes, I also like to turn off the Gravity checkbox in the Scene panel.
Animating Waves
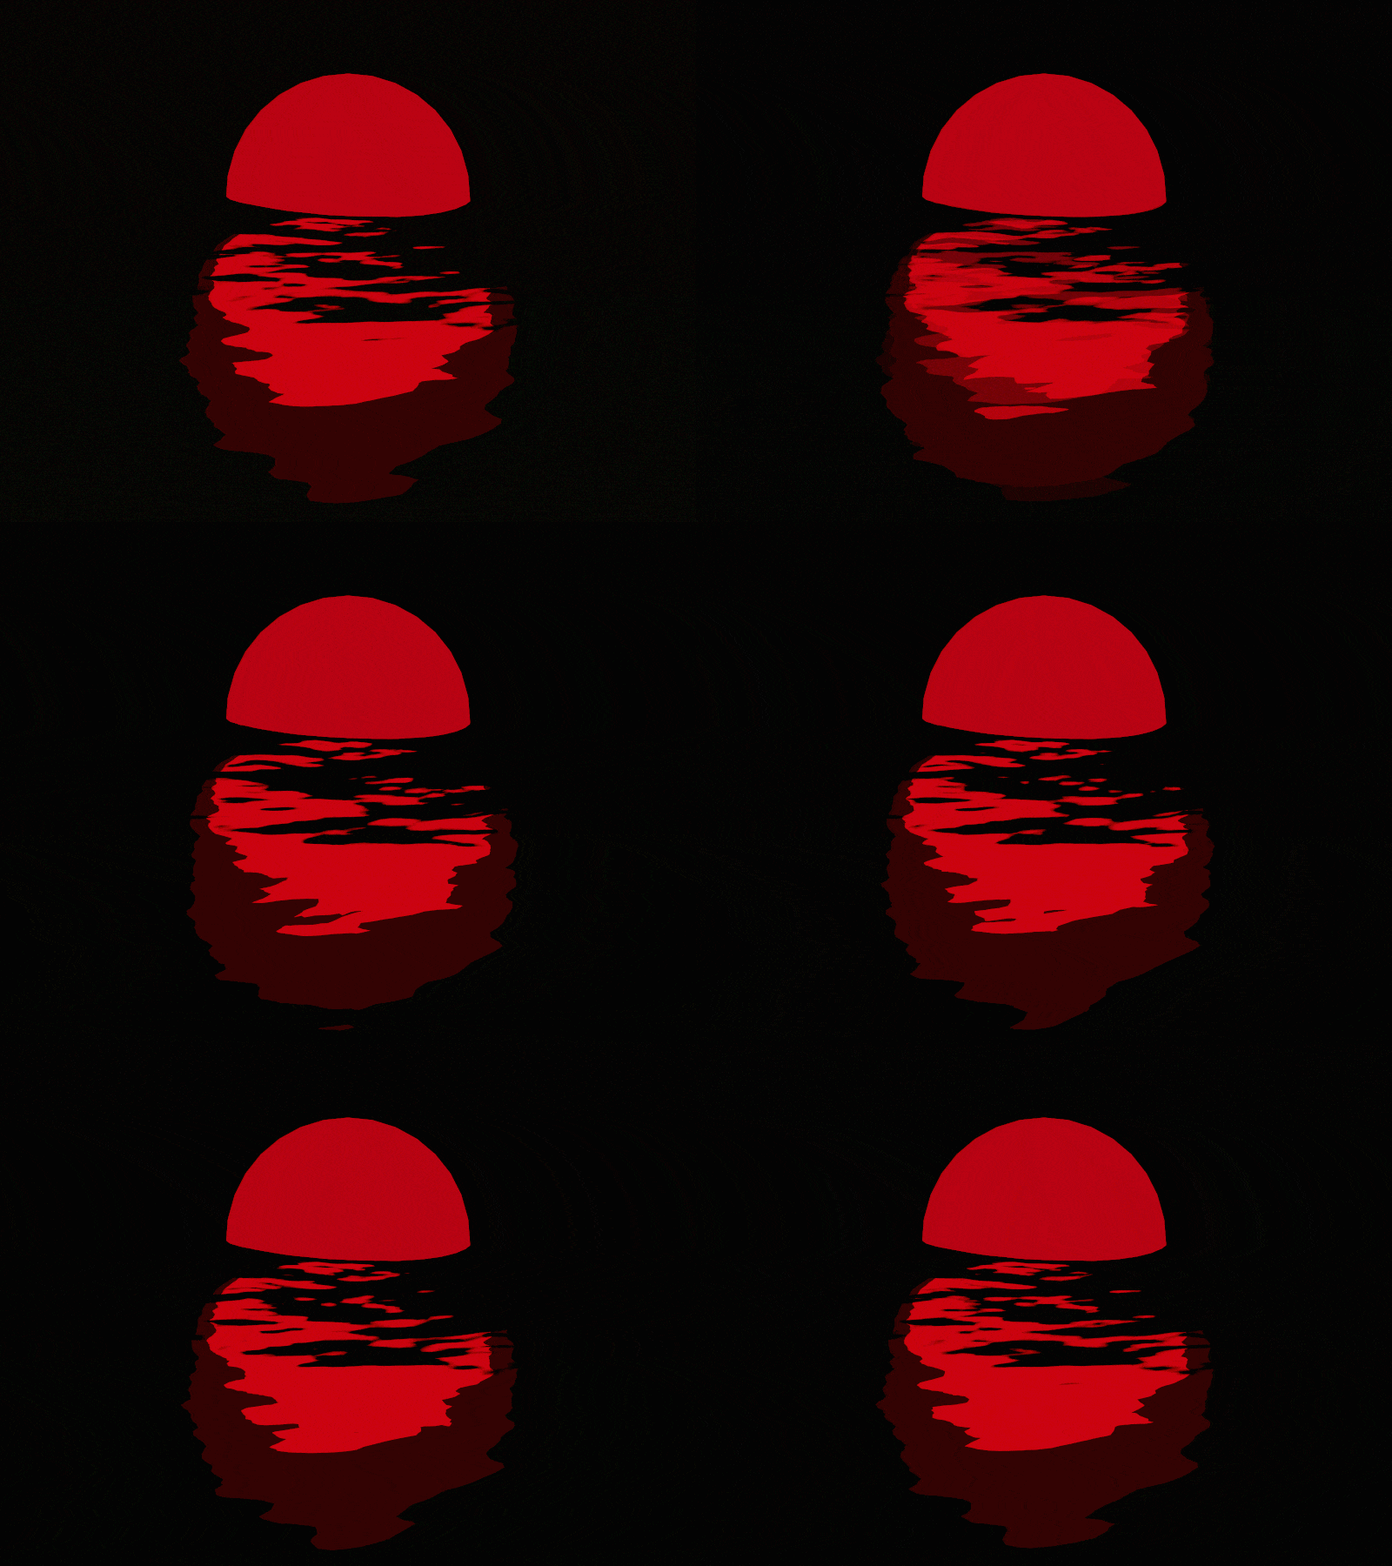
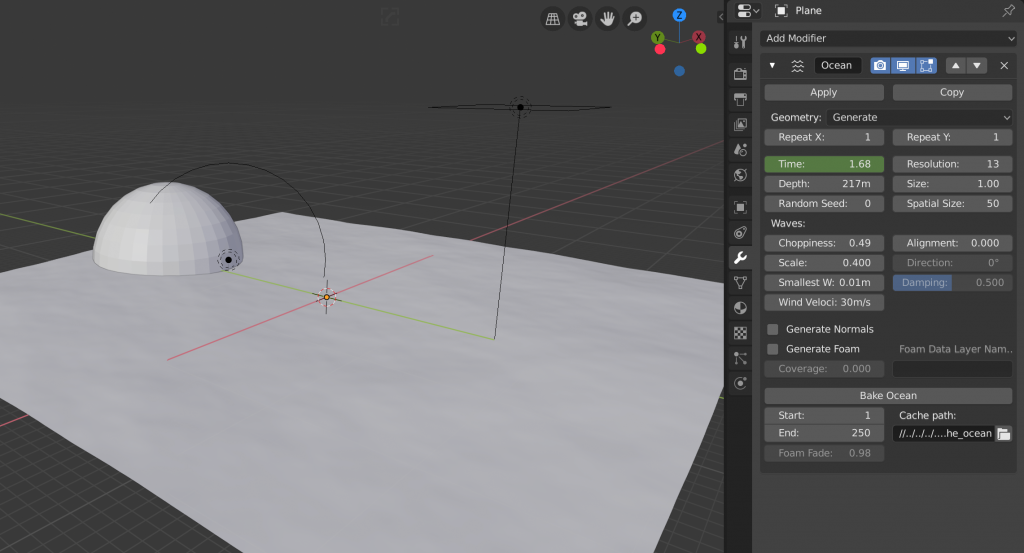
Another easy thing to animate are waves in Blender. Here I added an Ocean modifier to a plane mesh and animated the Time parameter. Next, I added a sphere with an emission shader and two lights to create a reflection.
Animating the ColorRamp Node
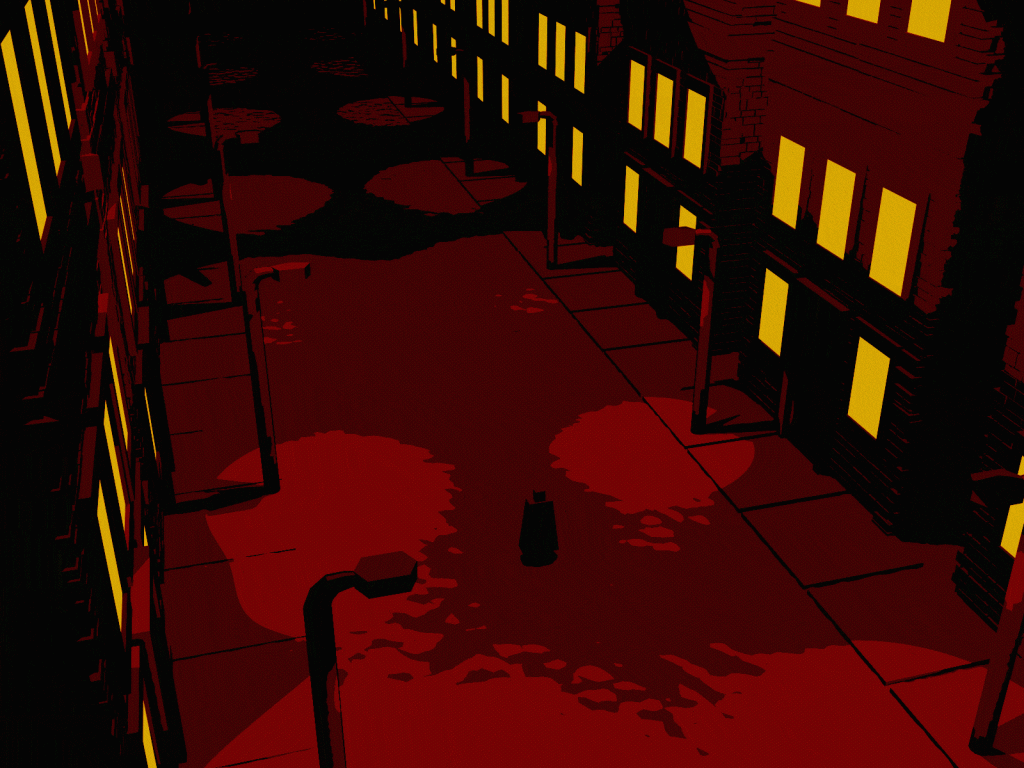
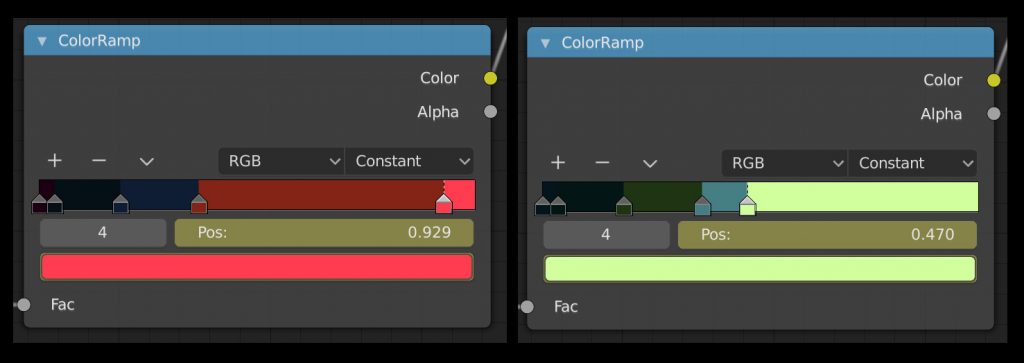
For this scene, the ColorRamp points were animated to create a color-shifting effect. What’s great about the Color Ramp is that you can animate both the position of each color stop, as well as its hue.
There’s a lot that can be explored with the Shader to RGB Node and I hope to see more people learn about it and use it to its fullest potential. Happy shading!

Hi!
Thank you for the nice explanations and examples!
Looking forward to try them out myself!
That’s great to hear Renier! I hope you’ll share your results
Mind Blowing, didn’t knew this stuff was possible in Blender