I’ve been recently learning Cinema 4D Lite in my professional development time at gskinner and comparing it to Blender 2.8. After having spent time in both pieces of software, I wanted to share the pros and cons of using these 3D tools. So here is what I know you’ve all been waiting for: the C4D Lite vs. Blender Battle of 2020!
Battle of the Software!
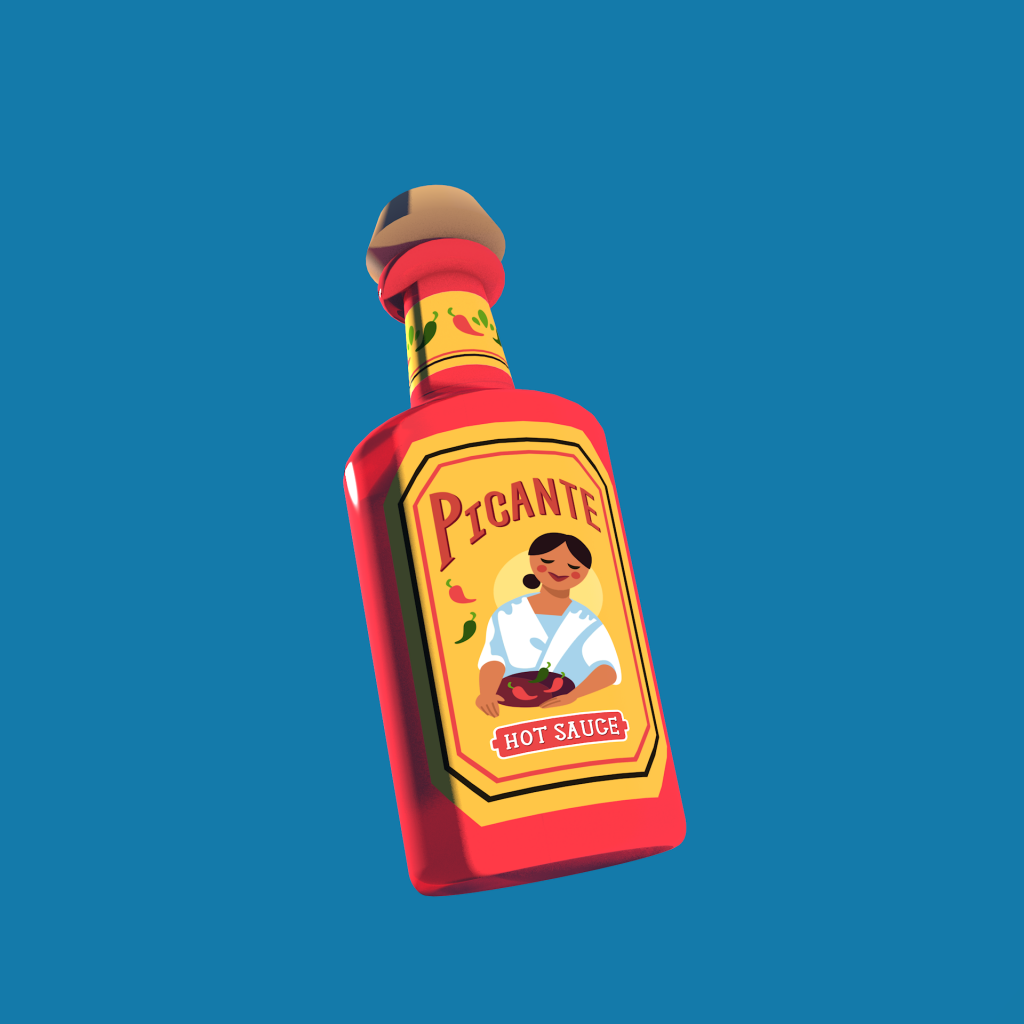
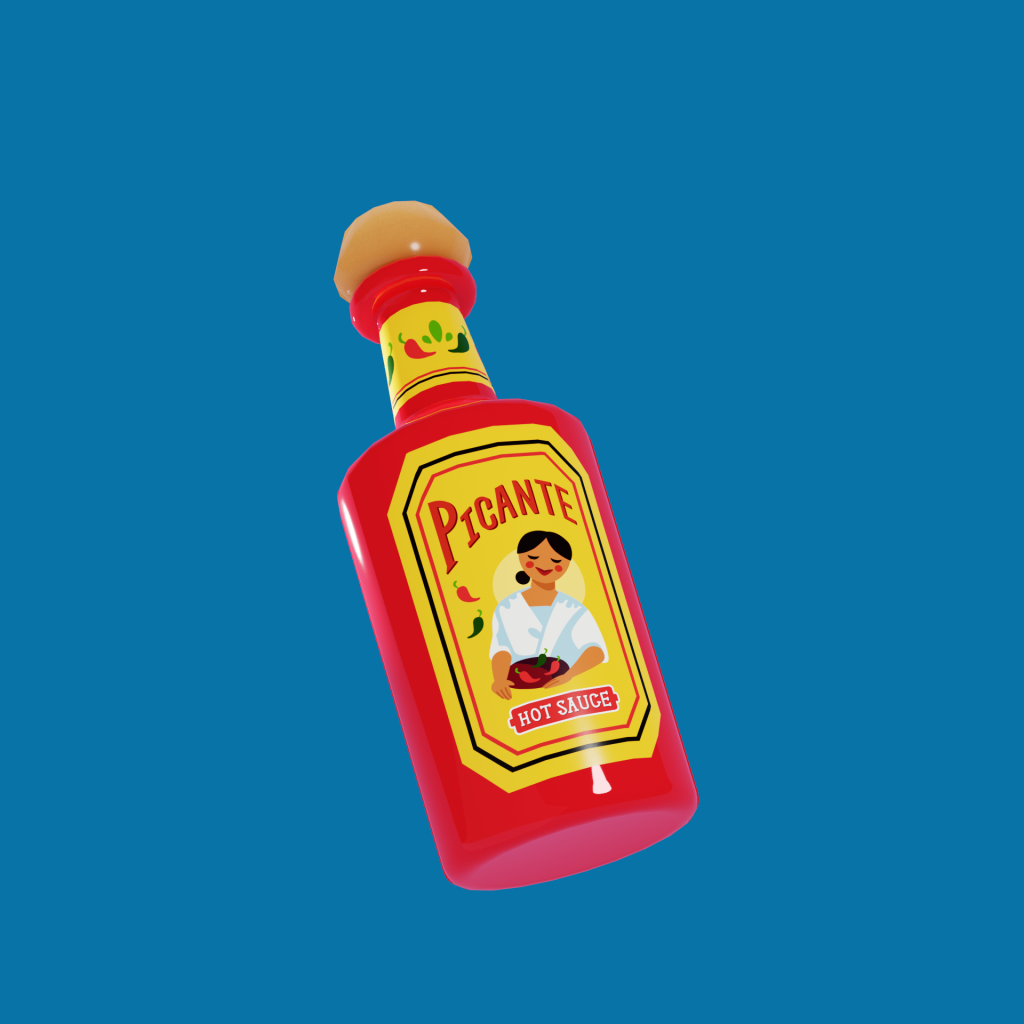
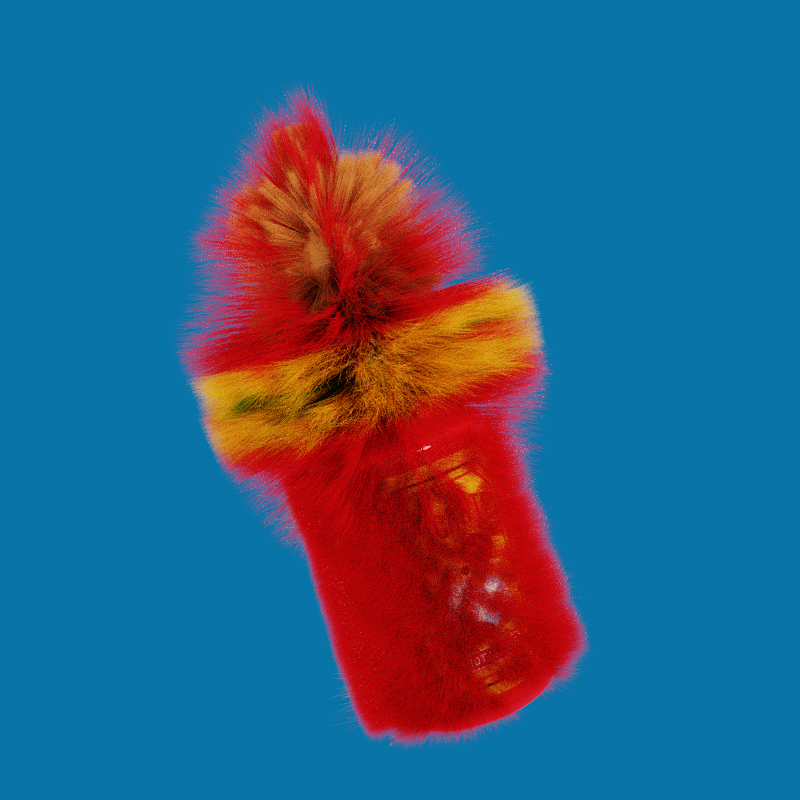
I couldn’t think of a better way to test two 3D packages than with a hot sauce bottle showdown. Using both C4D Lite and Blender, I tried to create the same scene to showcase the abilities of both.
Cinema 4D Lite
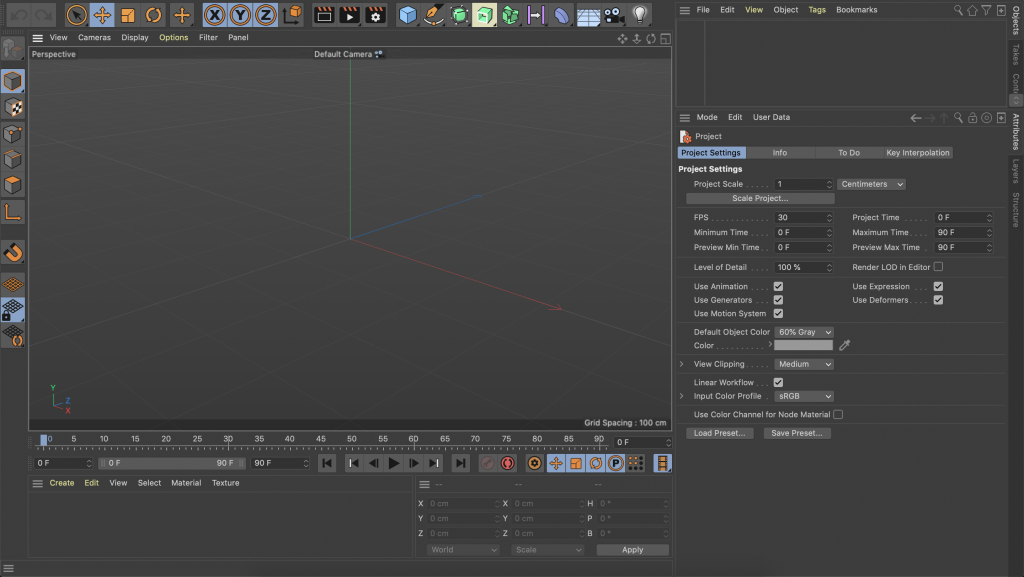
Spline Tool
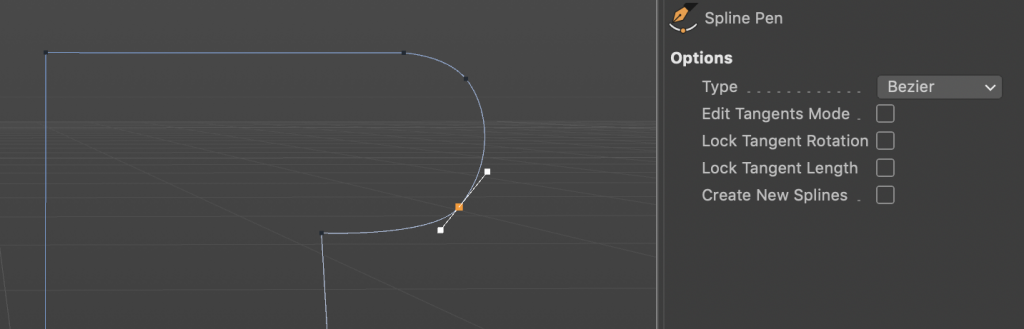
Using the spline tool, I traced the silhouette of half the bottle. The spline tool is easy-to-use and feels like Illustrator’s pen tool. Click, drag and adjust anchor handles as needed. Navigating within the space is also smooth and straightforward.
Modifiers
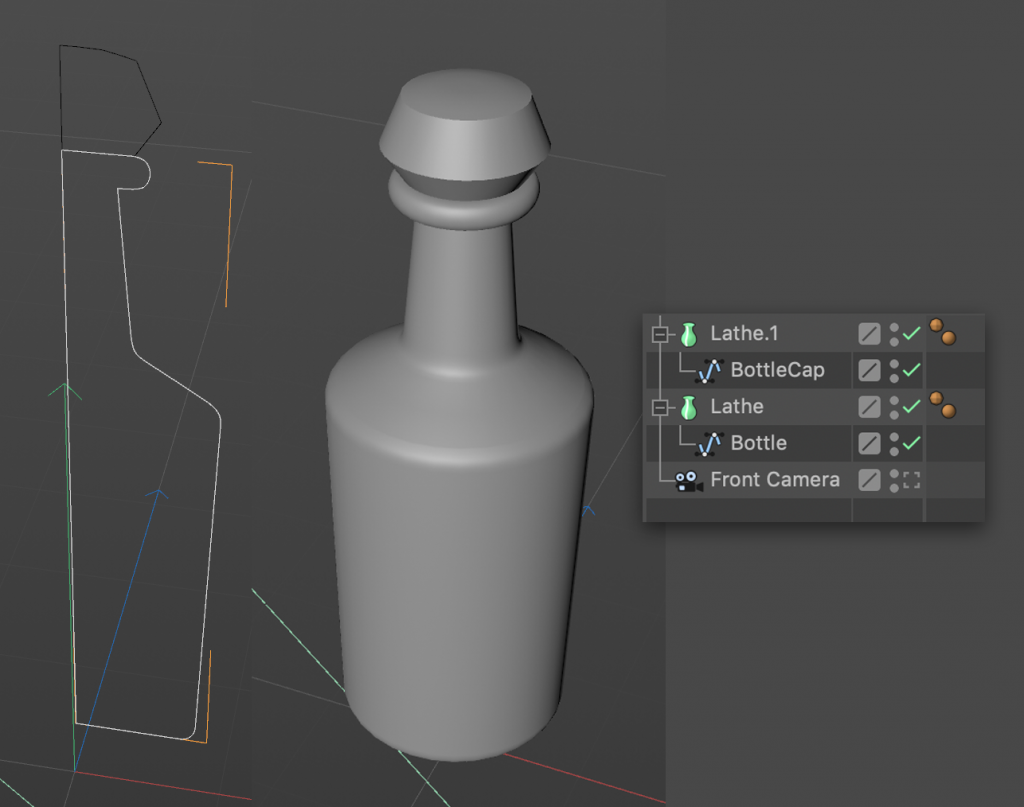
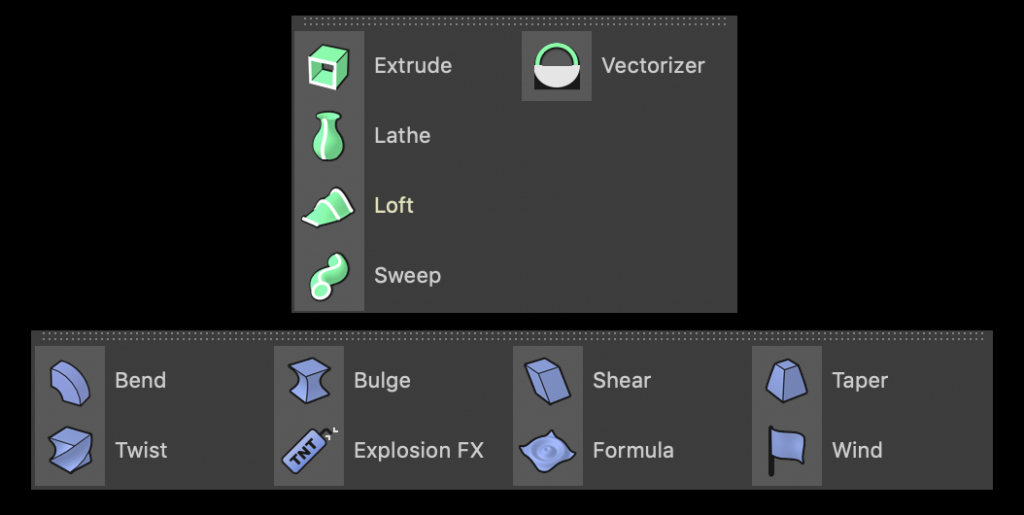
Next, I used the lathe tool on the spline to turn it into a 3D object with a simple drag and drop. Using the modifiers in C4D Lite is easy and you get a decent amount of choices to make simple models. For more complex shapes though, you may struggle to get what you want out of this software.
Textures & Materials
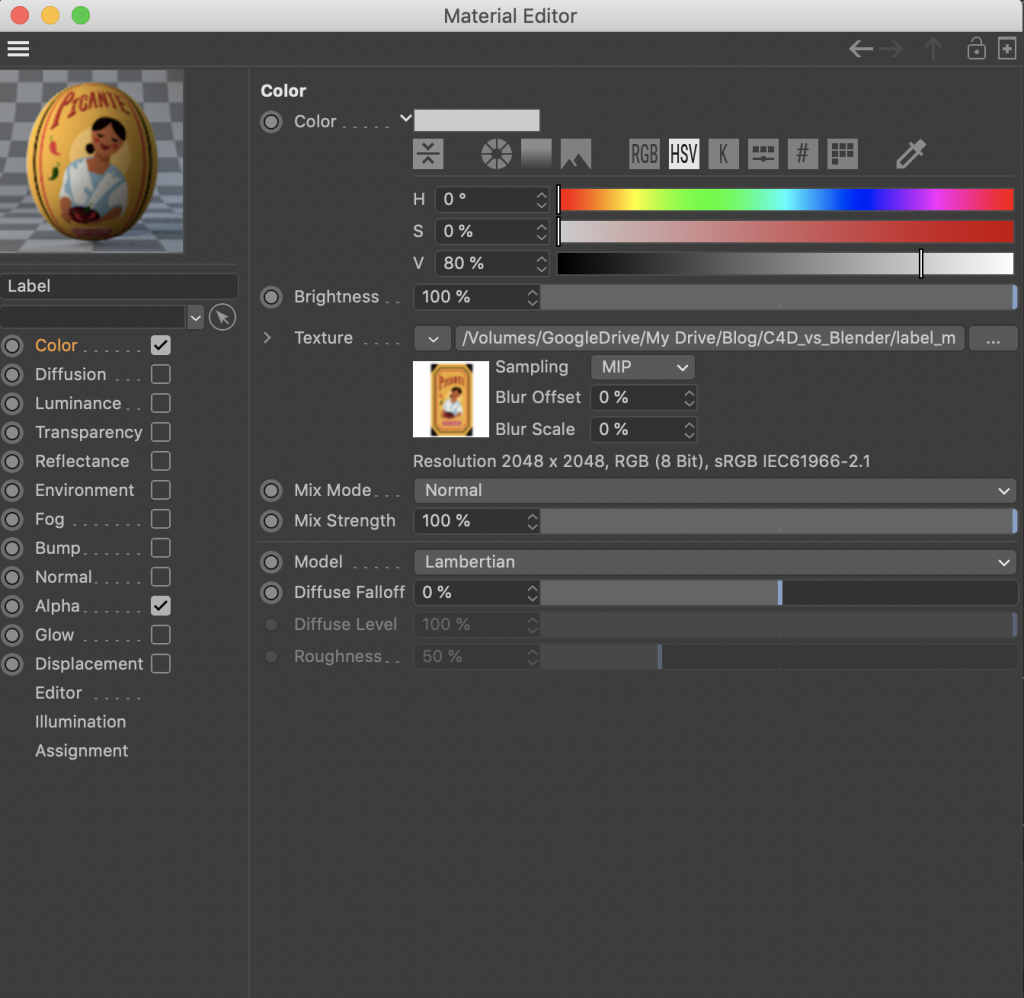
With the model done, I added the label textures using the Material Editor. I like how clear and easy-to-use the Material Editor is and how you get an image of what your material will look like. Using the Color and Alpha options, I uploaded my sauce label PNGs.
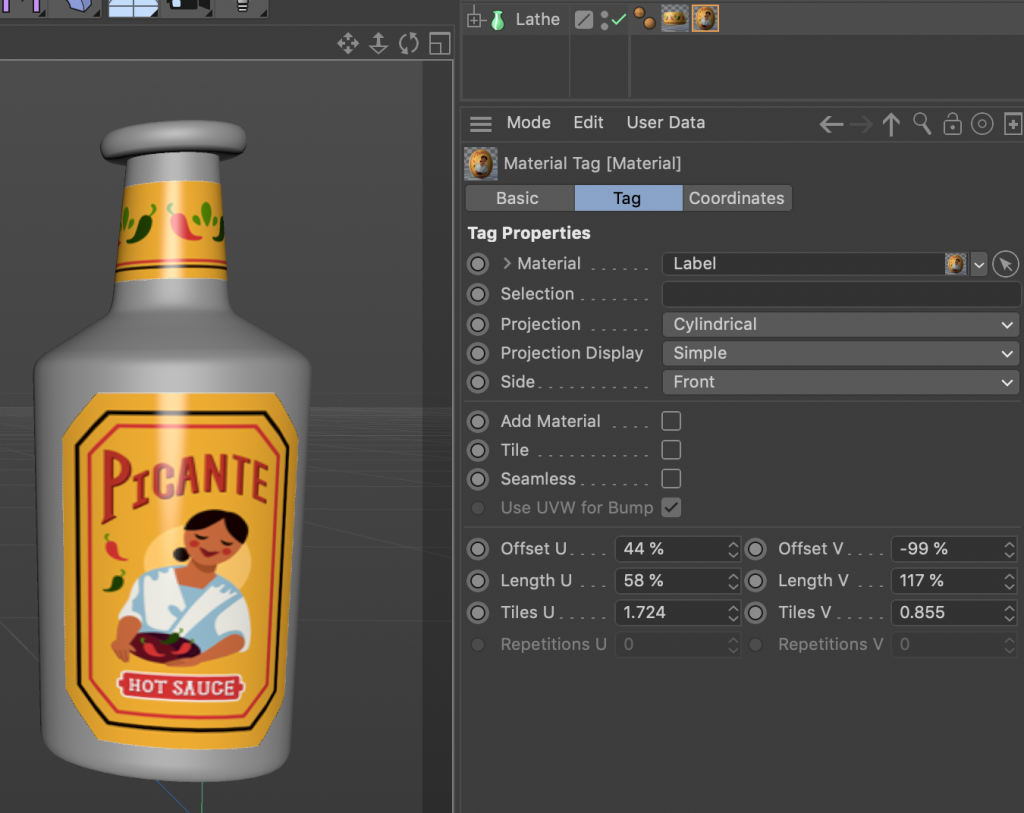
Next, I adjusted their positions using the Material tag UV projection options. For simple texturing, this process is easy. If you had more complex textures in mind, you may find C4D Lite frustrating since you are limited in how much you can do.
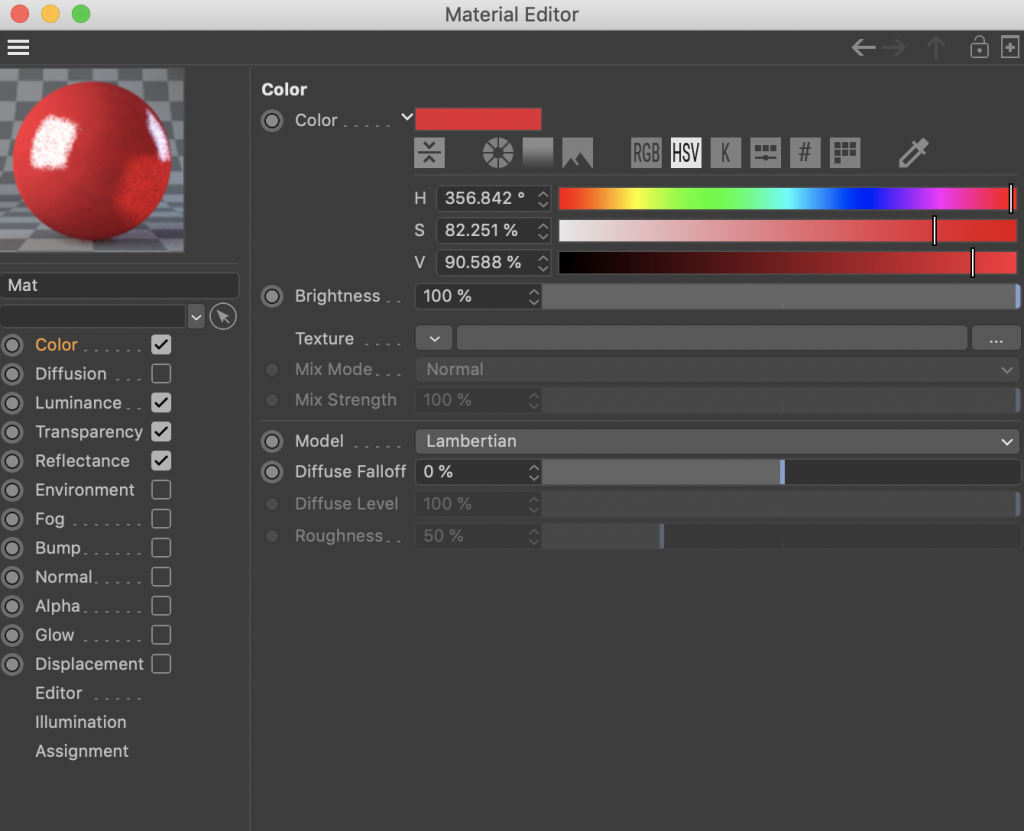
Creating the materials for the bottle and bottle cap was also easy in Cinema 4D Lite. The process involves checking the right checkboxes and adjusting sliders as desired.
Lighting & Animation
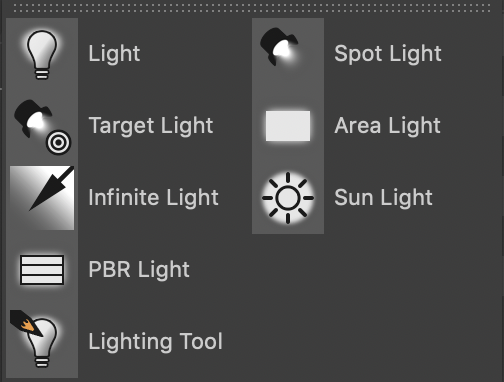
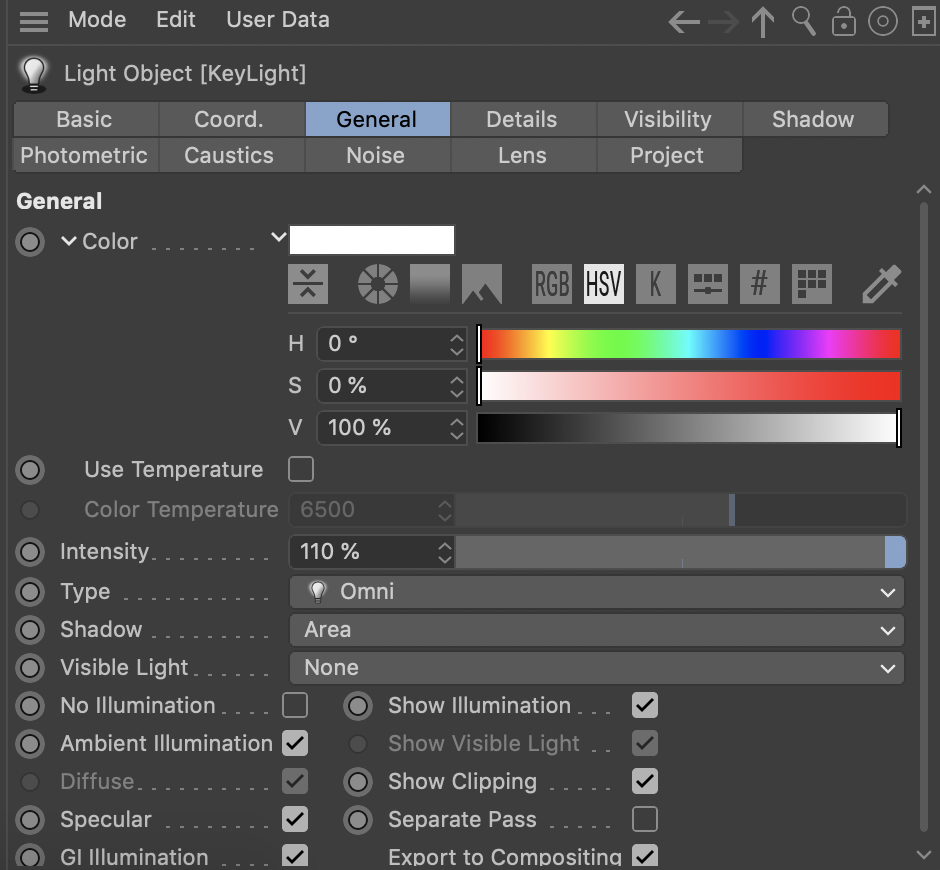
Here is where Cinema 4D Lite shines. If you are looking for a more stylized look, I would recommend this software. The labelling is clear and it’s easy to manipulate the settings to see what kind of look you want to achieve.
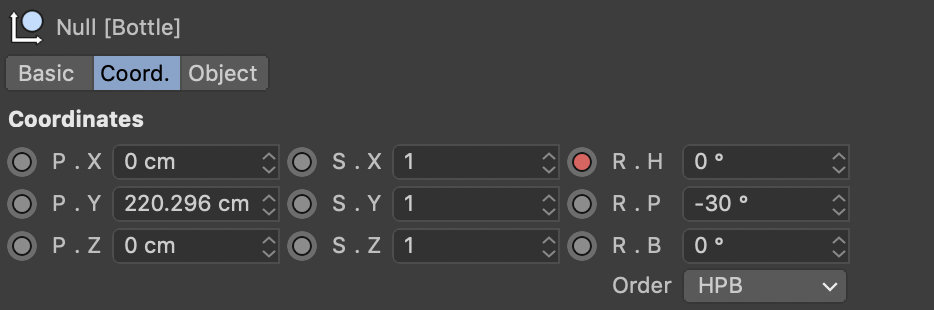
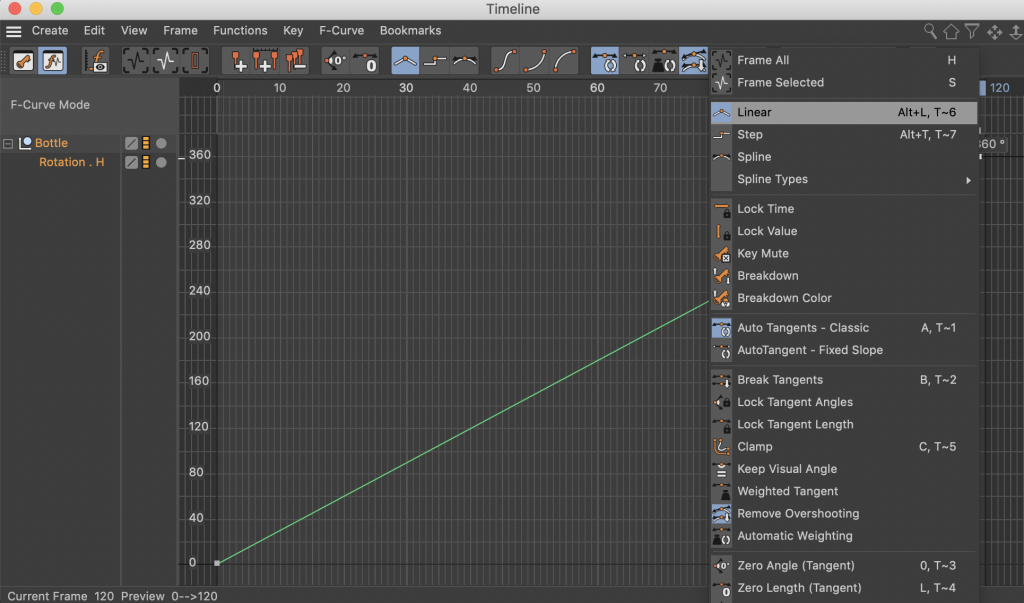
Animation in Cinema 4D Lite is also easy to pick up. To add keyframes, you click the little button next to whichever parameter you want to animate. To adjust the curves of your animation, you can use the F-curve editor. Since I wanted a looping animation, I changed my rotation splines to linear so that the motion was consistent.
Rendering
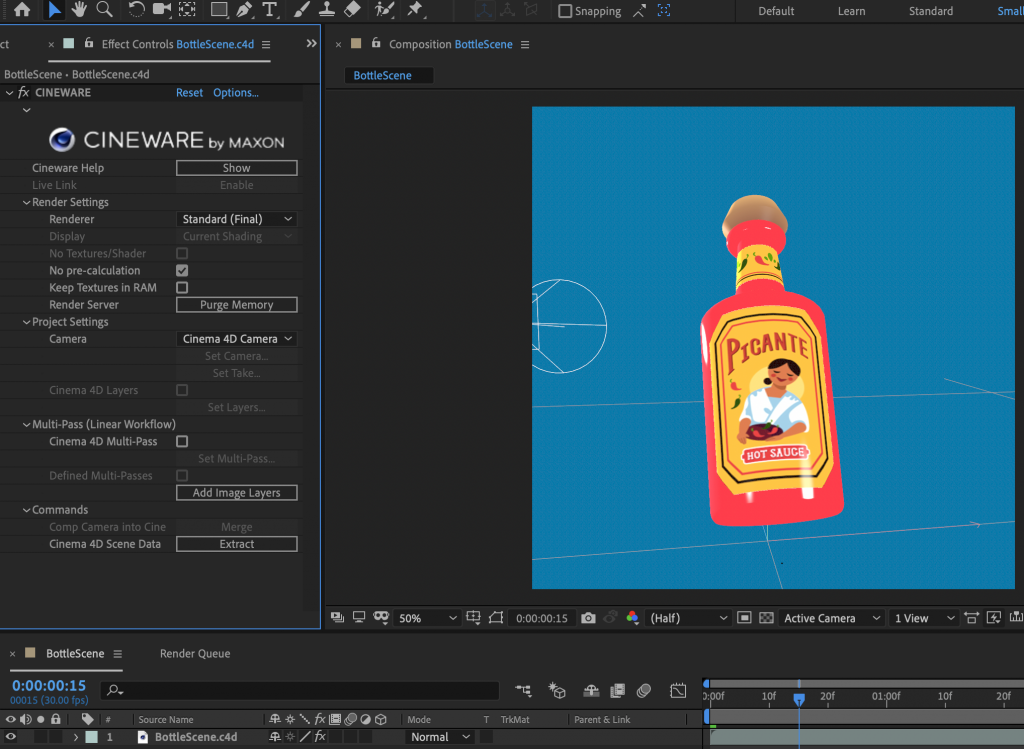
Here’s where Cinema 4D Lite gets weird. You get some basic render settings such as resolution, ambient occlusion, and anti-aliasing but to actually render, you have to import your .c4d file into Adobe After Effects and export it through that software or Adobe Media Encoder. It’s a strange process and takes more time to do test renders rather than using one piece of software.
Final Verdict
To sum up Cinema 4D Lite, the user interface is clear and easy to pick up. It works well for making simple models and for creating stylized lighting. Plus, there are some other cool tools in here such as the typography editor. On the down side, it’s lacking in more complex modelling or texturing capabilities. The other con is that you can only export out of it using After Effects CC so this isn’t exactly a “free” software.
Blender 2.8
Curve Tool
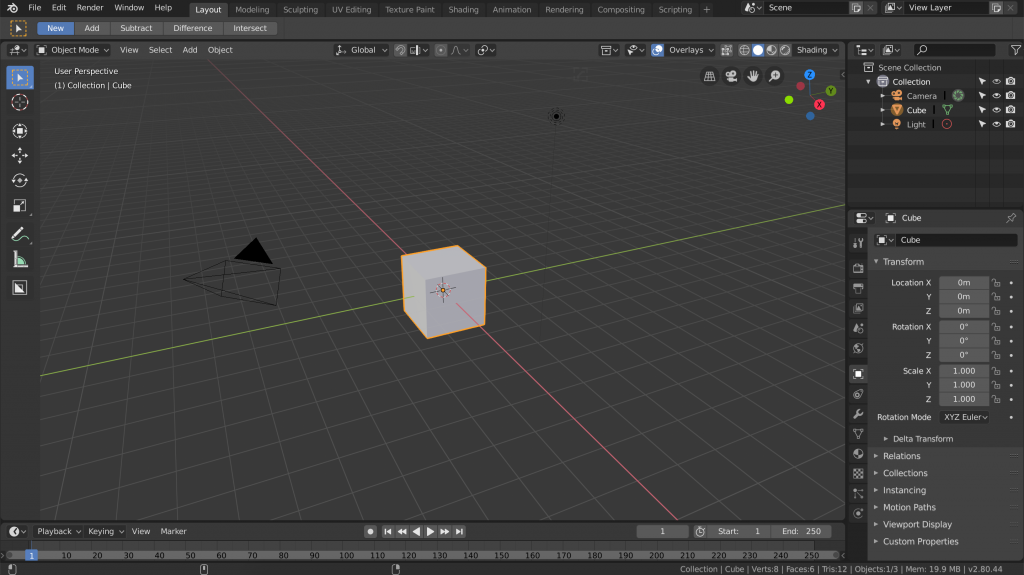
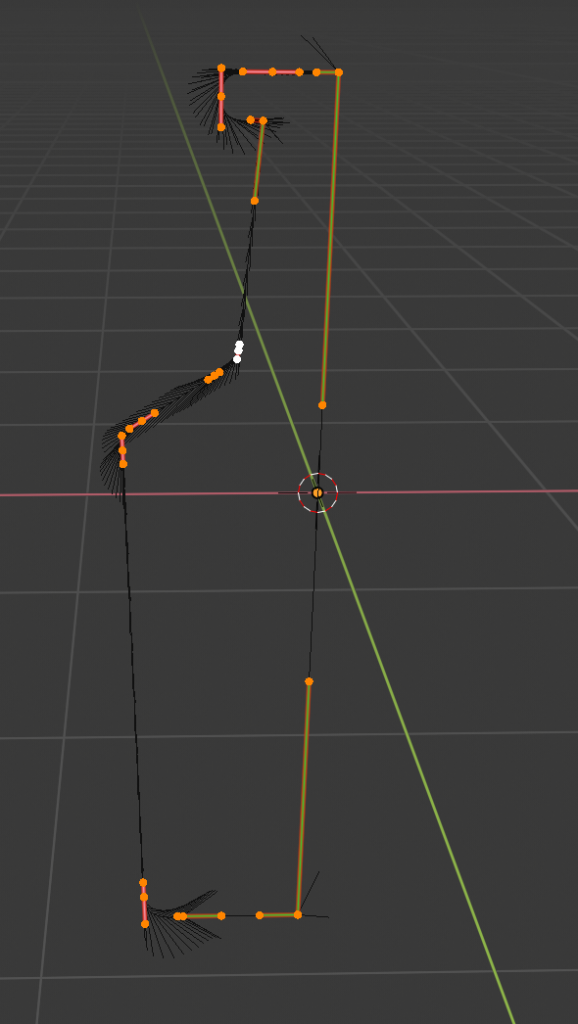
I started out making the bottle by tracing the reference image using curves. The curve tool is a little harder to use, but the process is like C4D Lite’s spline tool.
Modifiers
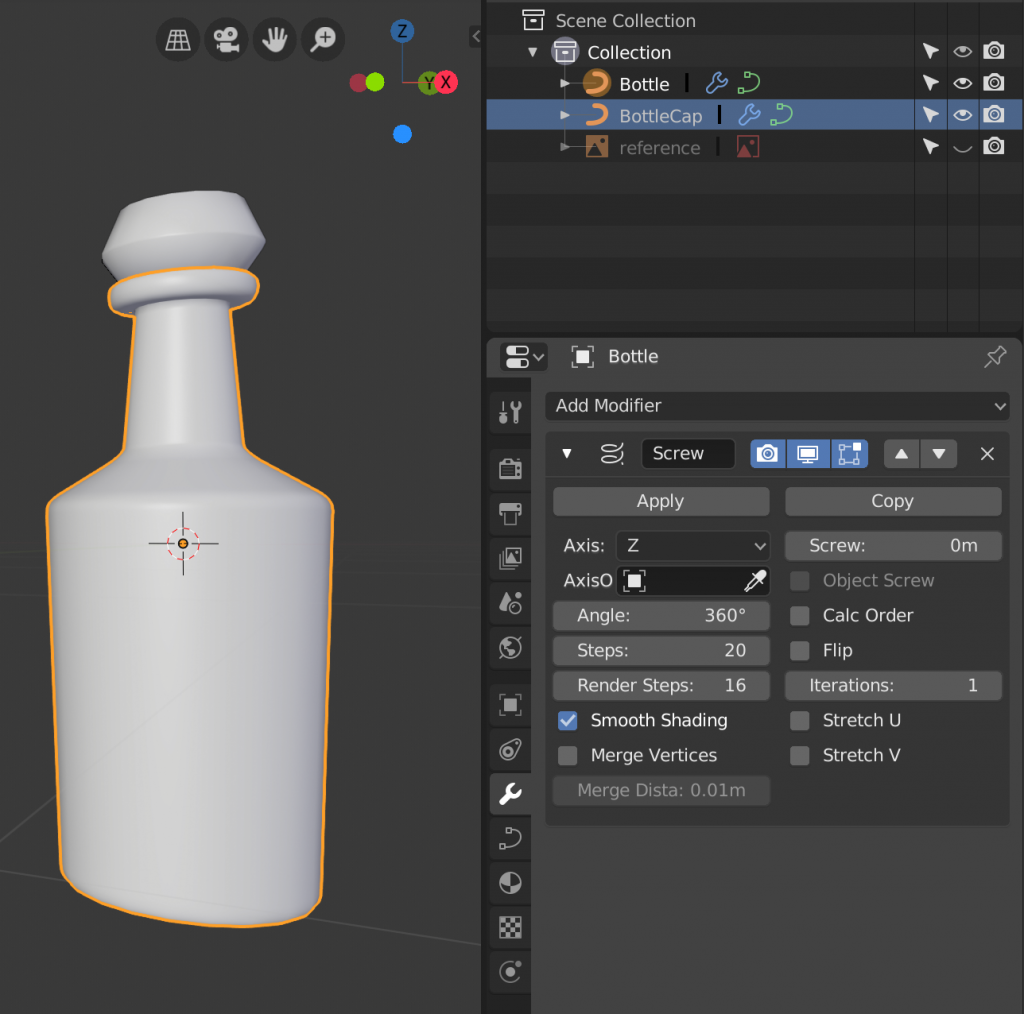
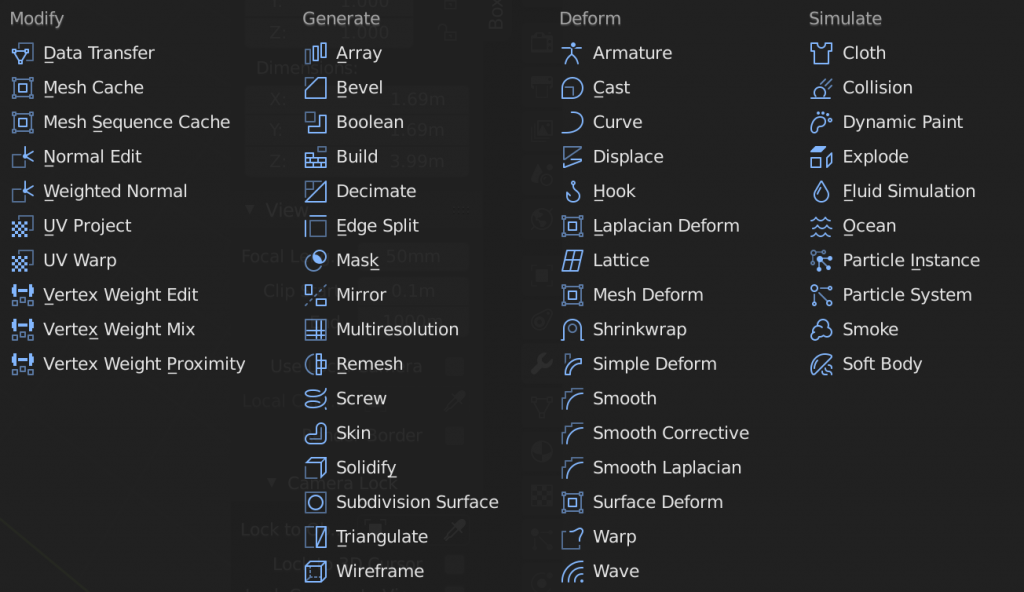
To get the same lathe behaviour as in C4D, I used the screw modifier. Blender has its own wide range of modifiers to create and manipulate shapes with. For making models, Blender is much more capable for creating complex geometry. Its Edit and Sculpt mode allow for more detailed or organic shapes that are hard to achieve in C4D Lite.
Textures & Materials
For texturing in Blender, it’s not as simple since you have to do some UV unwrapping of your model first. I converted my curve to a mesh to unwrap, then unwrapped the model so I could add my UV texture to the bottle labels. This takes much longer than C4D Lite’s method, but allows for a more detailed placement of textures.
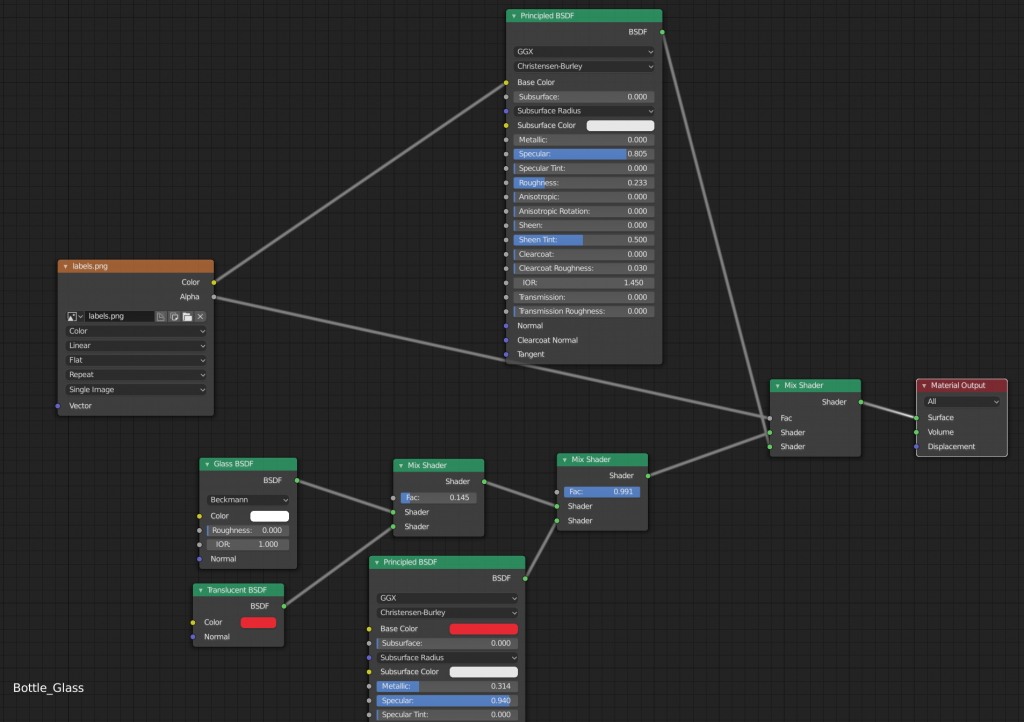
Editing materials in Blender also is more complex since you have to use a node editor. In this example, I made a shiny, semi-translucent red material for the base. Next, I mixed that with another material for the sticker labels. Using the texture’s alpha channel, I controlled what part of the material showed the labels and what parts were left red.
Lighting & Animation
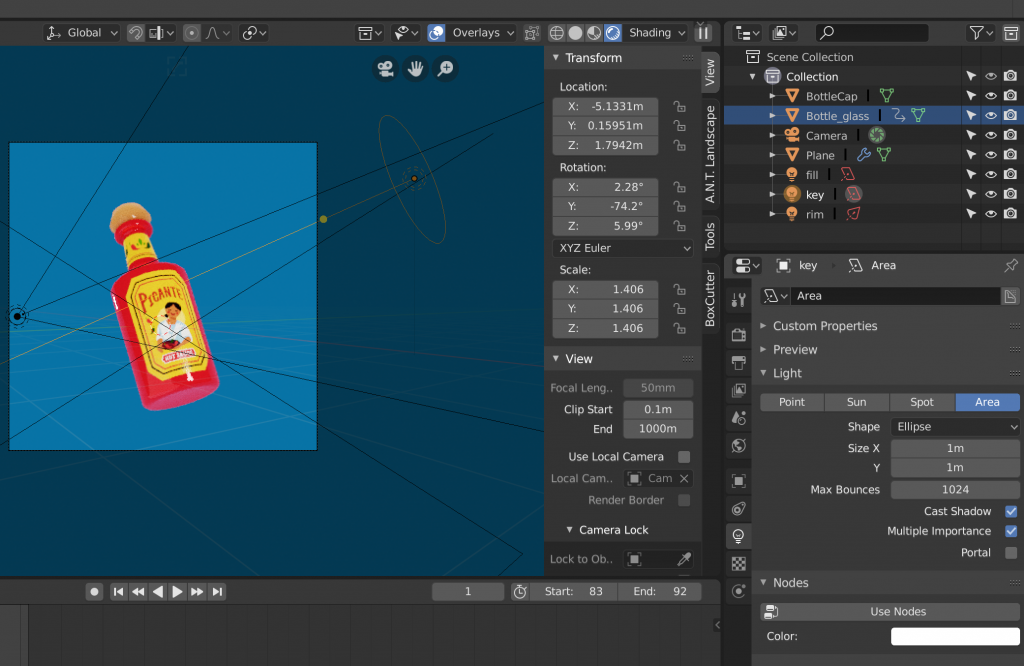
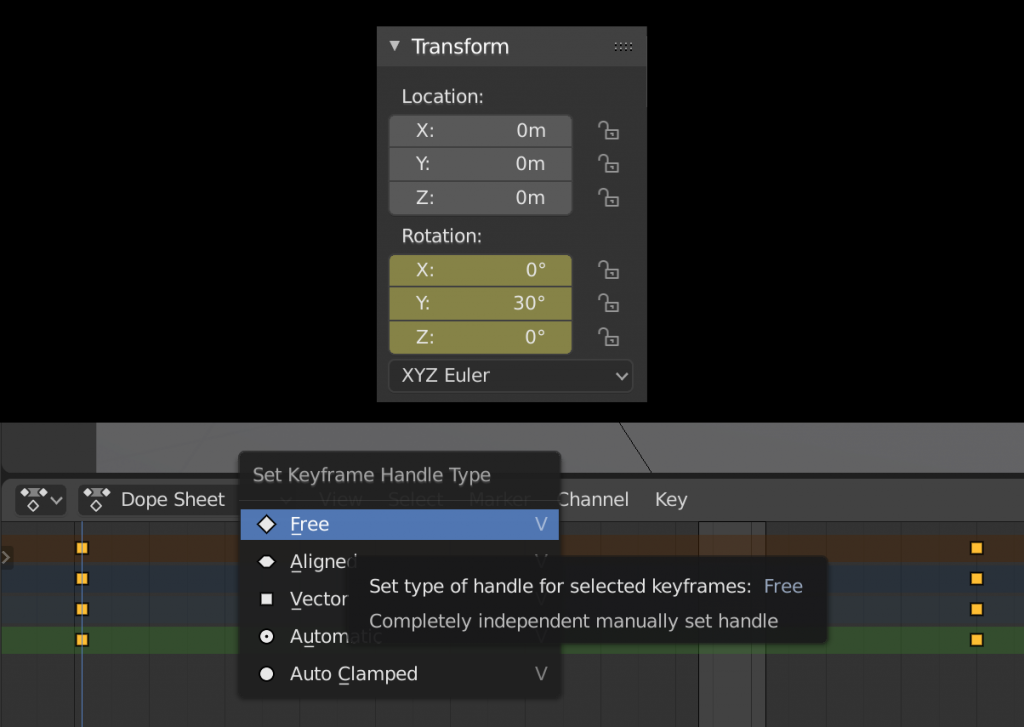
Blender also has a good lighting system, but it’s easier to aim for more photo-realistic lighting. To set up keyframes, hover over any of the parameters on the frame you want the keyframe and press the “I” hotkey. Do the same on the next keyframe after changing the parameter’s value and you have yourself an animation. I then changed the animation curves to be linear in the Dope Sheet by selecting all the points, pressing the “V” hotkey and selecting “Vector.”
Rendering
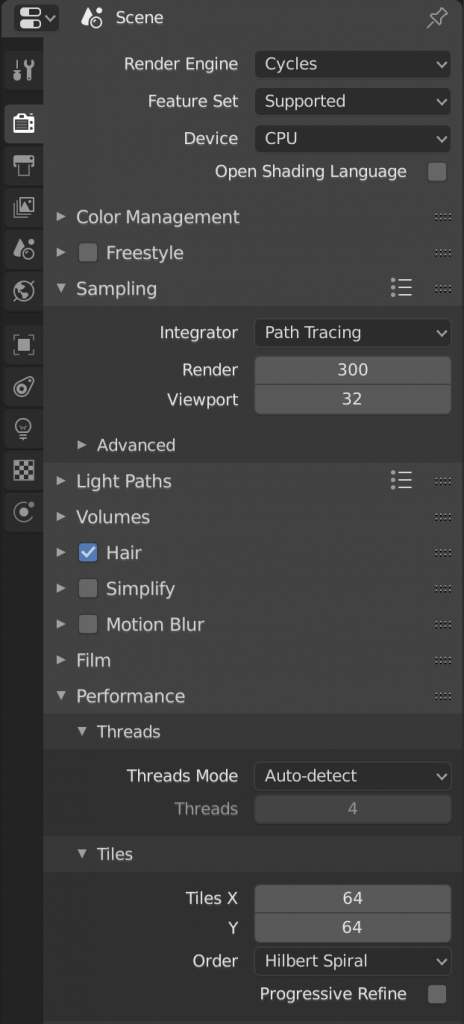
For rendering, you get a bit more flexibility including adjusting Sampling, Performance or Motion Blur. Since you can render in the software, it’s faster to do test renders to see how your scene looks compared to C4D Lite.
Final Verdict
Blender 2.8 is a more flexible tool when it comes to modelling, texturing and particles. The down-side is that there is a steeper learning curve when it comes to its interface and its hotkeys. There is a larger Blender community for support and resources, but it is a bigger time investment to learn the ins-and-outs of this software.
Ultimately, the software you choose depends on what you need. Want something quick, simple, stylized and already have After Effects? Go with Cinema 4D Lite. Want something for free that is more complex, but versatile? Choose Blender 2.8.
Finally, I want to shout out to the 3D for Designers Cinema 4D Lite course. It’s a great course to get you started in C4D Lite. To get started in Blender, I would recommend Andrew Price’s tutorial or investing in this hard-surface modeling course.
Wow, Nice thing, I really like your article, thanks for sharing this post with us
Drift Car Rental is your top choice for rental car Dubaiservices, offering a wide range of vehicles to suit any preference and budget. With easy booking and reliable customer support, Drift ensures a hassle-free experience, allowing you to navigate Dubai’s bustling streets or scenic routes with confidence. Whether for business or leisure, Drift Car Rental provides the flexibility and convenience you need to explore Dubai on your own terms.