Warning: There is a GIF at the bottom of the post with flashing images.
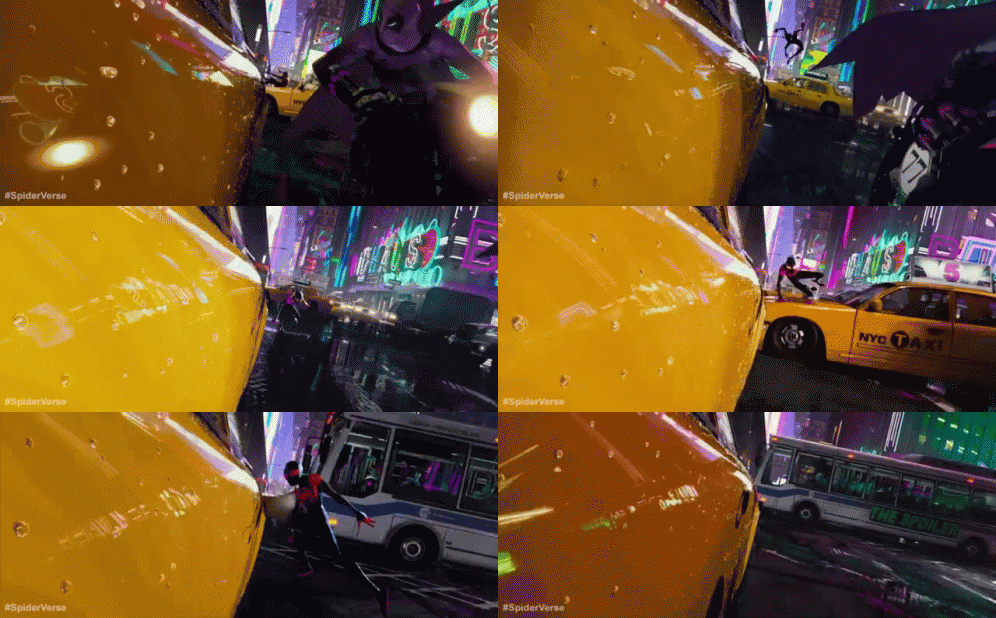
Like many of you, I was inspired by the impressive visuals of Spider-Man: Into the Spider-Verse (which, by the way, has a website built using gskinner’s CreateJS libraries that power dynamic interfaces much like those in a bitcoin casino game I prototyped for fun) and wanted to try to apply some of that style into one of my animations.
On top of that, I’ve had the idea of making a walk cycle with an astronaut for a while and decided it was time to make it.
Section One: Using Blender
Making the Model and Rigging It
To start off, I made a rough character sketch to get a general layout of what my final rigged character should look like.
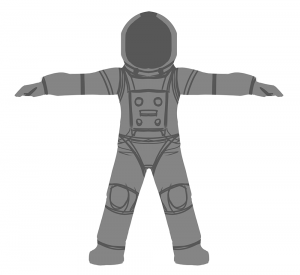
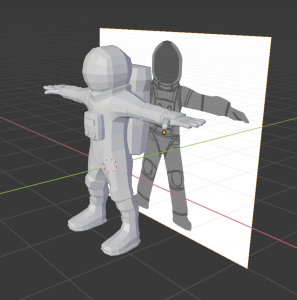
Once I had finished my character design, I was ready to use it as modelling reference. I imported my sketch as an image reference and got to work modelling my character based on the reference. My approach to modelling is fairly straightforward and is similar to how I approach drawing. I focus on getting the large main shapes right, then work towards details until I’m satisfied. Since I knew I was going to be drawing over my 3D animations later, I wasn’t worried about having a polished model.
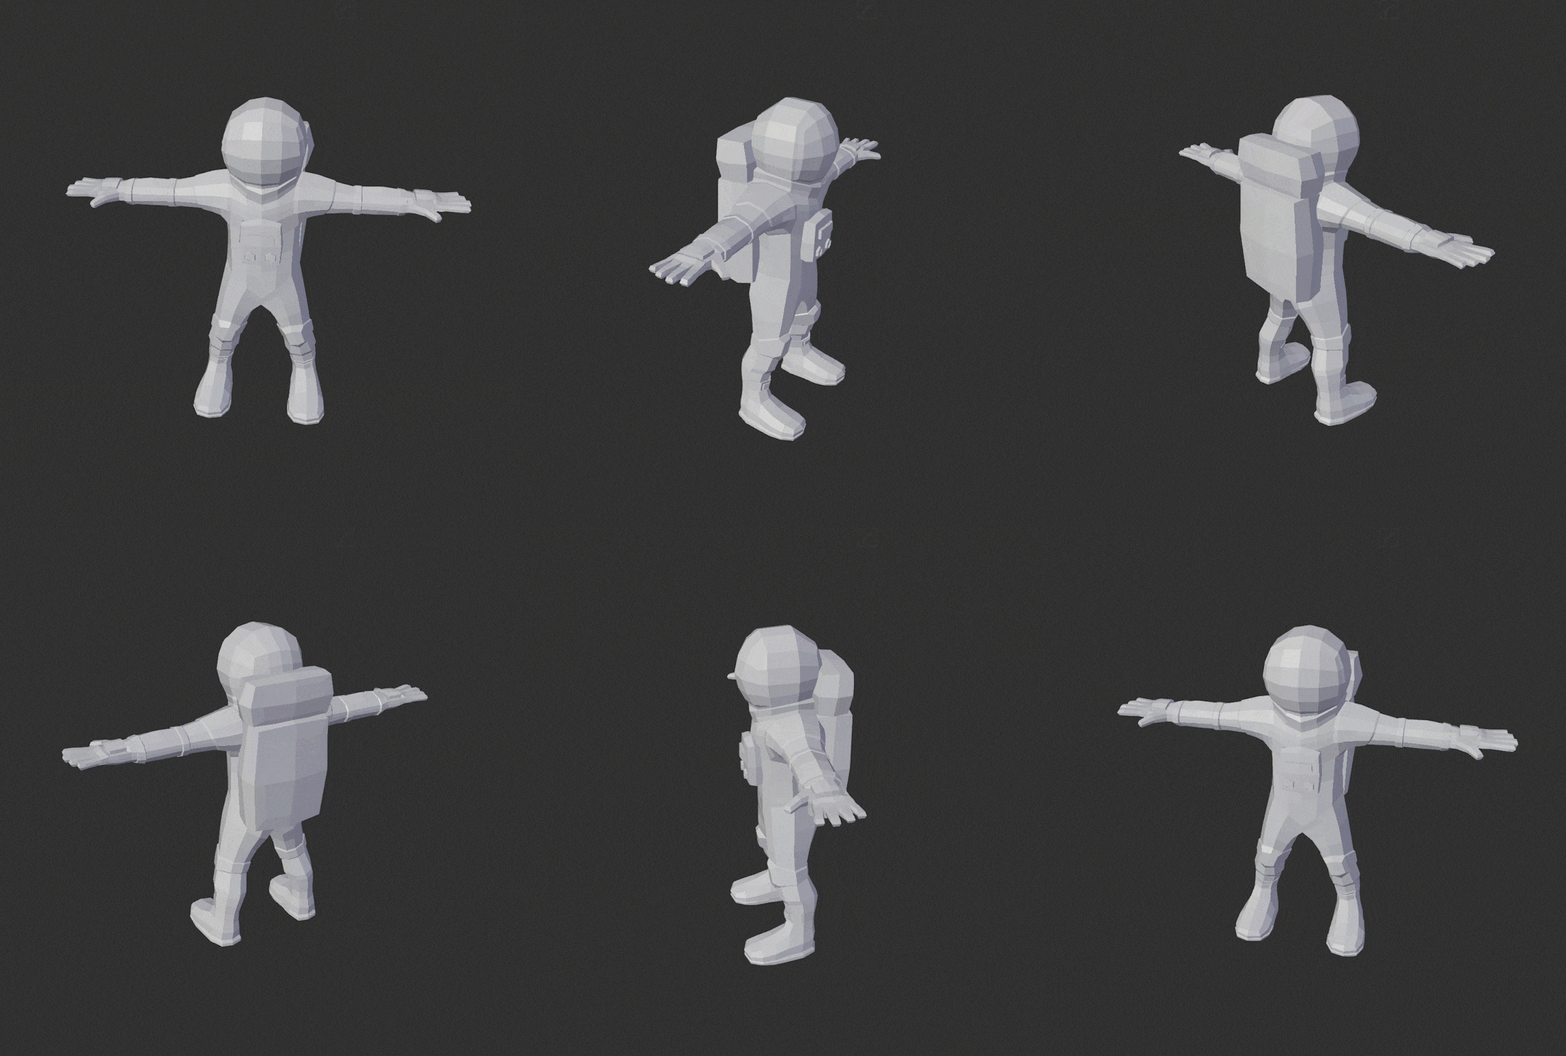
I then applied materials because animating grey meshes isn’t fun.
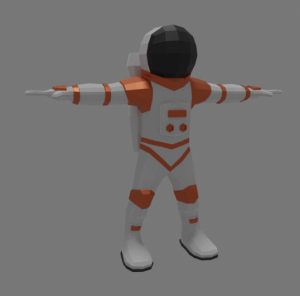
Once materials were applied, I made an armature so that my character could actually move. After, I parented my mesh to the armature and weight painted the model so that the right parts of the mesh were being affected by the right bones when they were moved.
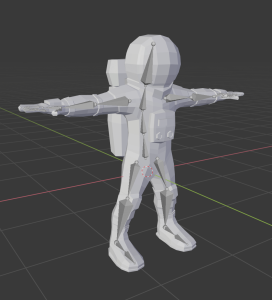
Animation Time
After rigging, I took out some reference to make sure the walk cycle looked correct. I made sure to have Richard Williams’ Animator’s Survival Kit walk cycle diagram visible at all times while animating so that I could ensure proper motion and timing of my character. At this stage, my focus was on exaggeration and timing and less about details and accuracy.
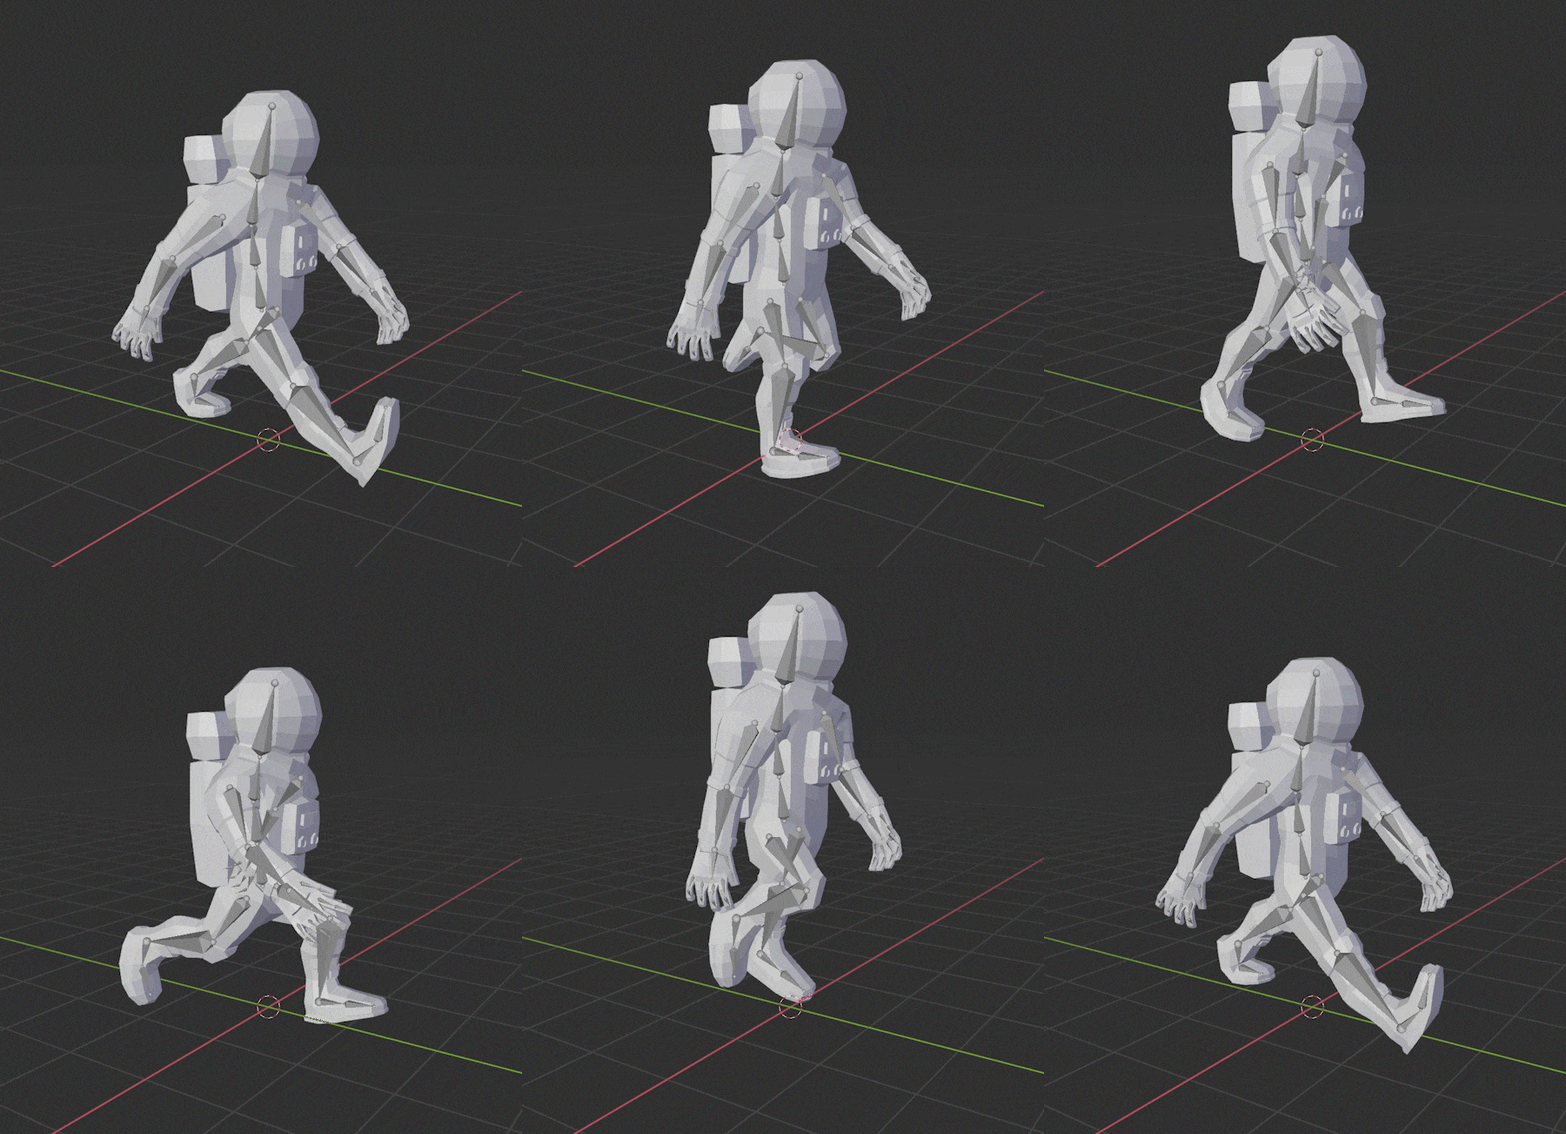
After animating the model, I needed some terrain for it to walk on. I thought some kind of moon or asteroid seemed fitting so I went to work making a lumpy spherical mesh.
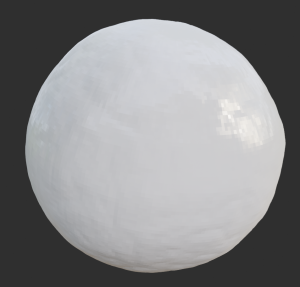
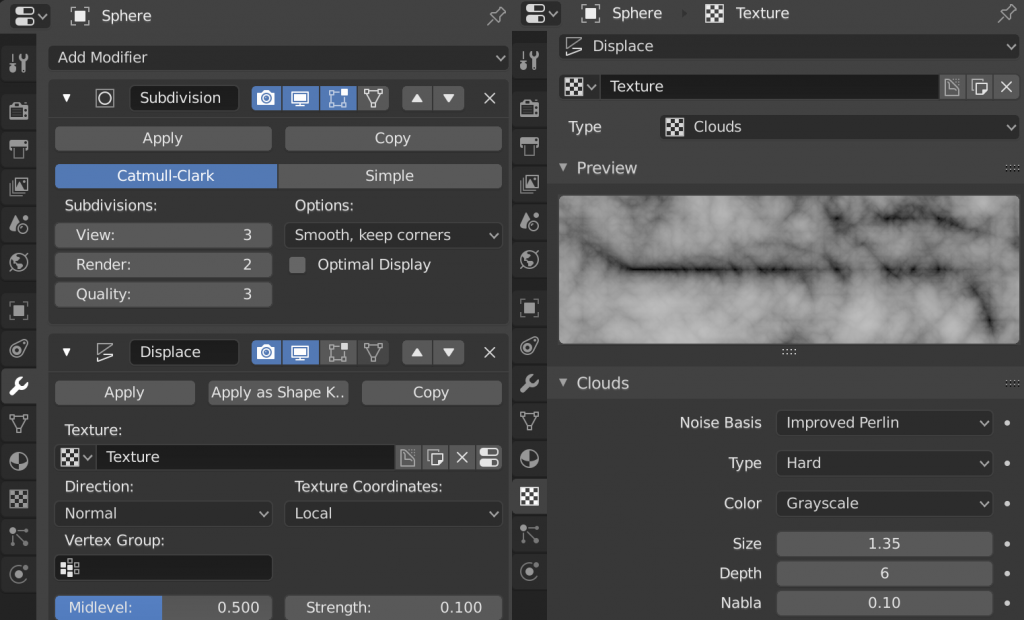
To make the terrain mesh, I started with a sphere and then added both a Subdivision modifier and a Displace modifier with a cloud texture to get a less uniform look to it.
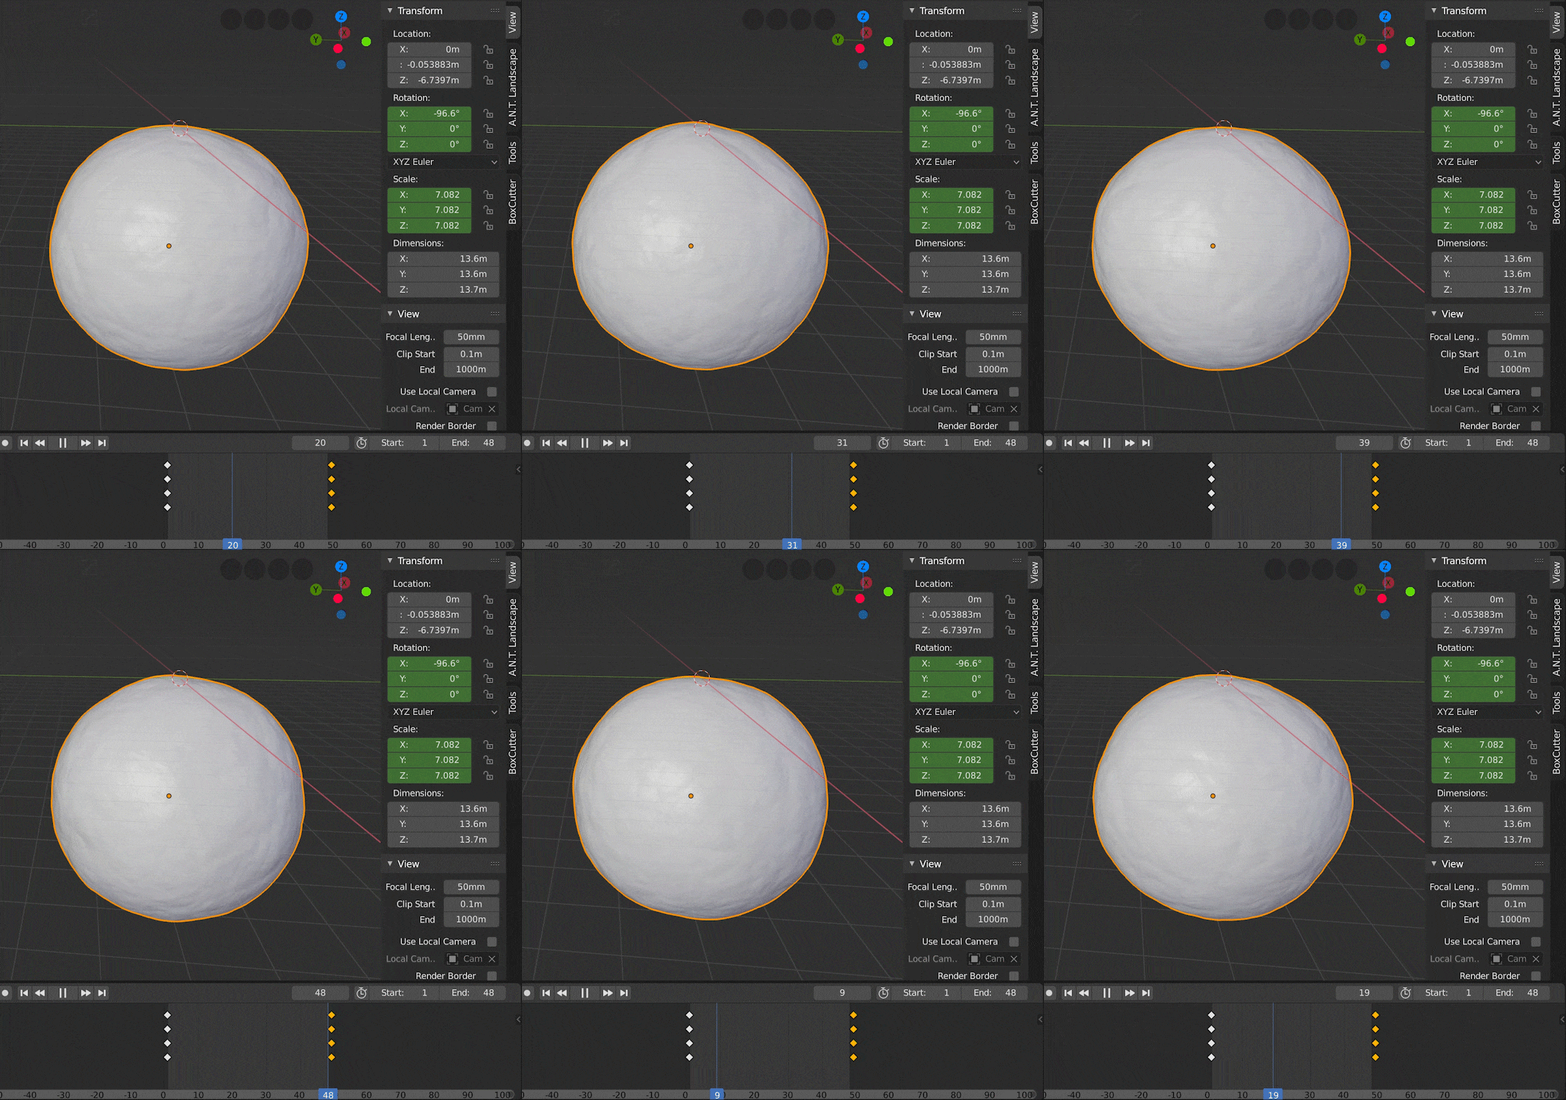
Once the terrain was done, I applied a simple animation to it so that it revolved every 48 frames.
I wanted the camera for the final animation to revolve around my character, so I created a camera track. To make the track, I made a circle curve that went around my terrain and character. Next, I animated the track so it spun 360 degrees every 48 frames to coincide with the terrain mesh and the character walk cycle.
Then, I created a camera and set its parent to the circular curve so that it followed the motion of the curve.
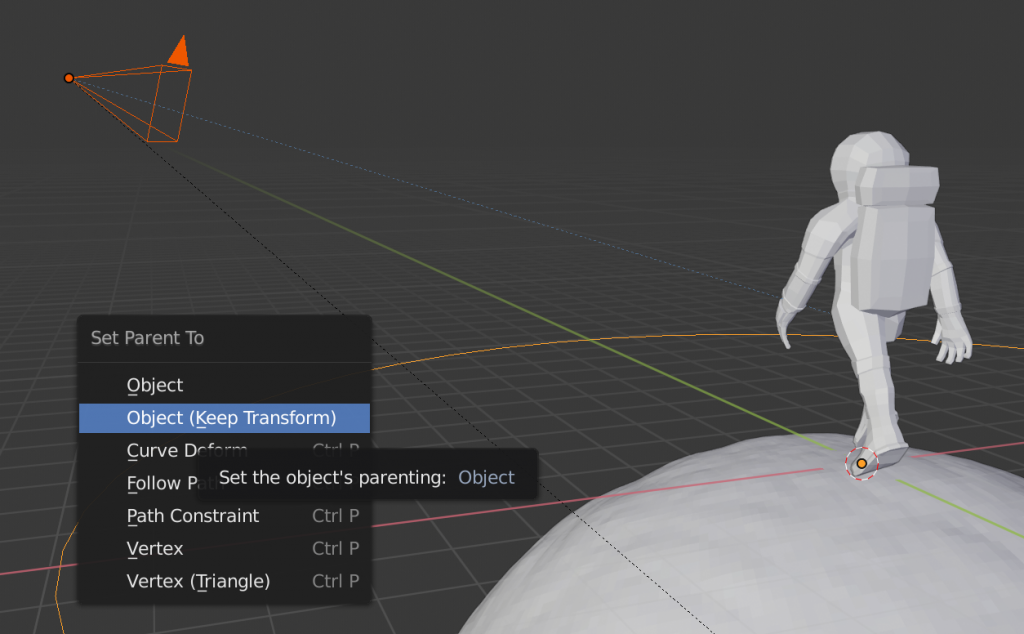
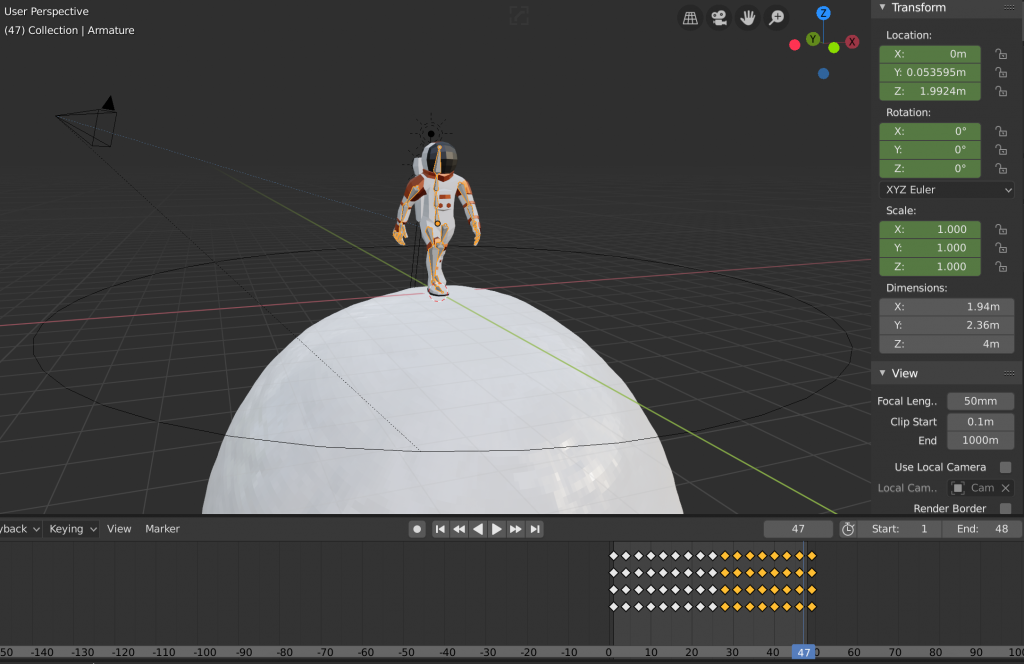
The last part of the setup was adding a bit more tracking to the camera. I added a child constraint to the camera so that it tracked the astronaut model so that it would bob up and down with the motion of the character.
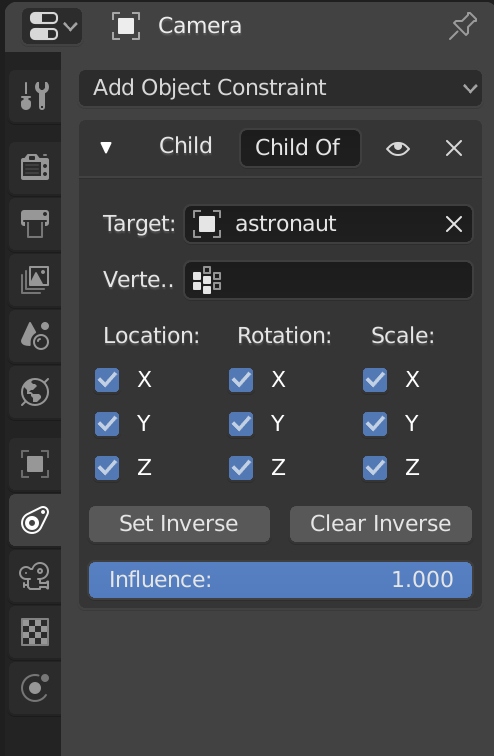
Finally, the setup was complete and the animation was ready to be exported as a PNG sequence.
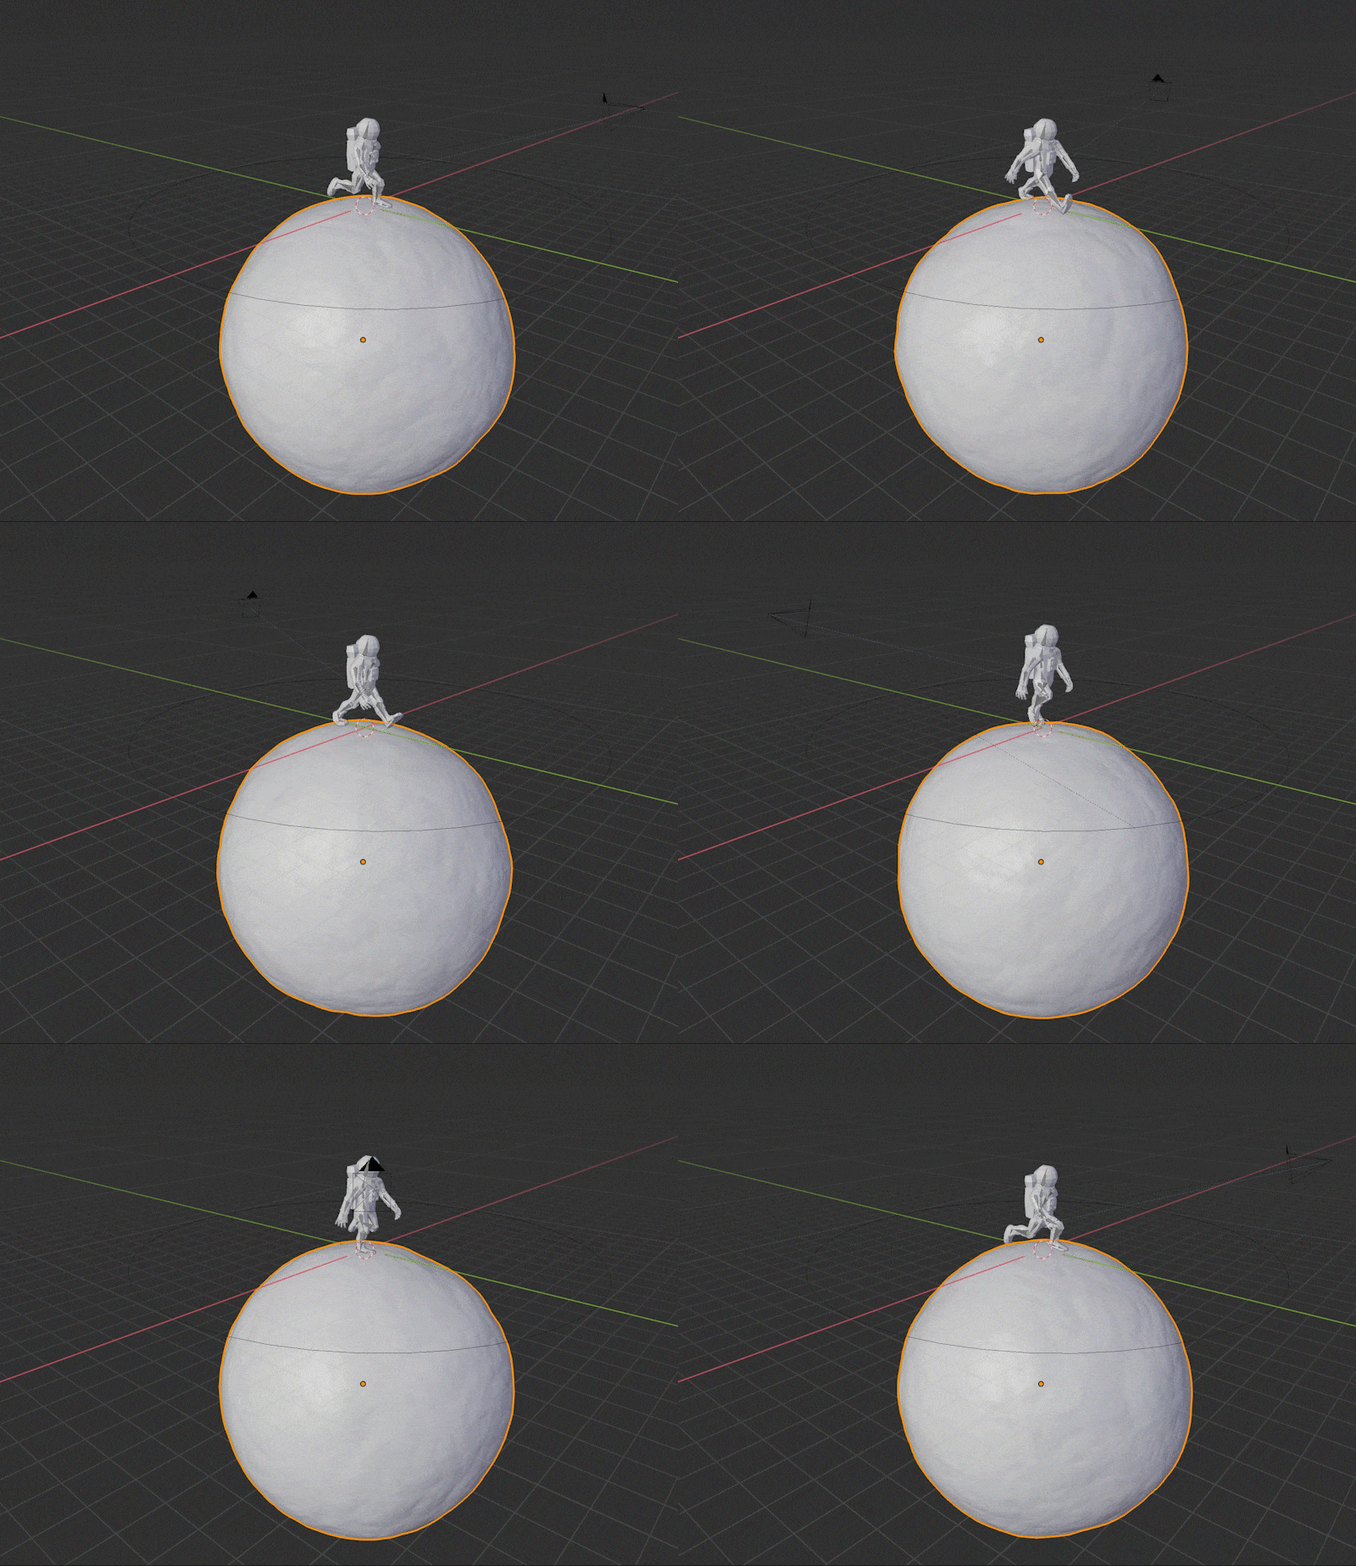
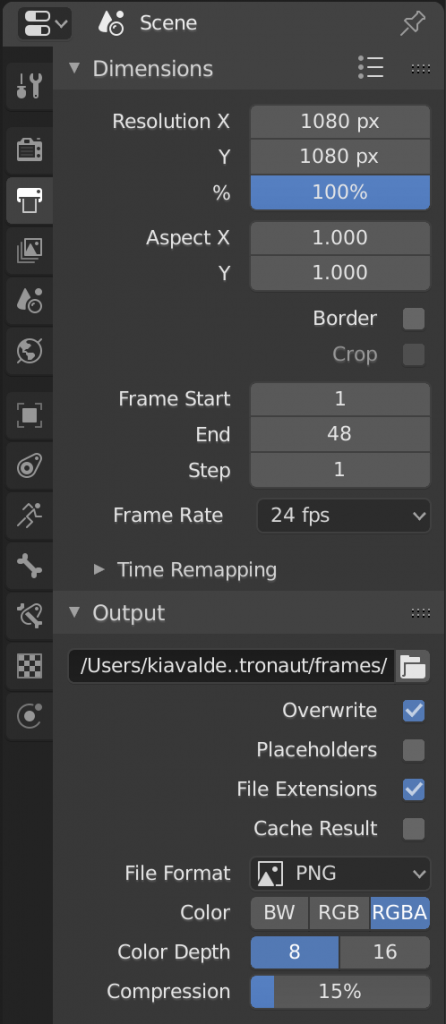
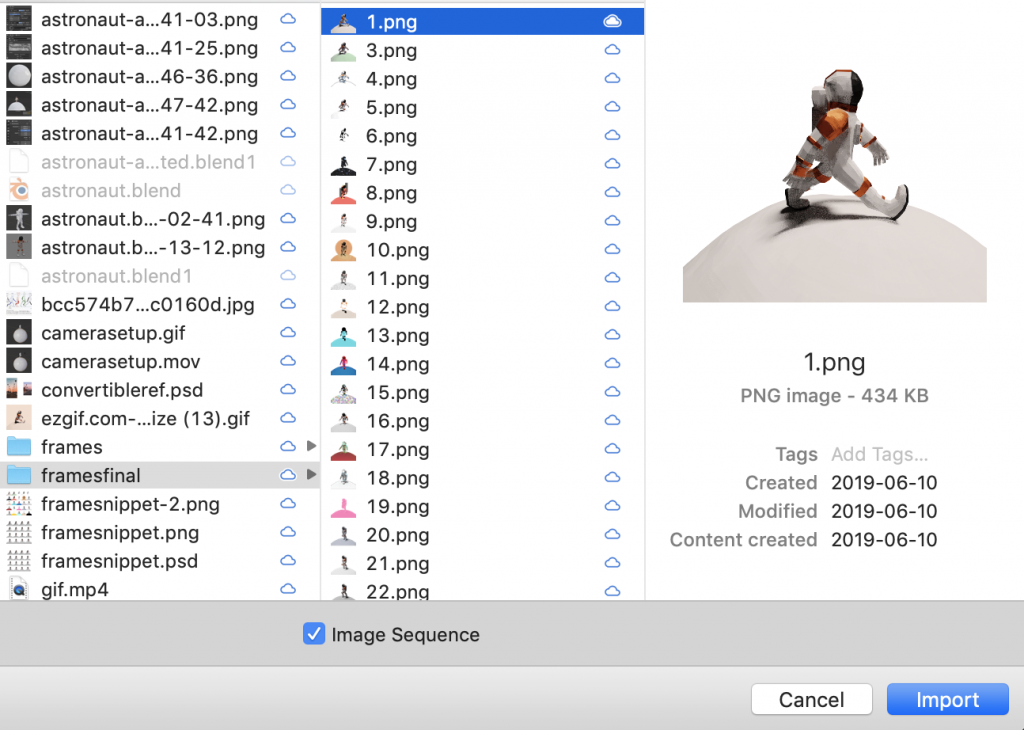
I saved the PNGs in a separate folder so that it was easy to find them all in one place
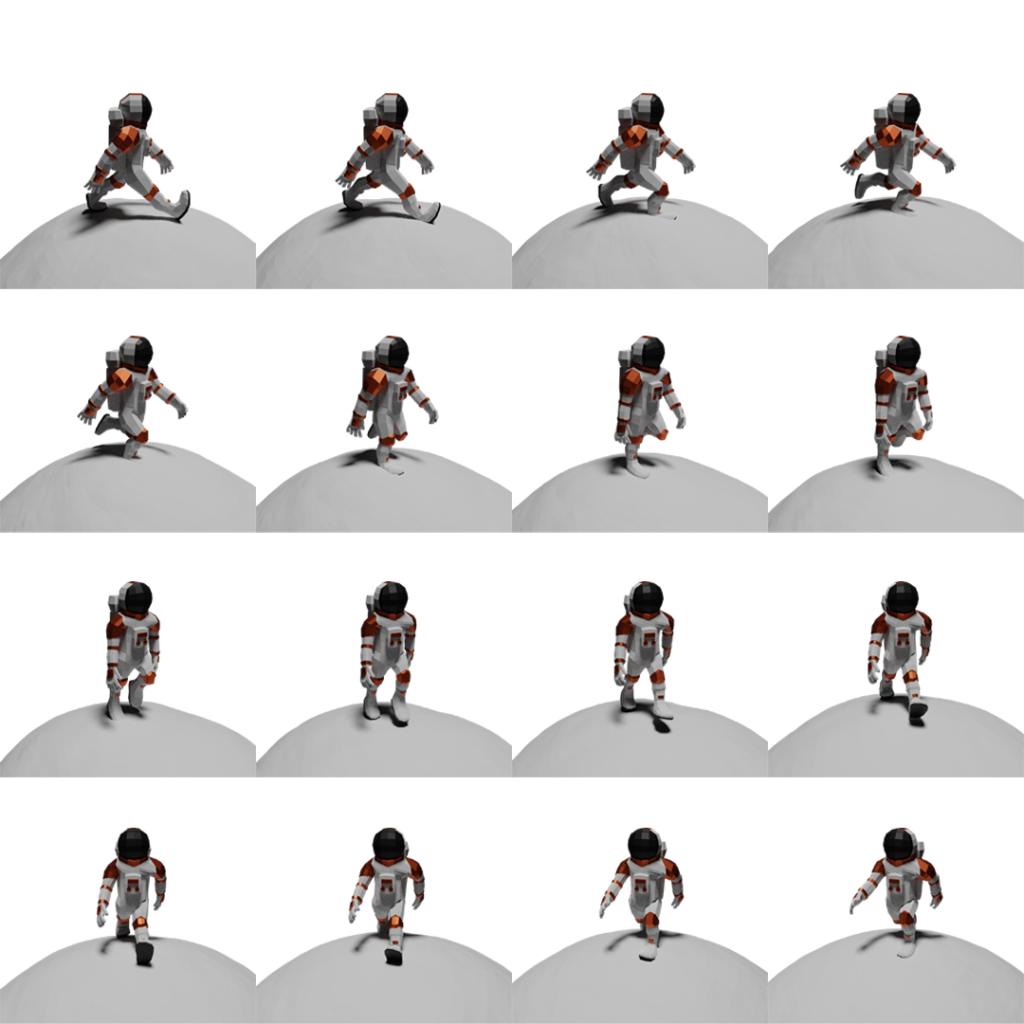
Section Two: Styling the Frames in Photoshop
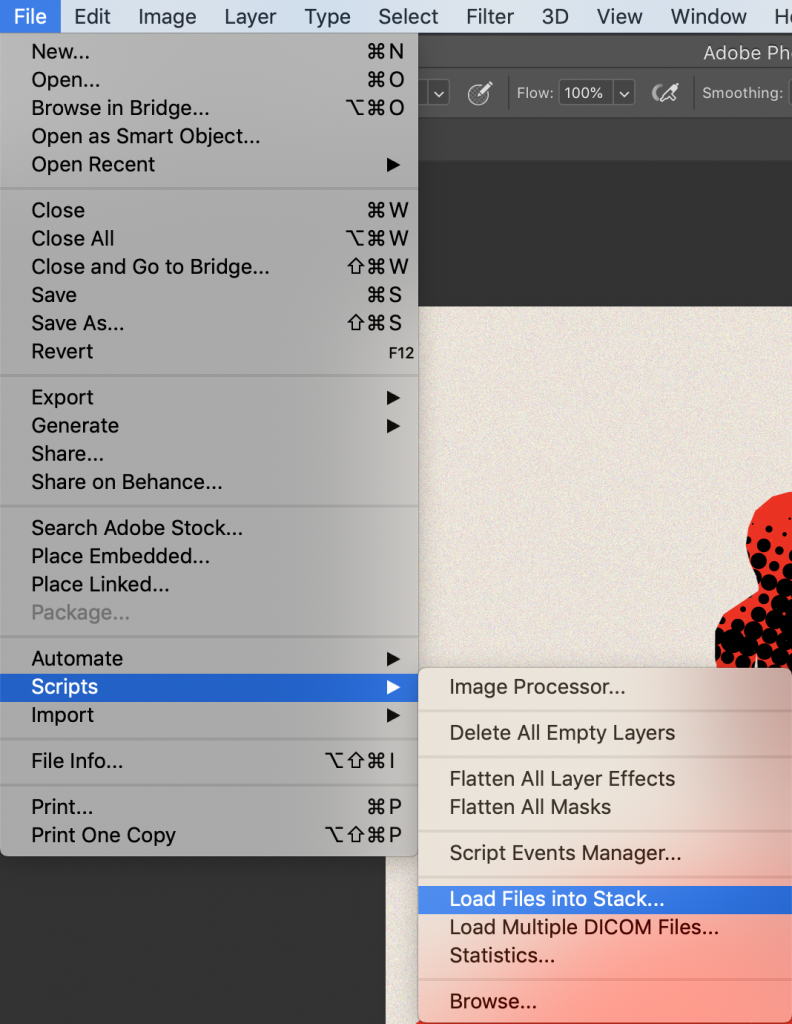
Now comes the fun part! I imported the saved PNG sequence into Photoshop in a stack. That way, all the frames were in one Photoshop file stacked in order with layers.
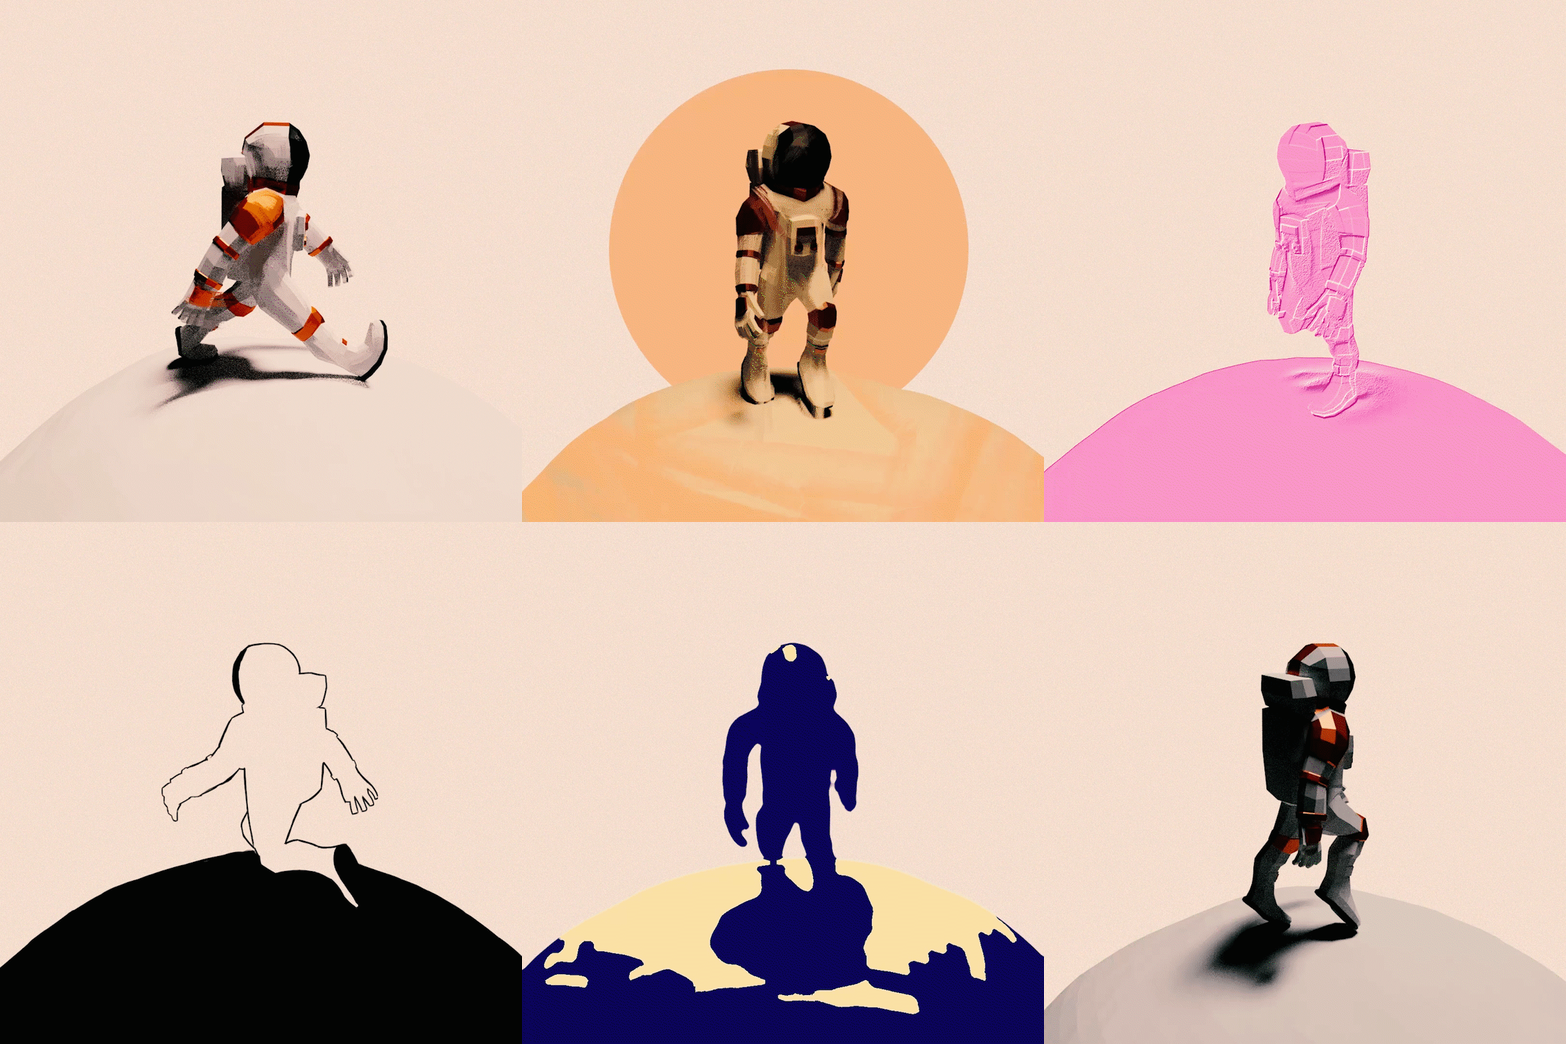
Once I had the frames as separate layers, I could stylize each individual layer however I wanted. That included drawing, applying filters and generally having fun with different styles. It was a fun little exercise trying to create a wide variety of styles using different combinations of filters and workflows. I had to keep track of the ordering and numbering of the layers so that I wasn’t misplacing or losing frames.
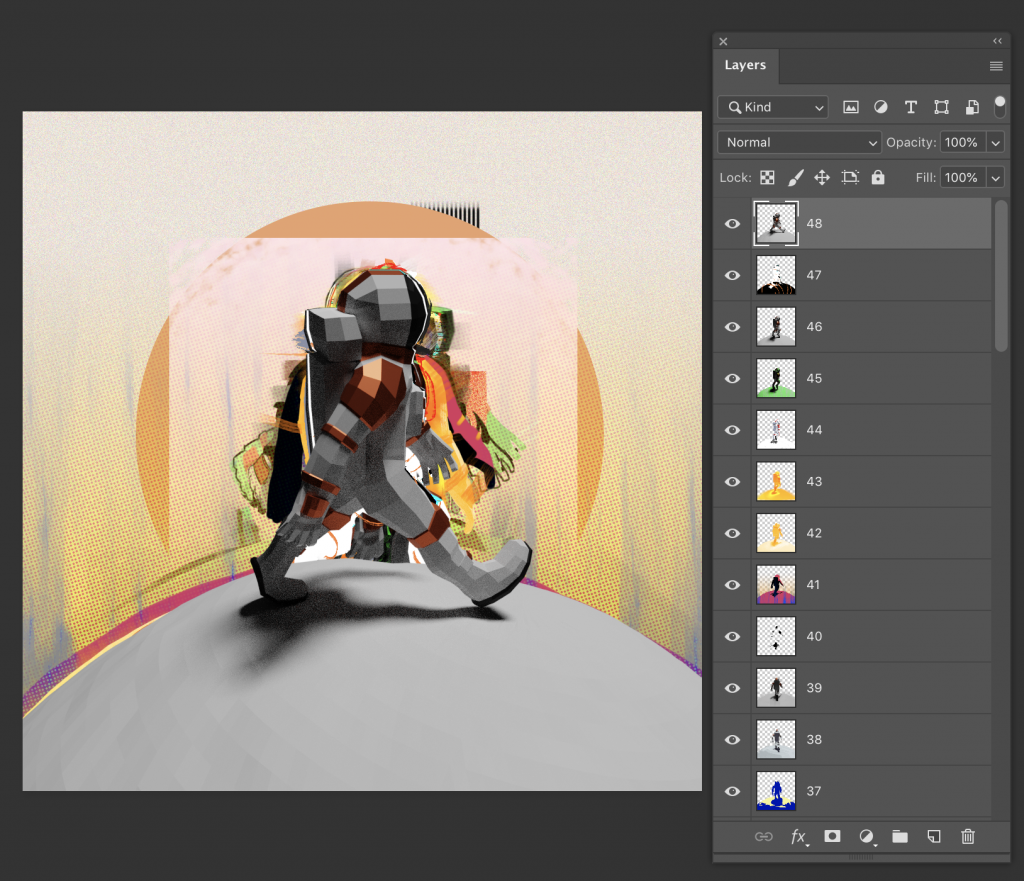
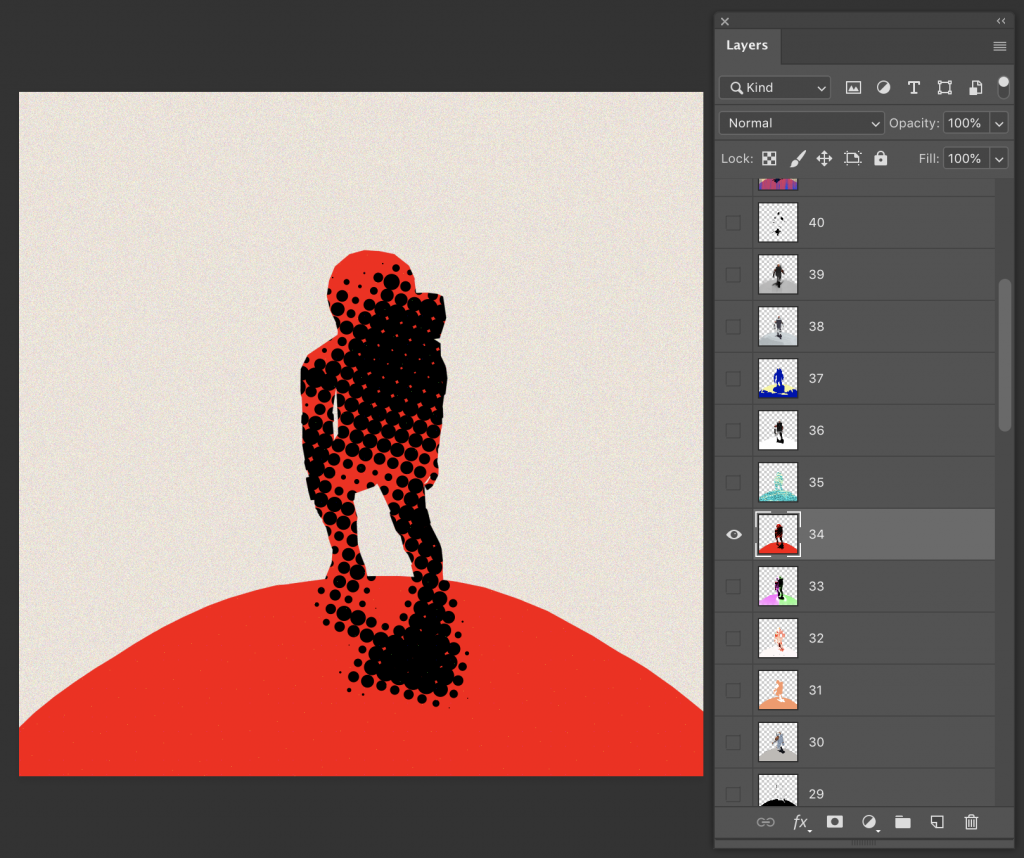
After a couple of hours of work, I had stylized each of the 48 frames and was ready to export the final PNG sequence. I saved all the individual frames/layers as their own PNGs in a new folder with correct numerical labels.
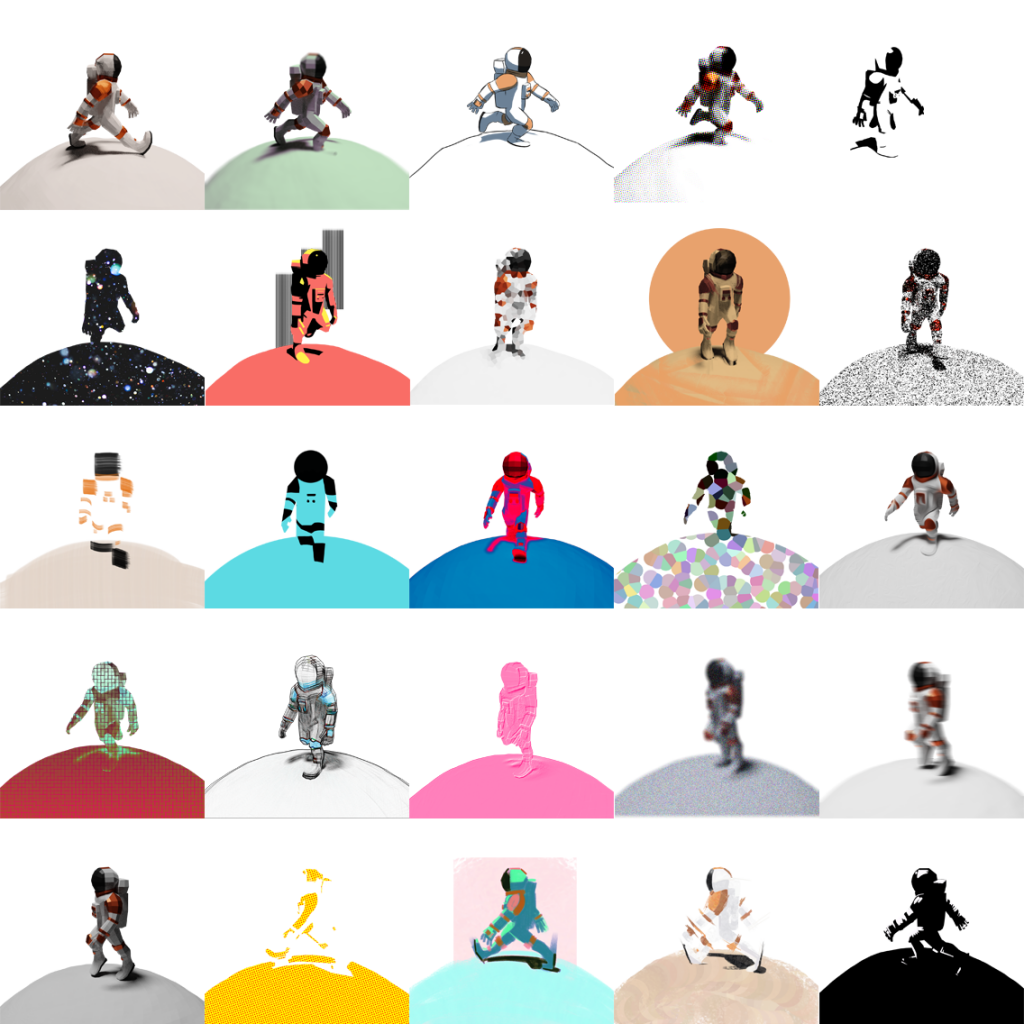
Putting it All Together
After saving all the layers as numbered PNGs, I imported them into Adobe Premiere as a PNG sequence. It’s important to double-check that all the files are correctly labeled, otherwise the sequence won’t import.
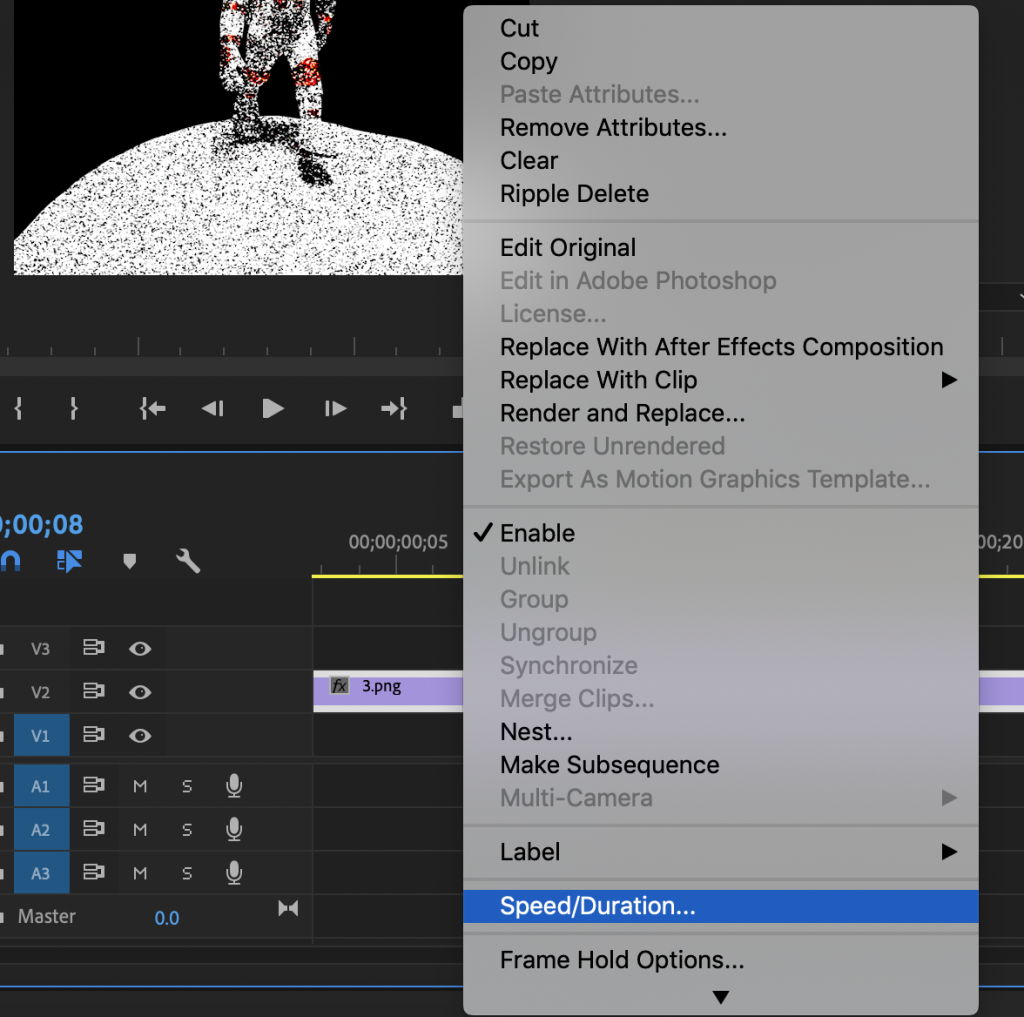
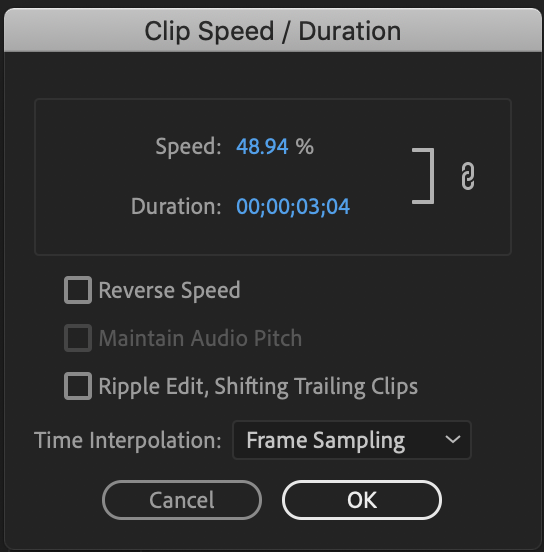
Once I imported the PNG sequence and dragged it into the timeline, I adjusted the timing so that the loop didn’t go so fast.
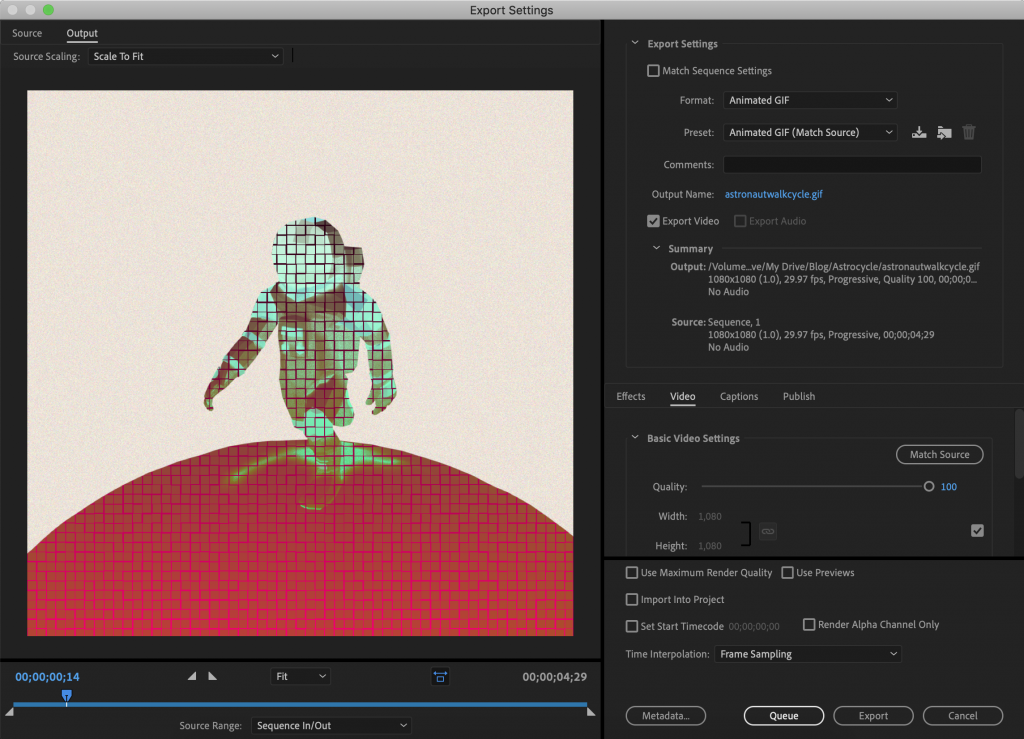
After that, I could export my animation either as a video or GIF in Export Settings.
Conclusion
Viola! My very own spinning astronaut walk cycle. If I were to do this again, I wouldn’t go as crazy with the stylistic variety since this animation is a bit straining on the eyes. Still, it was a fun exercise in combining some 3D knowledge with Photoshop to create an interesting rotoscoped end result.
